
 Save
Save
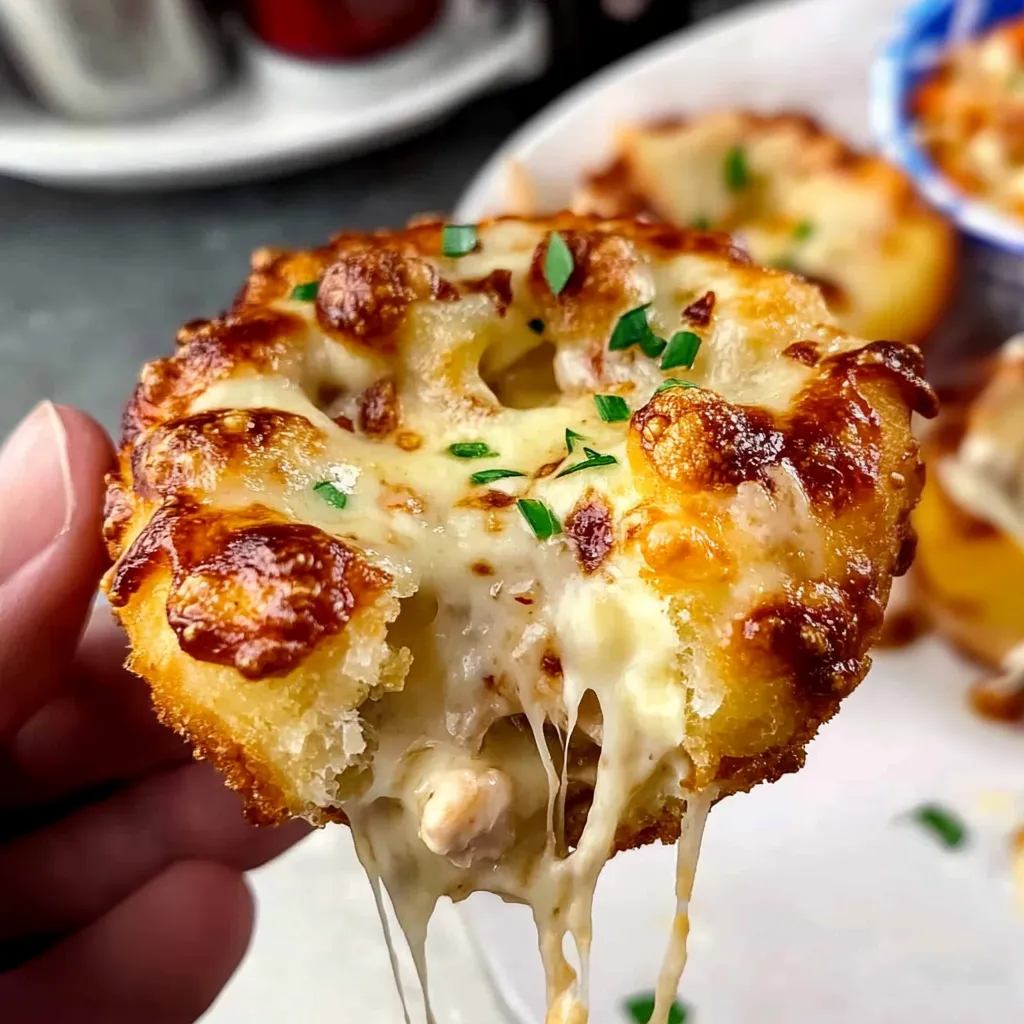
I stumbled upon Little Caesars Crazy Puffs during a football watch party last autumn and immediately knew I had to make them at home instead of driving across town whenever I wanted some. After plenty of testing (and many eager volunteers), I've nailed my own version that my friends actually think tops the original.
When I brought a twice-sized batch to help my sister celebrate her new home, three guests cornered me in the kitchen before the party ended, demanding to know how I made them. Now my brother-in-law specifically asks for them whenever our family gets together for dinner.
Key Components Breakdown
- Ready-made pizza dough cuts your prep time way down without losing any quality - I've tried making it from scratch but honestly, the Pillsbury stuff from the fridge works just as well and nobody can spot the difference
- Getting a pre-cooked rotisserie chicken isn't just quicker - it adds this perfect soft texture and rich taste that works so well with the creamy alfredo
- You absolutely must make your alfredo sauce yourself - I tried using the jarred kind once when I was in a hurry and everyone noticed right away
- Always grate your own mozzarella for that amazing stretchy pull when you bite in - the bagged pre-shredded stuff has additives that stop it from melting properly
 Save
Save
Crafting Delicious Puffs
The Base SauceFirst, make your alfredo sauce from scratch - I've found that if you keep stirring without stopping, you won't get any lumps and you'll end up with this smooth, velvety sauce that wraps around all the other ingredients. From my many test runs, I learned letting the sauce cool a bit before you use it keeps your dough from getting soggy.
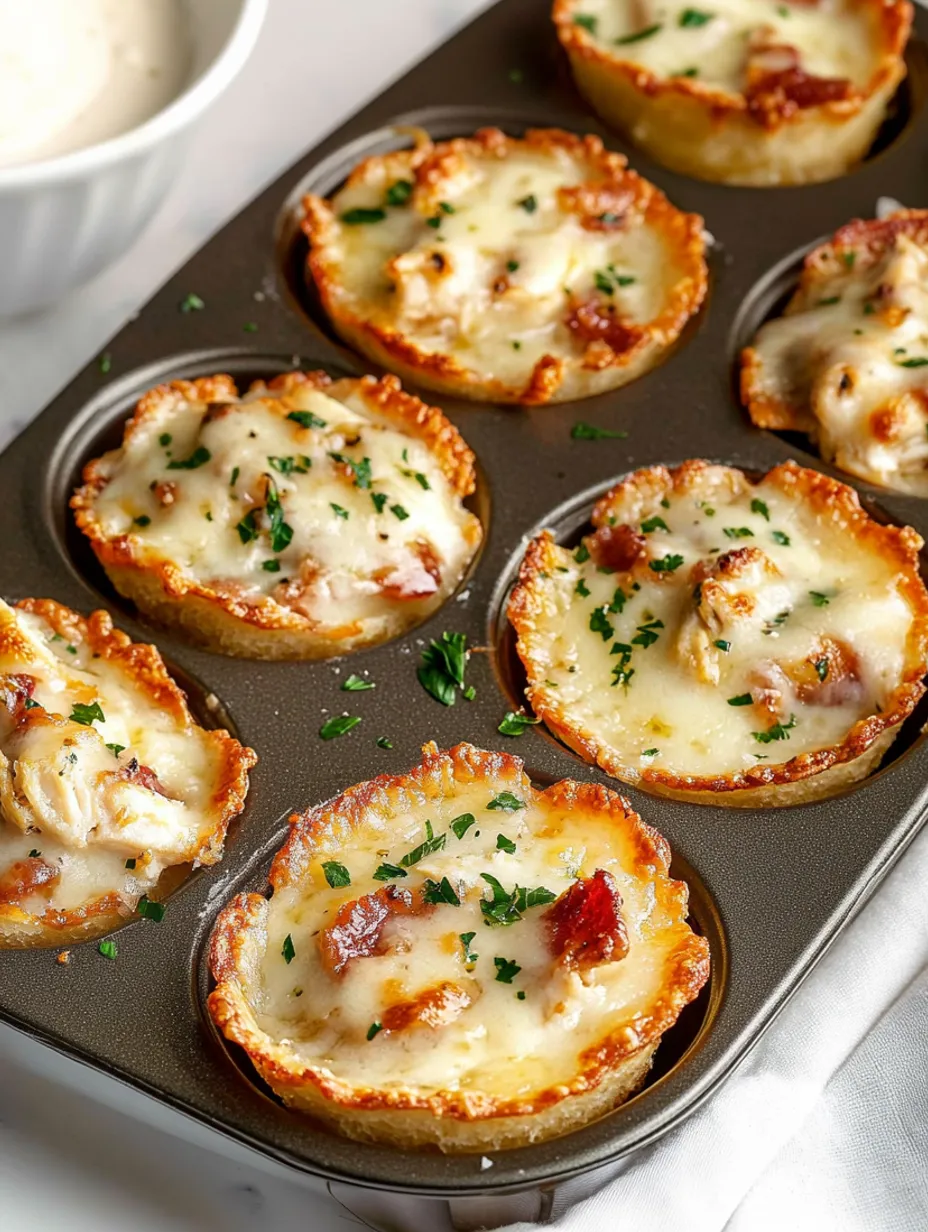
Setting Up RightPainting garlic butter inside those muffin cups before putting in the dough makes the flavor so much better - I found this trick by accident when I was just trying to stop them from sticking. My early attempts taught me that you need to push the dough up against the sides evenly to get those perfect cup shapes.
Layering SmartlyThink about how you stack your fillings - I've learned that starting with a tiny bit of sauce, then adding chicken and bacon, then more sauce and finishing with cheese makes sure every mouthful has all the good stuff. When I first tried making these, all the tastiest bits ended up at the bottom!
The Finishing TrickThat brush of garlic butter on top isn't just for looks - it turns the edges all crunchy and flavorful, which might be the best part of the whole thing. I've watched my guests always eat around the edges first before digging into the middle.
These became my go-to party food after bringing them to a neighborhood potluck where they were gone so fast people asked if I had extras in my car. Now I can't show up to gatherings without them.
Ways To Enjoy Them
Pair them with a basic green salad for a full meal, or make them the centerpiece of your snack table on game day. When I host Italian-themed dinner parties, I put them out with antipasto on skewers and a light pasta salad.
Keeping Them Fresh
You can easily warm these up again, which makes them great for planning meals ahead or saving leftovers. Keep them in a sealed container in your fridge for up to three days. Warming them in an air fryer works wonders - just 4-5 minutes at 400°F and they taste like you just made them.
 Save
Save
Smart Kitchen Tricks
- Take one puff out and look at the bottom to check if they're done - when it's golden brown, they're ready to eat
- If the tops are getting too brown but the bottoms need more time, cover them loosely with foil for the last few minutes
- Let them cool just enough so you can pick them up - they taste best when they're still warm
What began as my attempt to copy a fast-food treat has turned into one of my household specialties. There's something truly special about combining buttery crust, smooth sauce, juicy chicken, and crispy bacon that makes everyone reach for another one. Whether you're feeding hungry sports watchers or just want something comforting on a cold night, these crazy puffs hit the spot every time.
Recipe FAQs
- → Can I make the sauce ahead of time?
- Definitely! Keep your alfredo sauce in a sealed container in the fridge for up to 3 days.
- → What if I don’t have rotisserie chicken?
- Any cooked chicken works great. Try grilled breasts, leftovers, or canned chicken in a hurry.
- → Can these bites be frozen?
- Yes, just freeze them after they’re fully cooled for up to 2 months. Pop them in the oven at 350°F to reheat.
- → What if I don’t own a muffin tin?
- Go for a bigger version in a casserole dish or make small hand pies on a baking pan instead.
- → Can I change up the toppings?
- For sure! Try tossing in spinach, mushrooms, or even sun-dried tomatoes to switch up the flavors.
Chicken Pizza Bites
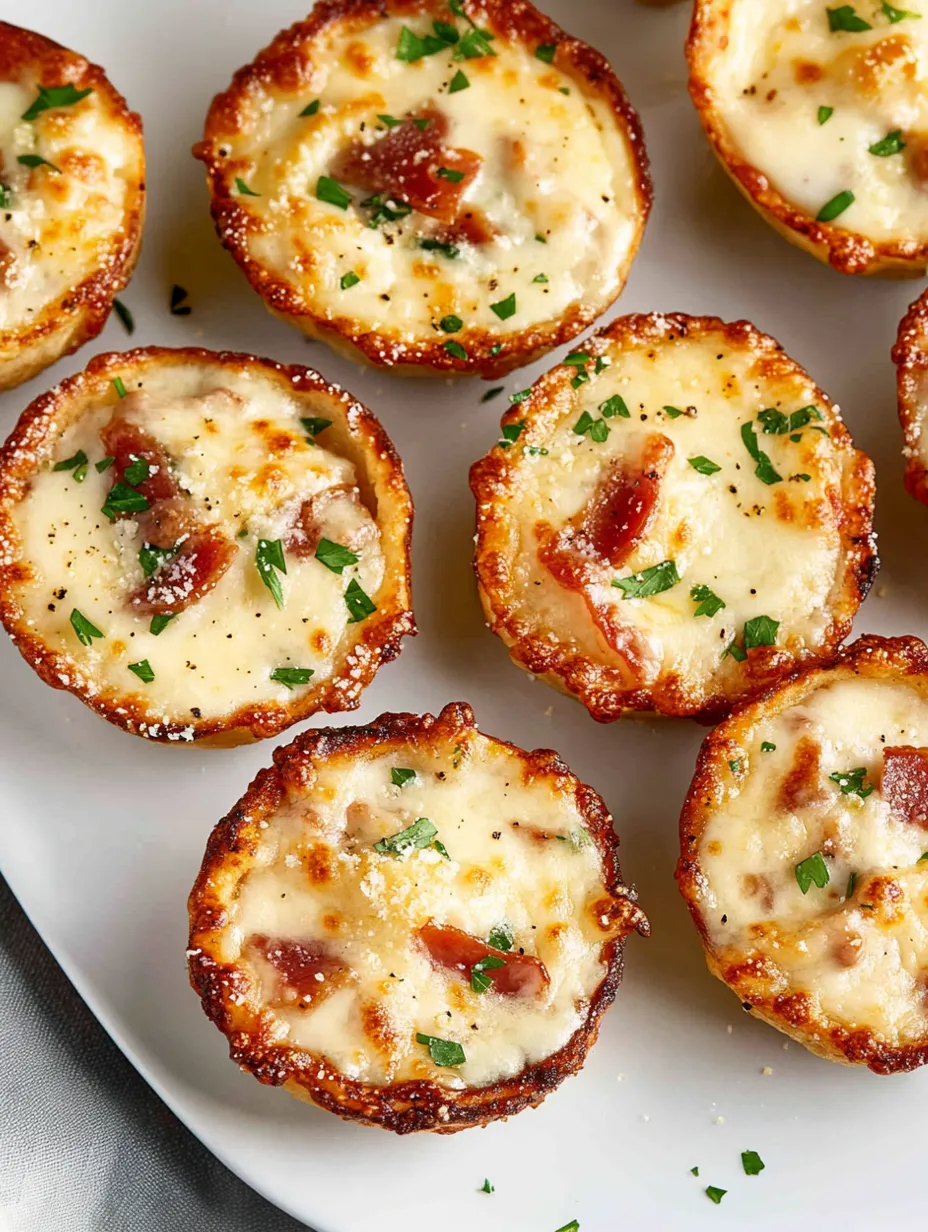
Warm, crispy puffs filled with garlic alfredo, shredded chicken, smoky bacon, melty mozzarella, and topped with buttery garlic parmesan glaze.
Ingredients
→ Pizza Dough
→ Creamy Alfredo
→ Garlic Butter Topping
Steps
Over medium-low heat, melt butter in a skillet. Add garlic and cook for a minute until the smell is strong. Gradually pour in cream and stir. Let it light boil for roughly 5 minutes. Slowly add parmesan and stir until fully blended and melted. Let it simmer another 2 minutes. Sprinkle with salt, pepper, and chili flakes to your liking.
Switch on your oven and preheat it to 425°F (use 400°F for thinner dough). In a small microwavable bowl, combine butter and garlic and heat until halfway melted. Brush this mixture into muffin cups until coated. Mix parsley, parmesan, and chili flakes into the rest of the butter for later.
Stretch and roll out the pizza dough until it’s a rectangle about 10x15 inches. Cut it into 12 rounds, using a glass or cutter if you need help. Press these rounds securely into each muffin tin cup, making sure it stretches up the sides slightly.
Start layering ingredients inside your cups. Put a small heap of cheese in first, followed by diced chicken, a spoonful of alfredo, chopped bacon, and then pile on mozzarella on top.
Bake for 10 to 14 minutes, making sure to rotate the pan halfway through baking. Warm up any leftover garlic butter and brush it over the pizza tops when they’re done. Serve with extra creamy sauce on the side.
Notes
- You can prep the sauce 3 days early and store it in the fridge.
- Set oven to 400°F if you're using a thin pizza crust.
- Chop enough garlic in advance for both the sauce and butter topping.
Required Tools
- Cupcake tin
- Cooking pan
- Brush for butter
- Microwave-safe dish
Allergy Information
Check each ingredient for potential allergens and consult a healthcare professional if needed.
- Includes milk-based items (like cheese and cream).
- Made with wheat (from the pizza dough).
Nutritional Facts (per serving)
These details are provided for informational purposes and aren't a substitute for medical advice.
- Calories: 475
- Fats: 37 g
- Carbohydrates: 18 g
- Proteins: 19 g