
 Save
Save
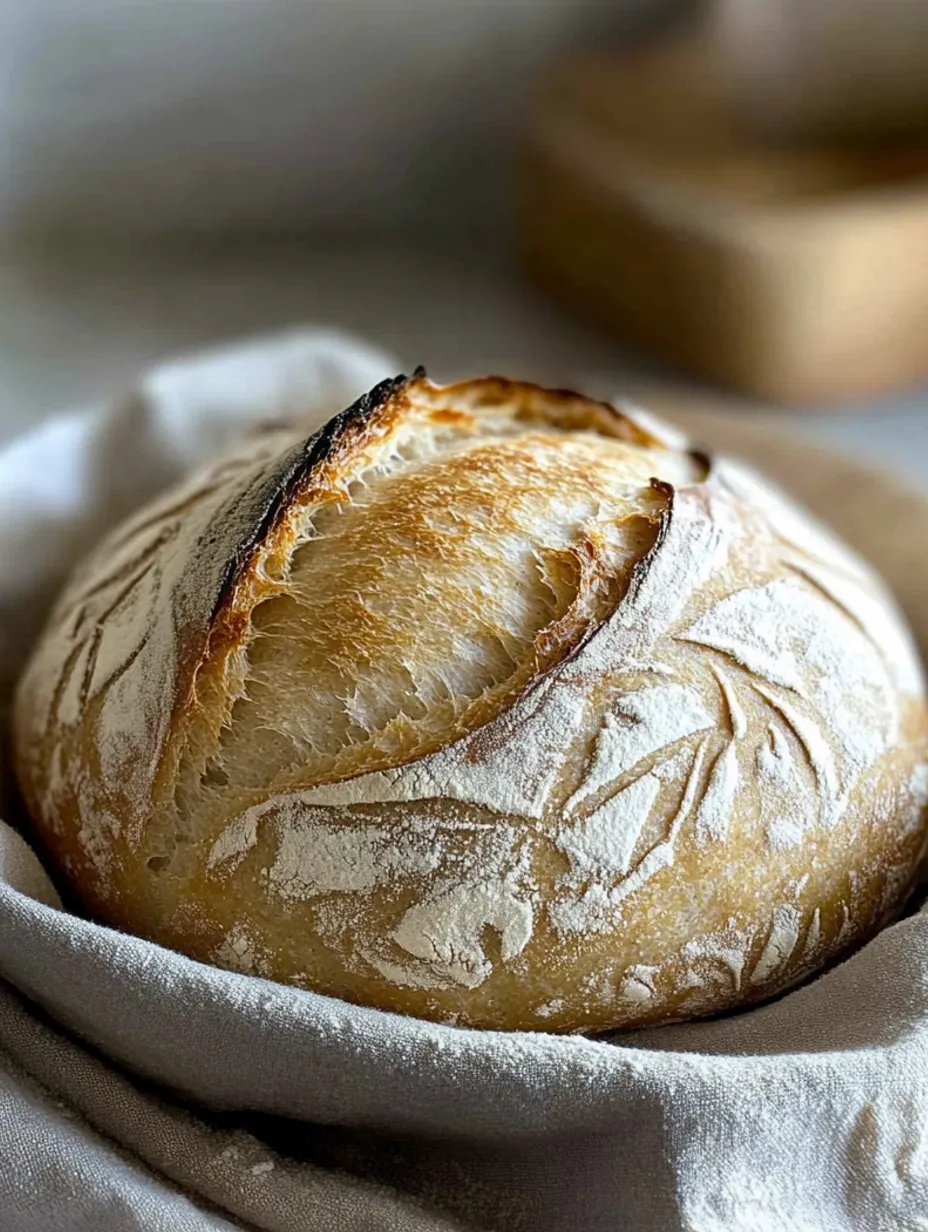
Mastering homemade sourdough starts with creating your own vibrant starter culture. This natural fermentation process combines basic flour and water to produce a living starter that gives bread its signature tangy flavor and perfect crumb structure. Through years of baking experience, this proven method takes the guesswork out of starting your sourdough journey.
While sourdough may seem complex at first, this straightforward method becomes routine with practice. A well-maintained starter can last for years, consistently producing exceptional loaves of bread with that coveted sourdough flavor and texture.
Core Ingredients & Tools
- All-Purpose Flour: Standard unbleached flour works perfectly - no need for specialty varieties
- Room Temperature Water: Filtered or dechlorinated tap water left out overnight
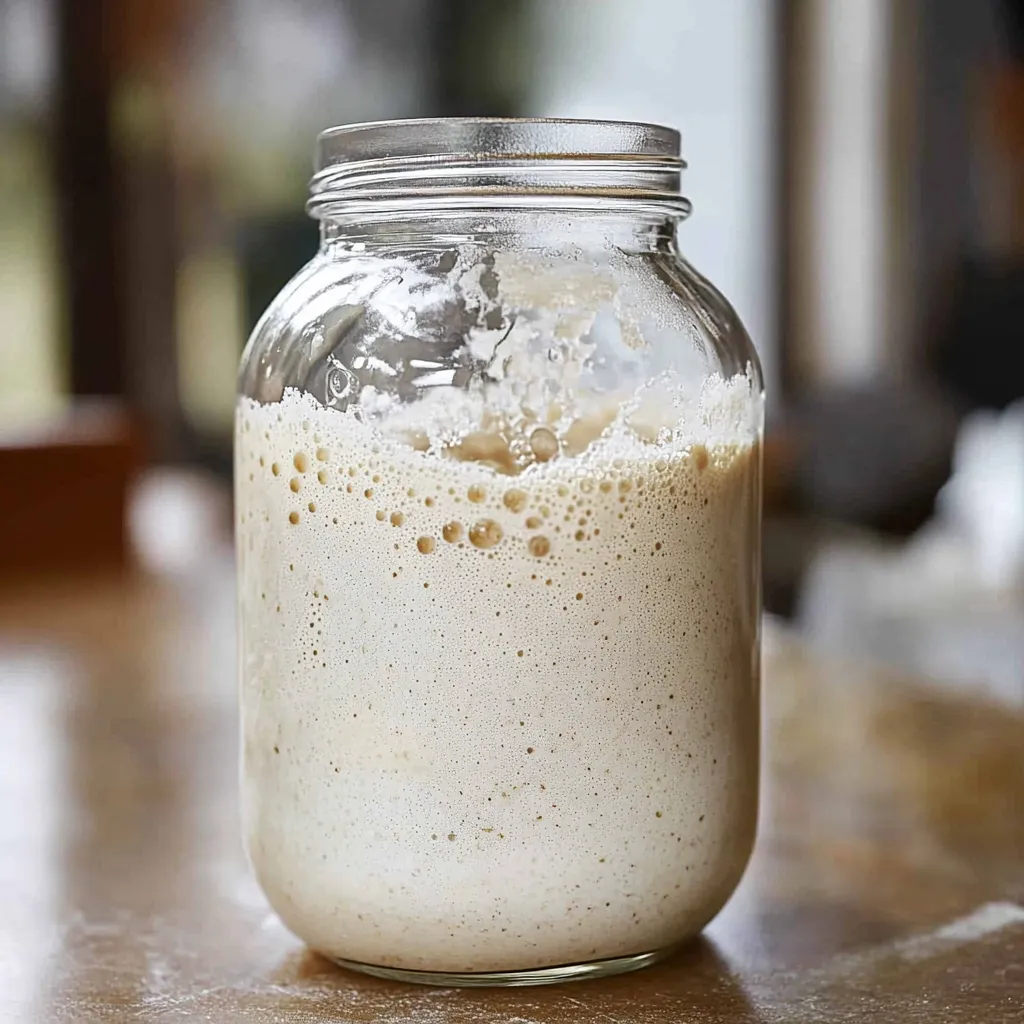
- Glass Container: A clean quart mason jar provides ideal visibility
- Breathable Cover: Paper towel and rubber band allow proper airflow
 Save
Save
Step-by-Step Process
Initial Mix
Combine 1/2 cup flour with 1/4-1/3 cup water in clean jar
Mix to thick batter consistency
Cover loosely with paper towel
Place in warm location (70-75°F)
First Day
Allow mixture to rest 24 hours
Watch for small bubble formation
Maintain consistent temperature
Note any fermentation signs
Beginning Feedings
Remove half the mixture after 24 hours
Add fresh flour and water in same quantities
Stir until completely smooth
Return to warm spot
Daily Maintenance
Feed every 24 hours
Discard half before each feeding
Use consistent measurements
Monitor fermentation activity
Each sourdough starter develops unique characteristics over time. The culture adapts to its environment and feeding schedule, often showing increased activity with occasional rye flour feedings and warmer temperatures.
Monitoring Starter Health
A mature starter displays predictable behavior - rising steadily post-feeding before gradually falling. Marking the jar with a rubber band helps track this natural rising and falling cycle, providing visual confirmation of active fermentation.
Common Challenges
Occasional issues like slow activity or liquid separation (hooch) typically indicate hunger. These normal signs show when your starter needs feeding. Adjusting the environment, like moving to a warmer spot during cold weather, often resolves sluggish behavior.
Storage Methods
 Save
Save
Established starters are remarkably resilient. Refrigeration between baking allows weekly feeding schedules. Two room-temperature feedings before baking revive the culture to full strength, ready for perfect loaves.
Using Discarded Starter
Sourdough discard adds delicious tang to many recipes. From crispy waffles to tender pancakes, this byproduct of starter maintenance enhances everyday baked goods with complex fermented flavors.
Professional Tips
- Use room temperature water to maintain active fermentation
- Track starter growth with jar markings
- Reserve specific tools for sourdough maintenance
Building a sourdough starter represents traditional breadmaking at its finest. This living culture transforms basic ingredients into exceptional breads while connecting bakers to centuries of artisan tradition. Though it requires initial patience, the satisfaction of creating authentic sourdough makes the process deeply rewarding.
Sourdough Base
Start from scratch with just water and flour to create a sourdough starter in 6 days.
Ingredients
→ Main
→ Equipment
Steps
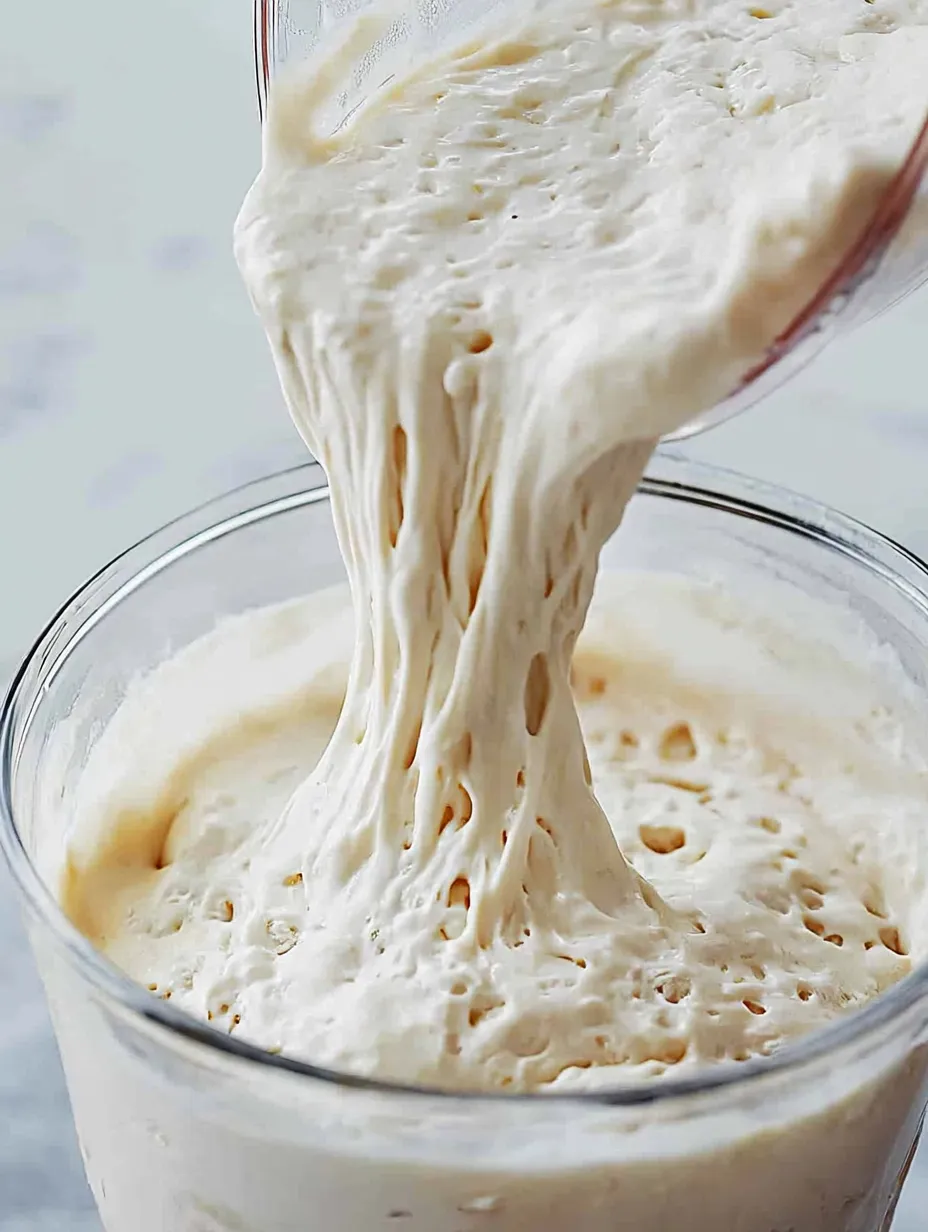
Stir together water and whole wheat flour until it’s about the same consistency as pancake batter inside your jar.
Wait 24 hours and peek inside. If you see any bubbles, stir in more flour and water. If not, leave it for one more day.
Take out half of your starter, then mix in more water and flour if you see bubbles in it. Let it sit untouched for another day.
Again, remove half of the starter. Add fresh water and flour, and leave it alone for one more day.
If you’re planning to use it, give it two feeds each day between days 4 and 6. Stick with this until it doubles in size within 8 hours.
Notes
- Keep the starter at room temperature
- Once it’s settled, you can store it in the refrigerator
- If it’s in the fridge, feeding once a week is good
Required Tools
- 32-ounce glass container
- One sheet of paper towel
- A single rubber band
Allergy Information
Check each ingredient for potential allergens and consult a healthcare professional if needed.
- Gluten (because it has flour)
Nutritional Facts (per serving)
These details are provided for informational purposes and aren't a substitute for medical advice.
- Calories: ~
- Fats: ~
- Carbohydrates: ~
- Proteins: ~