
 Save
Save
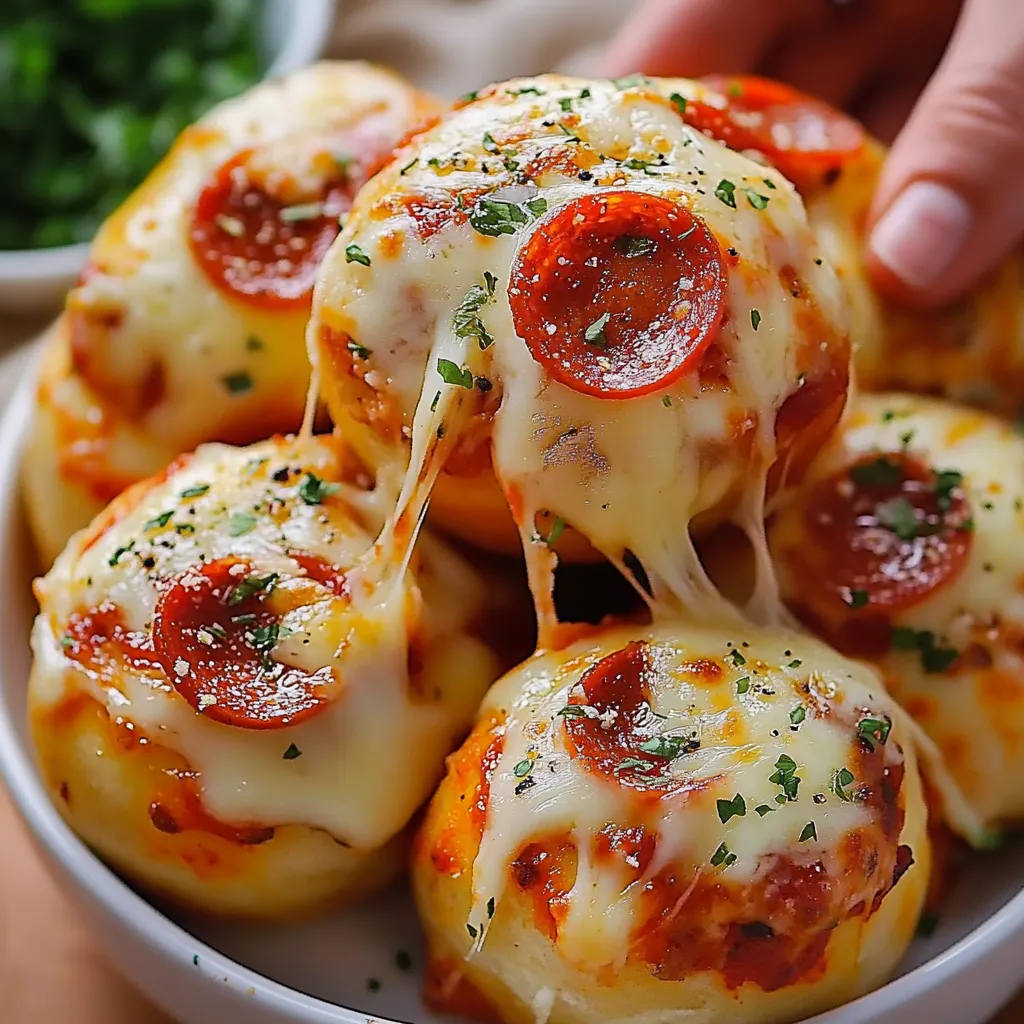
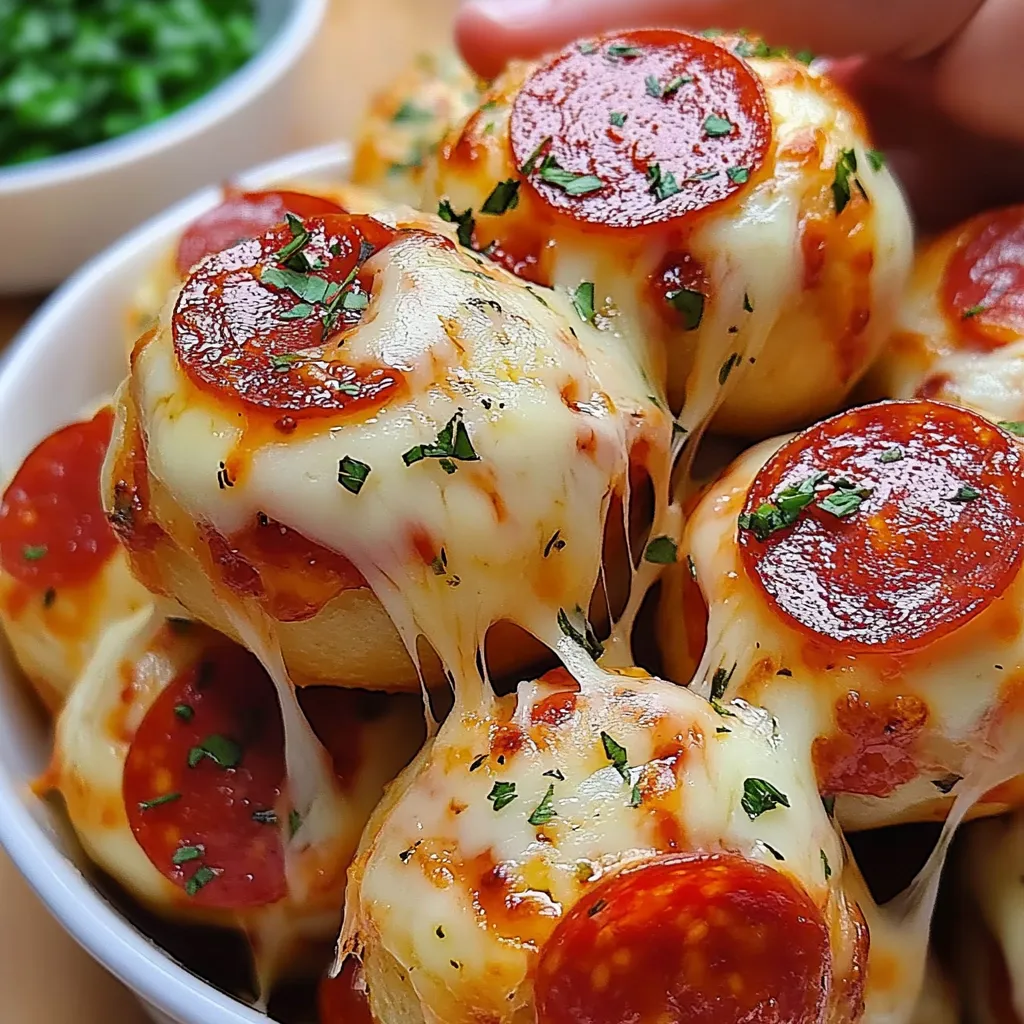
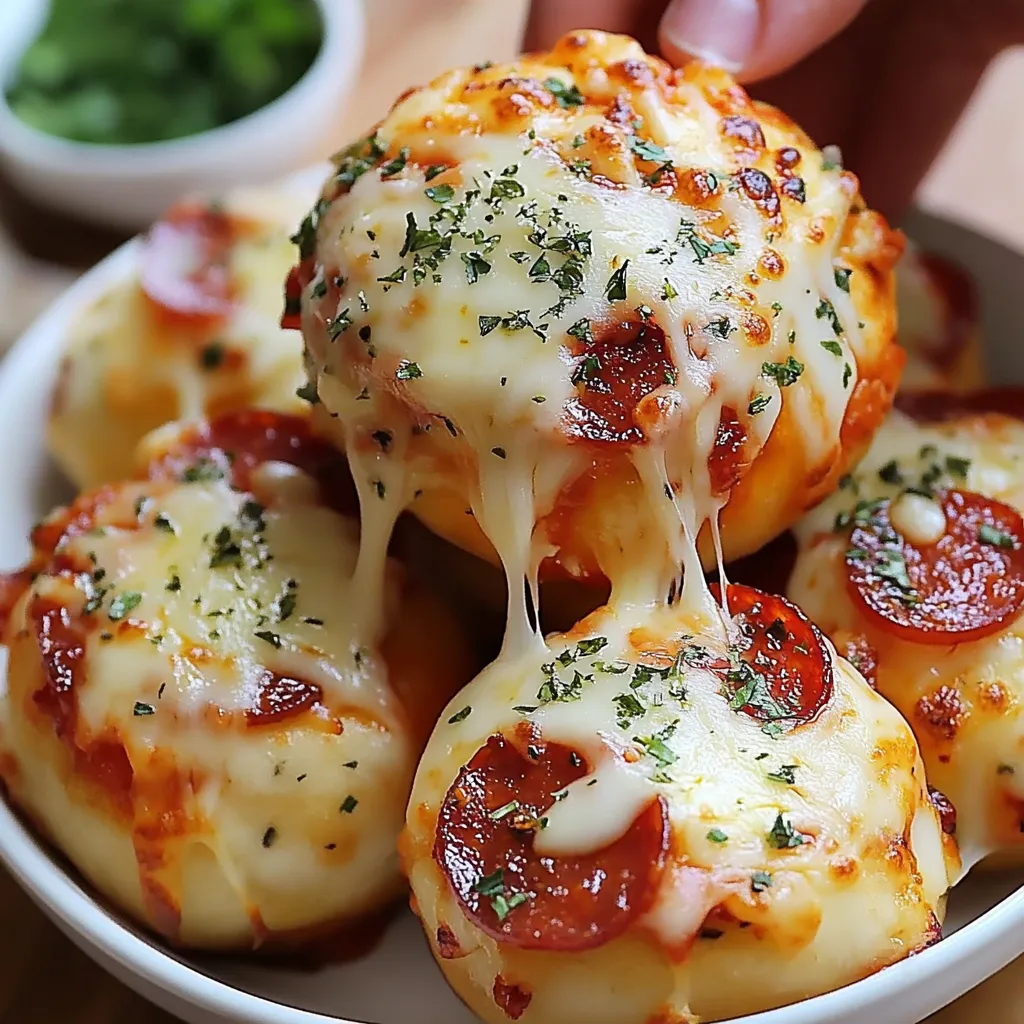
These bite-sized pizza pouches pack all the pizza flavor you love in one pop-able treat. They wrap soft biscuit dough around melty mozzarella, tangy tomato sauce, and tasty pepperoni, all baked till they're golden brown. The garlicky butter coating on top makes these little bites completely impossible to resist.
The first time I threw these pizza pouches together was for a block party when I needed something fast that wouldn't turn off picky kids. They were gone in seconds, and I've been tweaking them since. Now my high schoolers ask for them every time we have a family movie night.
Must-Have Components
- Canned biscuit dough: Makes the fluffy shell that turns beautifully golden; grab the bigger 16.5 oz containers
- Block mozzarella cheese: Melts way better than the bagged kind; dice it small for maximum melt factor
- Thick tomato sauce: Brings that pizza kick you want; pick one without added sweeteners for true flavor
- Mini pepperoni rounds: Gives that familiar pizza taste with a bit of kick; go for the smaller pieces that tuck in nicely
- Real butter: Creates that gorgeous golden outer layer; skip the margarine or spreads
- Raw garlic: Adds punch to your butter topping; chop it super tiny so it spreads well
- Herb blend: Combines all your pizza spices in one shake; find one that includes oregano, basil and thyme
- Real Parmesan cheese: Makes the outside extra tasty and crisp; grate it yourself from a chunk for best results
Building Your Tasty Pizza Pouches
- Getting Started:
- Turn your oven to 375°F and put parchment on a cookie sheet. Smear 3 tablespoons of butter all over the parchment to add flavor and stop sticking.
- Working With Dough:
- Split each biscuit sideways into two rounds. Push each piece flat with your thumbs until you've got a thin circle for stuffing.
- Adding The Good Stuff:
- Drop a tiny bit of sauce in the middle of each dough circle. Top with one pepperoni slice and put a cheese cube on it, making sure you don't overfill.
- Wrapping It Up:
- Pull the edges of each circle up and over the fillings, then pinch them tight at the top. Make sure they're sealed well so no cheese escapes during cooking.
- Making Them Tasty:
- Mix melted butter with chopped garlic, herbs, salt, and pepper in a small cup. Brush this tasty mix over each sealed pouch, then sprinkle fresh Parmesan on top.
- Cooking Time:
- Put your pouches in the hot oven for 15-20 minutes. Look for them to puff up and turn a nice golden color, showing they're crispy outside and melty inside.
- Bringing To The Table:
- Let them sit for 3-5 minutes so you don't burn yourself. Arrange them on a plate with warm sauce on the side for dipping.
 Save
Save
At our house, everyone goes crazy for the mozzarella-pepperoni mix in these pouches. Even my hubby, who usually stays away from packaged foods, can't help grabbing extras. Watching that cheese stretch when you pull one apart always brings smiles around our table.
Great Side Matches
Round out your meal by setting these pouches next to a fresh green salad with Italian dressing. The cool veggies balance out the rich pouches perfectly. If you want something heartier, try tomato soup instead of marinara for dipping. When we have summer get-togethers, I've noticed that veggies off the grill with a light balsamic drizzle help these pouches feel fancier when grown-ups are around.
Fun Flavor Switches
Mix things up by swapping the standard pizza fillings with new ideas. Try some spicy buffalo chicken with blue cheese crumbles, or go Greek with spinach and feta. Ham and pineapple works great for folks who like Hawaiian pizza. For your veggie friends, try stuffing in some roasted bell peppers, mushrooms, and onions for a hearty meat-free option. My brother's wife makes them with scrambled eggs, cheese and bacon that we now can't do without at family breakfasts.
Saving Extras For Later
Put any leftover pouches in a sealed container in the fridge for up to three days. When you want to warm them up, pop them in a 350°F oven for 5-7 minutes. Don't use the microwave - it'll make them tough and rubbery. These freeze really well too, for up to two months. Just cool them completely, freeze them on a tray until hard, then toss them in freezer bags. When cooking from frozen, just add 5-7 minutes to your normal baking time.
I've cooked these pizza pouches more times than I can count, and they always hit the spot. Seeing everyone's excitement when they bite in and discover that melty cheese center makes all the work worth it. They might seem basic, but something about how the flavors and textures come together creates a truly special treat that brings people closer. That's what I love about cooking - creating little moments of joy through food.
 Save
Save
Recipe FAQs
- → Can I prepare these bombs in advance?
- Yes! Put them together up to a day before, cover, and pop them in the fridge. Just butter them right before baking.
- → How can I make a vegetarian version?
- Switch out the pepperoni for things like sautéed veggies, olives, or fresh spinach for a veggie-friendly option.
- → Is freezing these okay?
- Absolutely! Freeze until firm, toss in a freezer bag, and bake straight from frozen with an extra 5-7 minutes.
- → What’s the best dough to use?
- Any refrigerated biscuit dough works well. Flaky or butter ones add even more flavor.
- → Can I swap cubed cheese for shredded?
- Sure, shredded cheese works too! But using cubes gives you that nice stretchy, gooey texture.