
 Save
Save
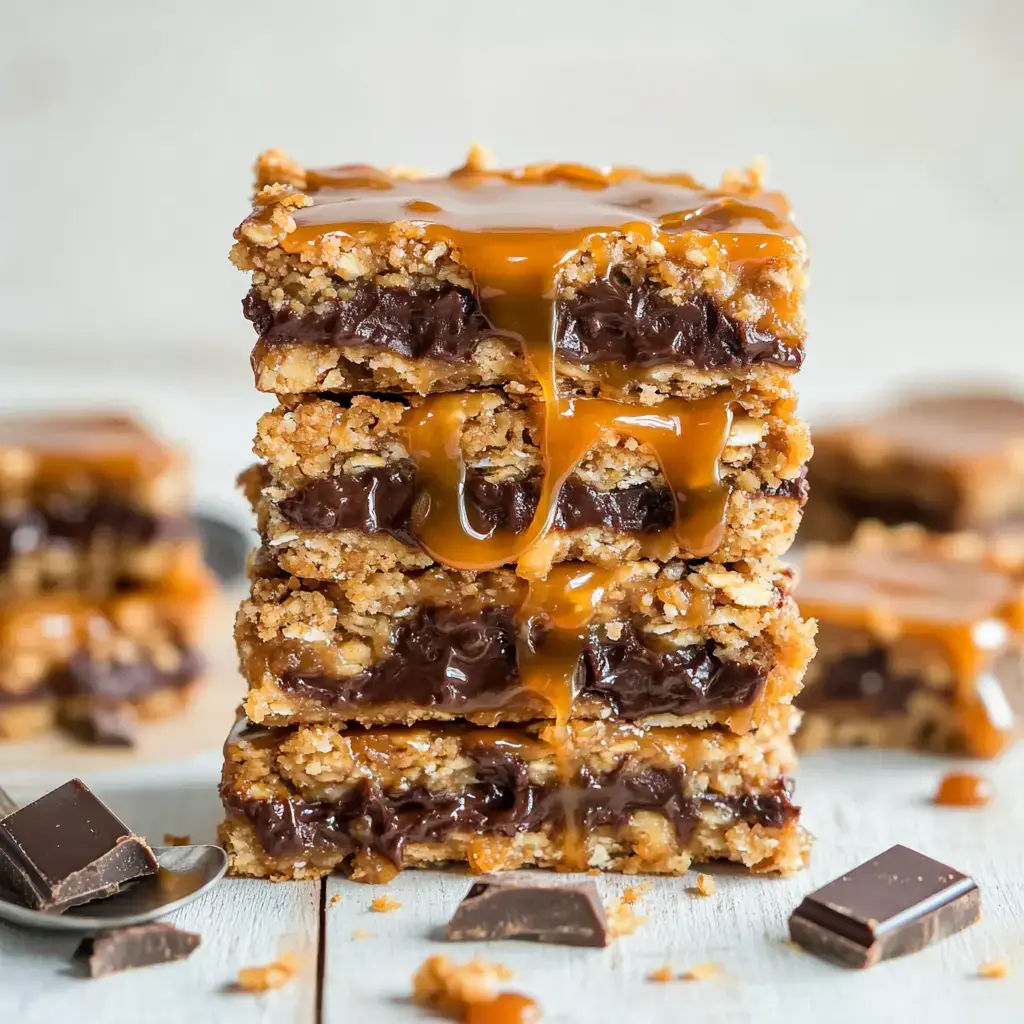
I stumbled on these Carmelitas tucked away in my grandma's old recipe collection and knew I'd found a gem. These incredible treats with their buttery oat layers wrapped around gooey caramel and melty chocolate have become the star at all our family get-togethers. And guess what? They're super easy to whip up - no fancy equipment needed, just basic stuff and a little TLC.
Delightful Pleasure in Each Mouthful
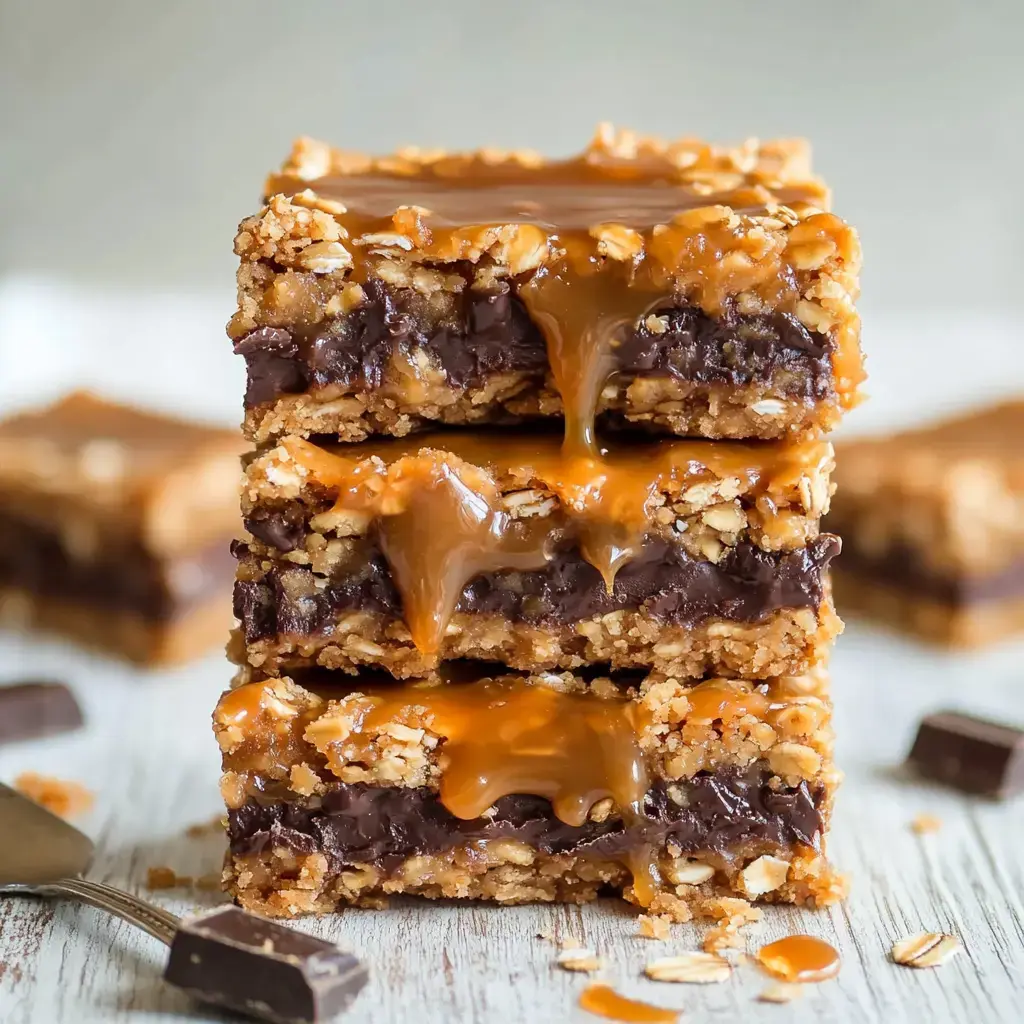
Whenever I bake these squares, I can't get over how the soft oatmeal base holds that perfect streak of sticky caramel and chocolate. There's something magical about mixing sweet with a hint of salt that makes folks grab another piece. I've watched these vanish from dessert tables way quicker than any fancy baked goods.
What You'll Need
Great Carmelitas start with quality butter for that rich base. I only use traditional rolled oats because they give you that perfect chew you won't get from quick oats. Dark brown sugar adds wonderful depth and pairs with vanilla to fill your kitchen with an amazing smell. For caramel, I always grab Werther's Baking Caramels as they melt beautifully. A bit of heavy cream helps make that runny gooey middle, while semi-sweet chocolate chips cut through the sweetness just right.
Making the Magic Happen
First, blend your melted butter with brown sugar and vanilla until it's fragrant. Stir in your flour, oats, baking soda and salt. Push half into your dish and bake it briefly. Meanwhile, melt your caramels with cream until smooth as silk. Here's the best bit - scatter chocolate chips over your warm base, pour that lovely caramel on top, and sprinkle the leftover oat mix over everything. After another short spell in the oven, you'll need to wait for them to cool down - it's tough but totally worth it.
 Save
Save
Keeping Your Treats Fresh
These squares stay yummy for up to a week in a sealed container on your counter, though they never hang around that long at my place. If you're planning ahead, you can freeze them for up to 4 months. Just let them sit out overnight when you want to enjoy them.
My Favorite Baking Tips
Don't rush these treats. Let them cool all the way before slicing. Sometimes I stick them in the fridge to speed things up. Remember to use only traditional rolled oats as quick ones won't give you that great texture. When I'm making these for lots of people, I make twice as much in a larger pan. Recently I've started adding a tiny bit of sea salt to the caramel and it really makes the flavor pop.
Recipe FAQs
- → What makes the cooling time so long?
- Letting them sit for 4 hours lets the caramel firm up all the way. If skipped, they’ll fall apart and be too messy to cut.
- → Which caramel works best for this?
- Soft versions like Werther’s or Kraft work well, along with Caramel Bits for smooth results.
- → Can they stay fresh in the freezer?
- Absolutely. These bars freeze nicely for up to 4 months. Left at room temp, they’ll be fine for 7 days in a sealed container.
- → Why bother lining the pan?
- The sticky caramel can make cleanup hard, but foil takes care of that. Plus, it helps you lift the bars out easily.
- → Can I use quick oats in the mix?
- Nope. Old-fashioned oats are key for that chewy texture. Quick oats will make everything too mushy.