
 Save
Save
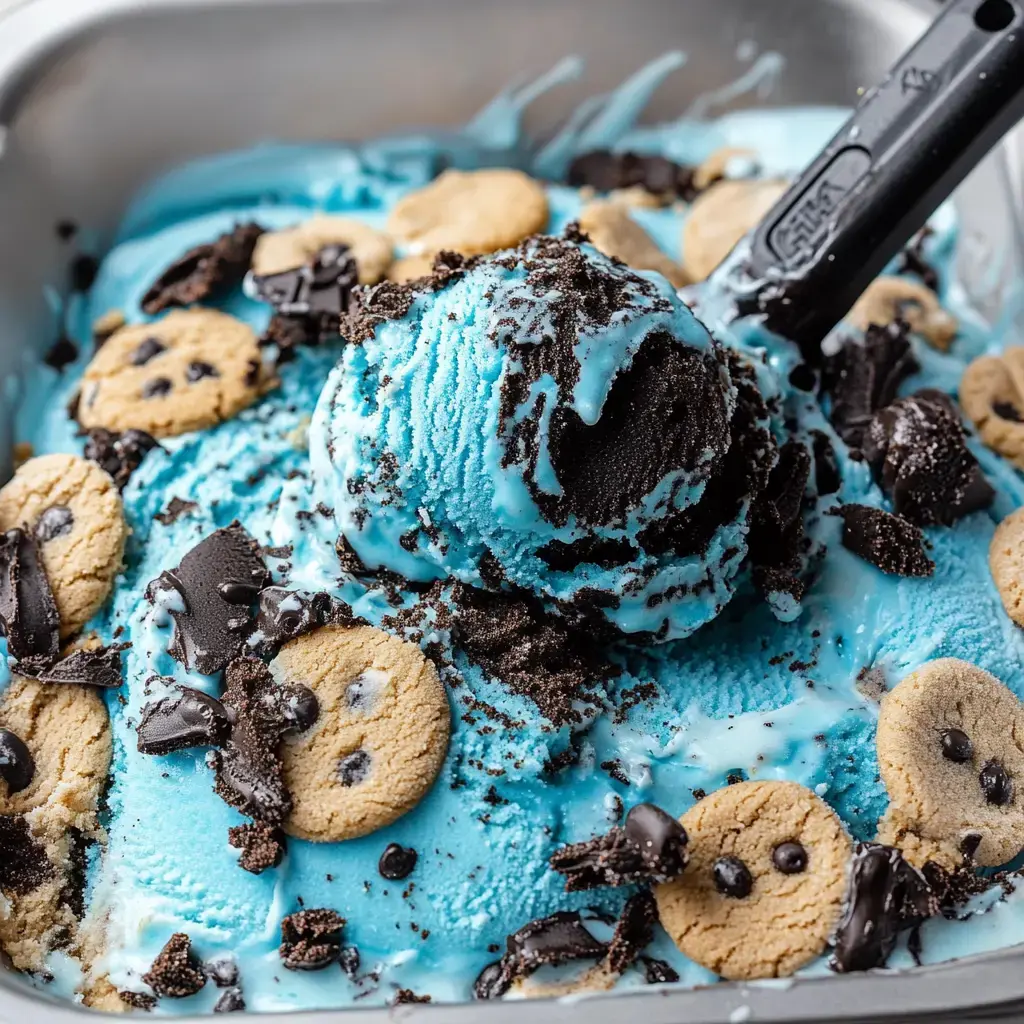
This Cookie Monster Ice Cream recipe brings nostalgic charm to any kitchen. The vibrant blue color combined with generous cookie pieces creates an irresistible frozen treat that delights both children and adults. The smooth, creamy texture studded with crunchy cookie bits makes each spoonful a perfect balance of flavors and textures.
A Classic Family Favorite
The simple joy of making bright blue ice cream never fails to bring smiles. Perfect for parties, weekend treats, or any special occasion, this recipe transforms basic ingredients into a memorable dessert that captures pure childhood fun.
Essential Ingredients
- Heavy Whipping Cream: Creates the rich, smooth base
- Vanilla Extract: Enhances the overall flavor
- Blue Food Coloring: Gel-based works best for vivid color
- Sweetened Condensed Milk: Provides creamy texture and sweetness
- Chocolate Sandwich Cookies: Both whole and crushed for texture
Preparing the Base
The foundation starts with properly whipped cream. As air incorporates, the mixture becomes light and fluffy. A few careful drops of blue coloring transform the white cream into a signature monster-worthy shade.
Cookie Preparation
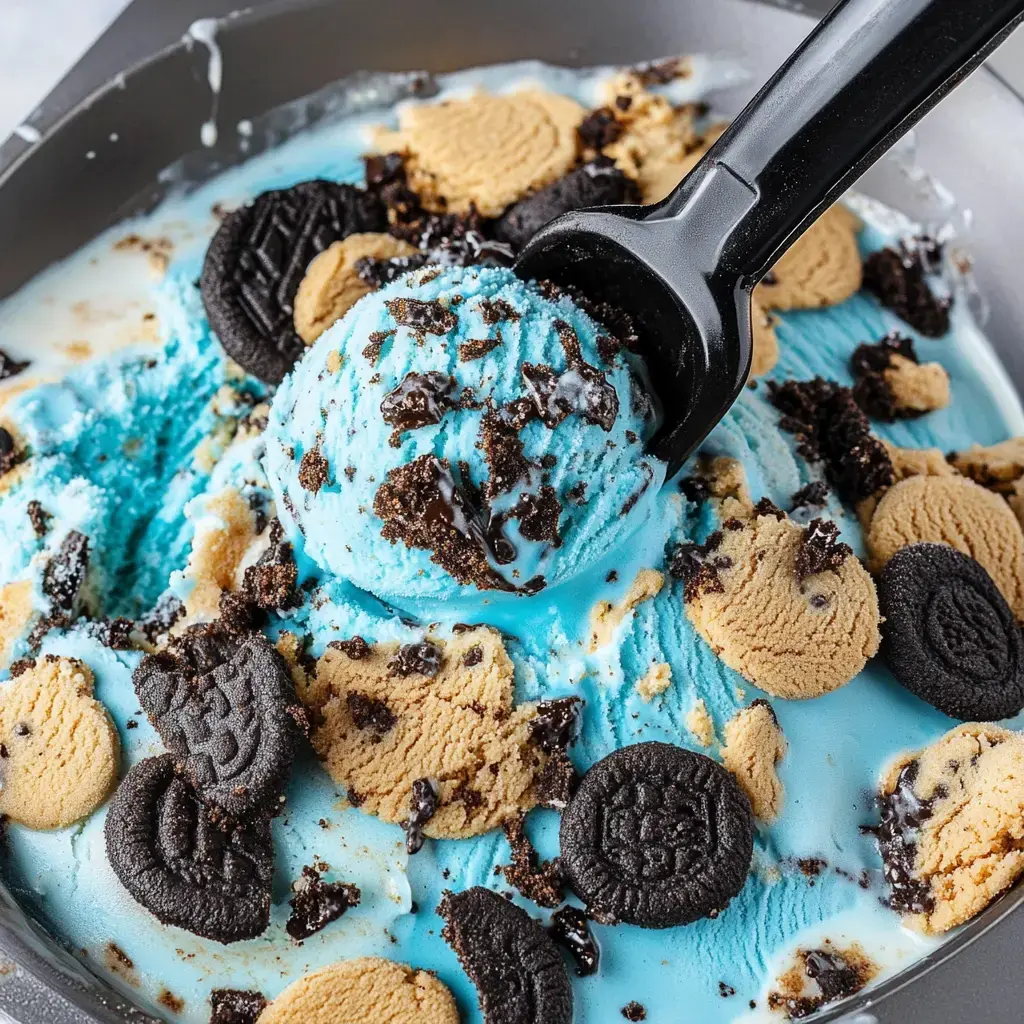
Creating the perfect cookie mix requires both fine crumbs and larger chunks. This variation in size ensures each scoop contains an ideal mix of textures, from cookie dust that flavors the base to bigger pieces for satisfying crunch.
 Save
Save
Combining Components
The folding technique requires a delicate touch. Overworking the mixture can break down the whipped texture and cookie pieces. Stop folding when ingredients are just combined, preserving distinct swirls and chunks.
Freezing Process
Allow six hours minimum for proper freezing. The wait ensures perfect scoopability and allows flavors to fully develop. The texture should be firm but not rock-hard when ready to serve.
Presentation
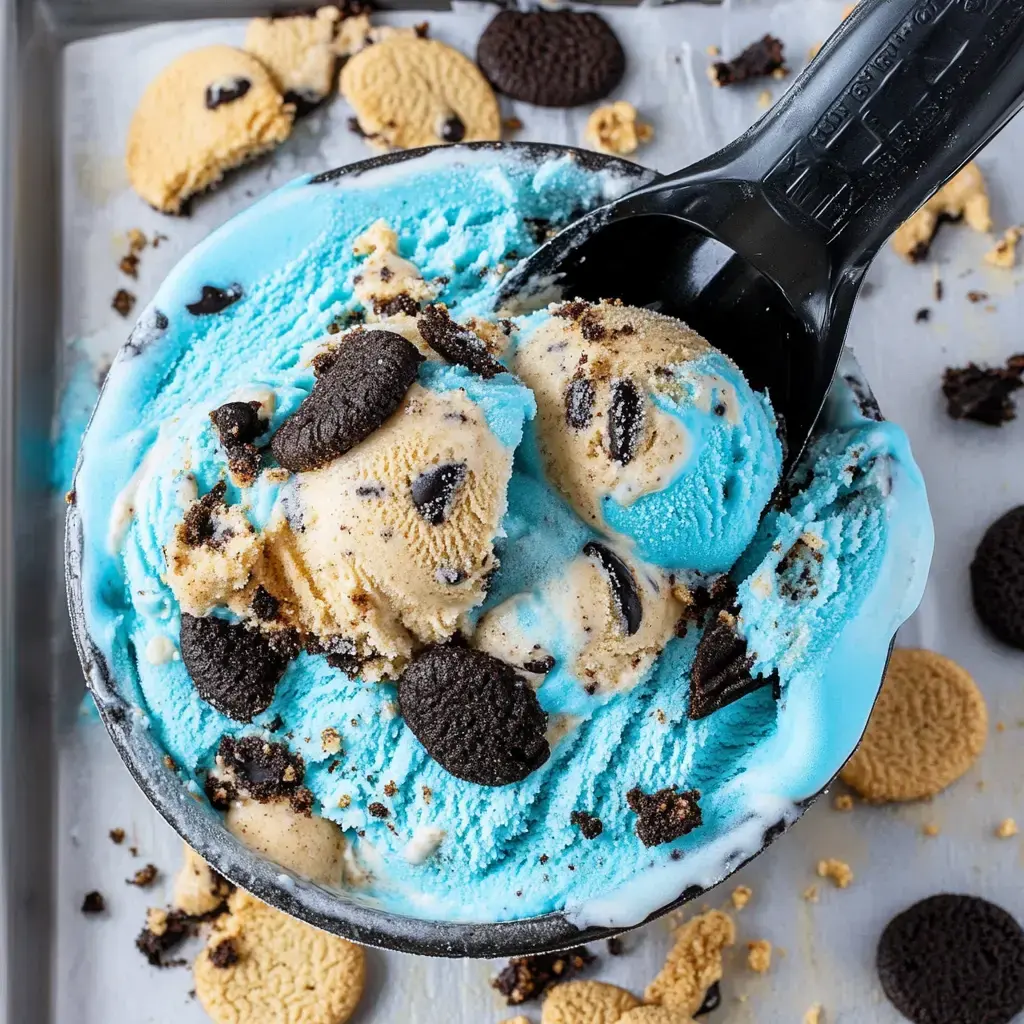
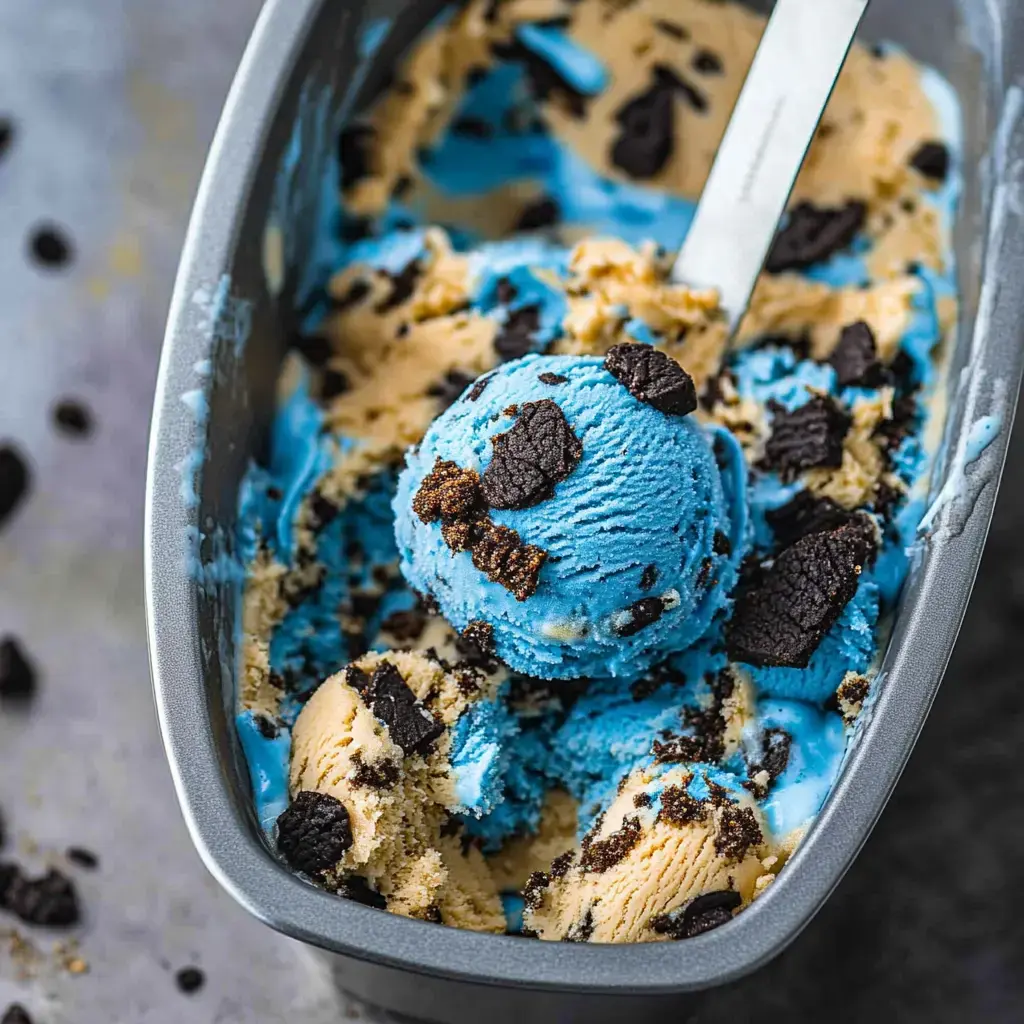
Each scoop reveals marbled blue cream filled with cookie treasures. Garnish with additional cookie pieces for extra visual appeal and crunch. The striking color makes this dessert an instant conversation starter.
Perfect for Celebrations
From birthday gatherings to summer cookouts, this ice cream adds festive flair to any occasion. The unique appearance and familiar cookie flavor combination appeals to guests of all ages.
Storage Guidelines
Store in an airtight container designed for frozen desserts. Place wax paper directly on the surface before sealing to prevent ice crystal formation. When properly stored, the ice cream maintains quality for up to two weeks.
 Save
Save
Cookie Variations
Experiment with different cookie combinations like chocolate chip, sandwich cookies, or butter cookies. Each variation maintains the classic blue base while offering new flavor dimensions.
Achieving the Right Color
Use gel-based food coloring for the most vibrant results. Start with small amounts and adjust gradually - achieving the perfect shade requires patience and precision.
Technical Tips
Use well-chilled cream for optimal whipping. Allow condensed milk to reach room temperature for easier mixing. These technical details ensure consistent results every time.
Serving Suggestions
This versatile dessert pairs beautifully with various toppings. Serve in bowls, cones, or between cookies for ice cream sandwiches. Each serving method offers a different enjoyment experience.
Recipe Notes
Allow ice cream to soften slightly before scooping. Keep mix-ins generously portioned for the best texture balance. Adjust sweetness by varying the cookie amount.
 Save
Save
Kitchen Skills
Making this recipe builds fundamental kitchen techniques from proper whipping to gentle folding. These skills transfer well to other frozen dessert preparations.
Make-Ahead Options
Prepare components in advance for efficient assembly. Cookie pieces can be crushed and stored until needed. The base mixture benefits from methodical, unhurried preparation.
Sharing and Serving
The distinctive appearance makes this ice cream ideal for gatherings. Consider preparing extra batches for take-home portions - guests frequently request the recipe after tasting.
Garnishing Ideas
Add chocolate syrup, whipped cream, or additional cookie pieces as toppings. Consider matching garnishes to the occasion, from simple everyday servings to elaborate dessert presentations.
Final Thoughts
This Cookie Monster Ice Cream combines classic flavors with playful presentation. The recipe's simplicity and visual appeal make it a reliable addition to any dessert repertoire. Each batch provides an opportunity to create lasting memories around the table.
 Save
Save
Wrapping Up
Enjoy this homemade Cookie Monster Ice Cream that's a breeze to make and jam-packed with cookie goodness. Kids and grown-ups alike will love every bite!
Recipe FAQs
- → Why is gel food dye better than liquid for this?
Gel coloring gives you bold colors without adding extra moisture. This helps keep your ice cream smooth and free of ice crystals.
- → Can I pick different kinds of cookies?
Totally! Switch up the cookies to suit your taste. Just keep the overall amount similar, so the texture stays creamy.
- → Why does it need an overnight freeze?
Freezing it overnight helps it firm up completely for a creamy, scoopable texture. You can freeze it for at least 6 hours, but overnight’s ideal.
- → Can I skip the food dye?
Of course! The dessert will taste just as good, even though it won’t have the classic blue look. Customize it however you like!
- → How long will this ice cream keep?
When it’s well sealed, it’ll stay fresh in the freezer for around 2 weeks. It’s yummiest during the first week, though.
Cookie Ice Cream
Bright blue ice cream filled with cookie chunks. No ice cream maker is needed—just a few steps to this tasty homemade dessert.
Ingredients
Steps
Whisk the heavy cream, vanilla, and blue coloring until it forms stiff peaks.
Mix the condensed milk in on a low speed until it’s mixed well. Add more blue color if you want it brighter.
Carefully fold in the chopped Oreos and Chips Ahoy pieces.
Pour the mixture into a loaf or cake pan. Sprinkle extra cookie crumbs on top.
Wrap it up with plastic or pop a lid on it. Freeze for at least 6 hours, or leave it overnight for best results.
Notes
- Using gel coloring works better than liquid.
- The recipe works fine without the food color.
- You can store this in the freezer for around two weeks.
Required Tools
- Either a stand mixer or a hand mixer.
- Use a loaf or 8-inch cake pan.
Allergy Information
Check each ingredient for potential allergens and consult a healthcare professional if needed.
- Contains dairy (cream).
- Contains wheat (from cookies).
- Contains soy (in the cookies).
Nutritional Facts (per serving)
These details are provided for informational purposes and aren't a substitute for medical advice.
- Calories: 487
- Fats: 29 g
- Carbohydrates: 51 g
- Proteins: 6 g