
 Save
Save
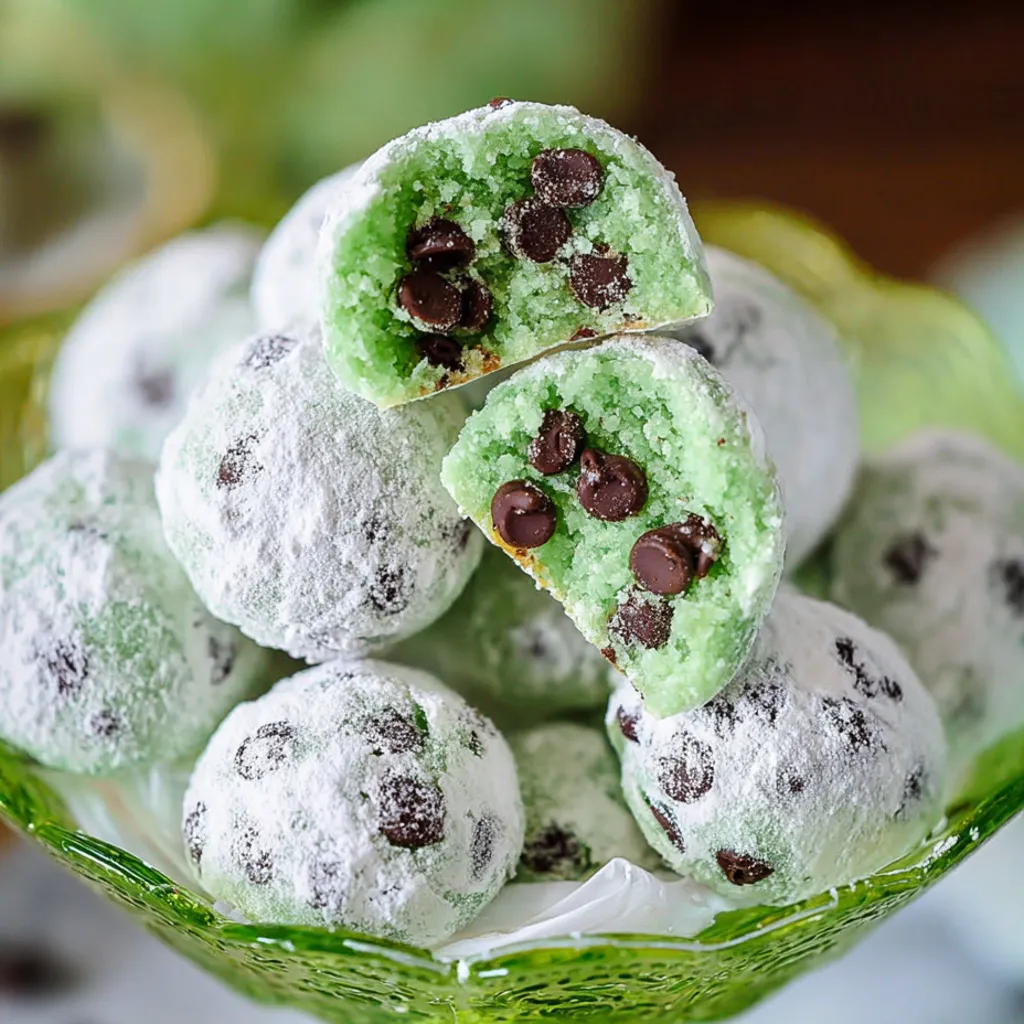
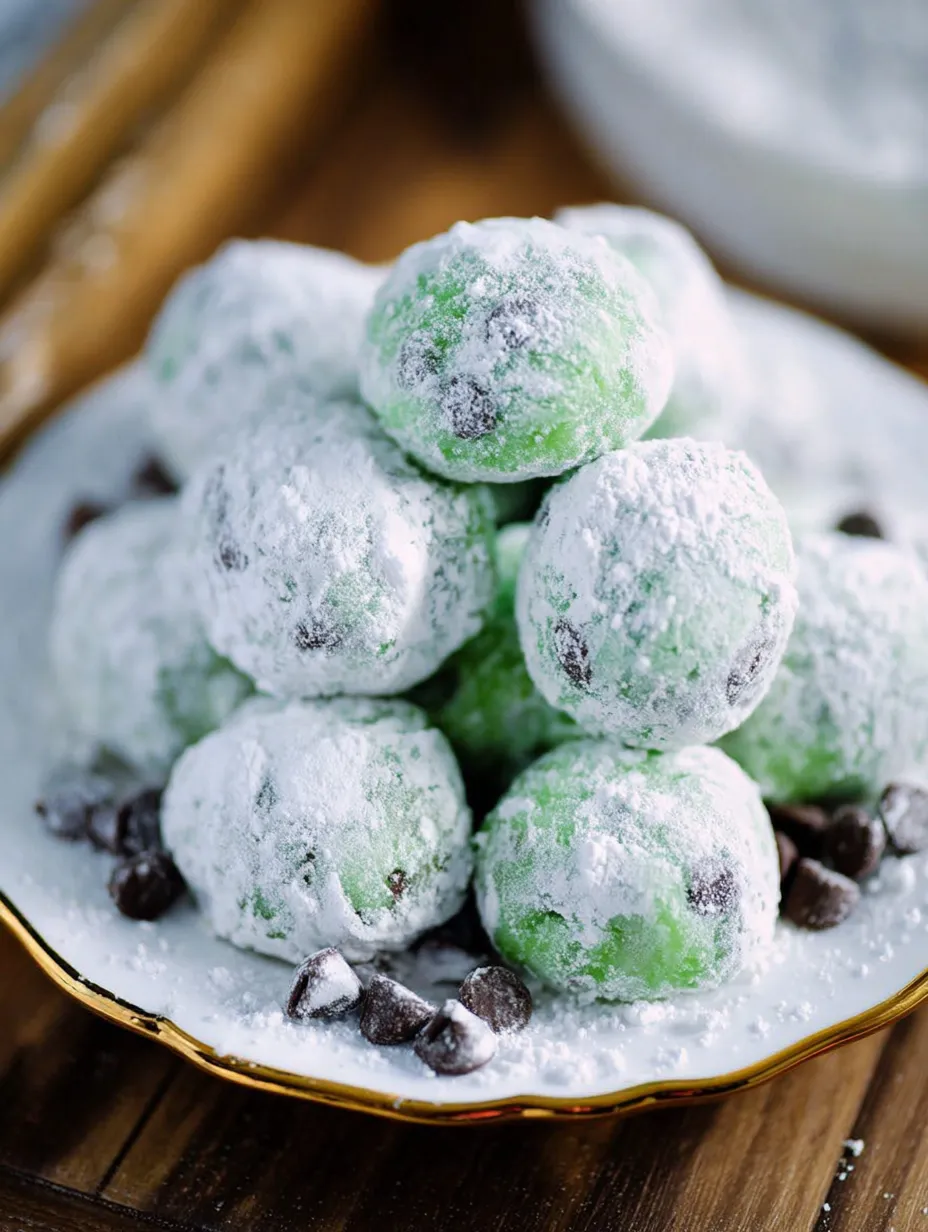
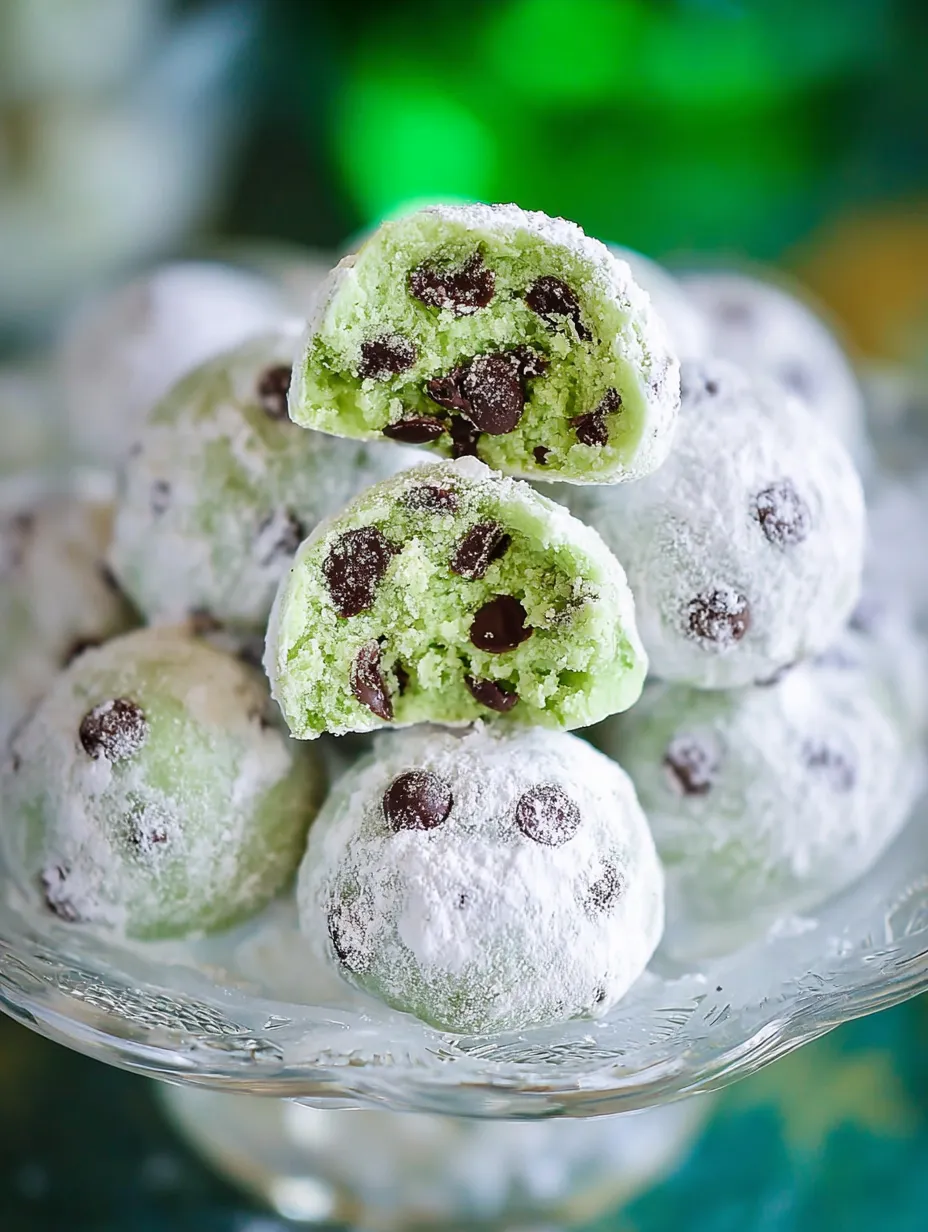
These Mint Chocolate Chip Snowball Cookies vanish fast in my house thanks to their irresistible crumbly texture and perfectly balanced mint and chocolate flavors. I reach for this easy recipe whenever I need a festive treat whether it is St Patricks Day or Christmas or just a cozy movie night at home. They come together quickly and never fail to impress with their gorgeous green color and melt-in-your-mouth finish.
I remember the first time I made these cookies for a holiday swap and everyone asked for the recipe right away. Now they are a must-have on my dessert table every year.
Ingredients
- Unsalted butter: Softened butter is the base of these cookies and the key to a melt-in-your-mouth texture. Choose a good quality butter for the richest flavor.
- Powdered sugar: This gives the cookies their signature tender crumb and also helps them stay snowy white. Sift it before measuring for best results.
- All-purpose flour: Flour provides the structure. Be sure to measure it by spooning and leveling rather than scooping to avoid dense cookies.
- Salt: Just a touch balances sweetness and enhances the mint flavor. Use fine sea salt for even distribution.
- Mint extract: Adds refreshing minty flavor. Peppermint extract is a great substitute. Choose pure extract for the cleanest taste.
- Green food coloring: Gel food coloring works best for vibrant color without adding too much liquid to the dough.
- Mini chocolate chips: These scatter chocolate flavor in every bite. Look for high-quality chips that hold their shape during baking.
- Additional powdered sugar: For rolling and dusting the cookies after baking creating the classic snowball effect.
Step-by-Step Instructions
- Prepare the Baking Sheet:
- Line a large cookie sheet with parchment paper so the cookies do not stick and set aside. Using parchment paper also helps with easy cleanup.
- Cream the Butter and Sugar:
- Beat the softened butter and sifted powdered sugar together until the mixture is light and fluffy. This process adds air to the dough making the cookies tender.
- Mix in Dry Ingredients and Extract:
- Add the flour salt and mint or peppermint extract and mix just until combined. Do not overmix as this can make the cookies tough.
- Add Color:
- Add a few drops of green gel food coloring at a time mixing until the color is evenly distributed and you reach your desired shade.
- Stir in Chocolate Chips:
- Gently fold in the mini chocolate chips making sure they are well dispersed throughout the dough.
- Form the Cookies:
- Scoop a tablespoon of dough and roll it between your palms to form a ball. Place each ball on the prepared cookie sheet leaving space between them.
- Chill the Dough:
- Cover the tray and refrigerate the dough balls for at least thirty minutes. Chilling helps prevent the cookies from spreading too much while baking.
- Bake:
- Preheat the oven to three hundred seventy five degrees Fahrenheit. Bake the cookies for seven to eight minutes until just barely browned on the bottom. You want them to stay pale on top.
- First Powdered Sugar Coating:
- Let the cookies cool on the baking sheet for five minutes then move them to a second sheet dusted with powdered sugar. Dust the warm cookies again to create the first layer of coating.
- Cool and Final Powdered Sugar Coating:
- Allow the cookies to cool completely. Once cooled roll each cookie in a bowl of powdered sugar until fully coated for the perfect snowy look.
 Save
Save
The mini chocolate chips always bring big smiles especially when they peek through the green dough. Every time I make these it reminds me of my daughter’s delight rolling them in powdered sugar with her little hands.
Storage Tips
Store these cookies in an airtight container on the counter for up to four days. For longer storage let them cool completely then freeze on a cookie sheet before transferring to a freezer safe bag. They keep well for up to three months frozen and thaw quickly at room temperature.
Ingredient Substitutions
If you do not have mint or peppermint extract you can substitute with vanilla for a simple sweet cookie that still pairs well with chocolate chips. No gel food coloring Simply leave it out or use a small amount of liquid food color just be mindful that too much may alter the dough texture.
Serving Suggestions
Serve these mint chocolate chip snowball cookies at holiday gatherings or package them up in cute boxes for edible gifts. You can even add them to an ice cream sundae bar or crush a few over vanilla ice cream for a minty twist.
 Save
Save
Cultural and Historical Context
Snowball cookies go by many names like Russian tea cakes or Mexican wedding cookies. Their tender texture comes from the use of butter and powdered sugar. Over the years I started adding mint and chocolate to make them my own for a fresh update on the classic.
Recipe FAQs
- → How do you achieve the melt-in-the-mouth texture?
The key is using softened butter and mixing just until combined. Chilling helps keep the cookies tender and prevents excess spreading.
- → Can natural mint extract be used instead of peppermint?
Yes, both mint and peppermint extract add a fresh flavor. Adjust to taste according to preference for subtle or stronger mintiness.
- → Why coat the cookies in powdered sugar twice?
Dusting while warm helps powdered sugar cling better, and a second coat after cooling gives the classic snowy finish.
- → Are mini chocolate chips necessary or can chunks be used?
Mini chips blend more evenly and yield a consistent bite, but finely chopped chocolate works if chips aren’t available.
- → How should these be stored for freshness?
Place in an airtight container for up to four days at room temperature. For longer storage, freeze after cooling and dust again before serving.