
 Save
Save
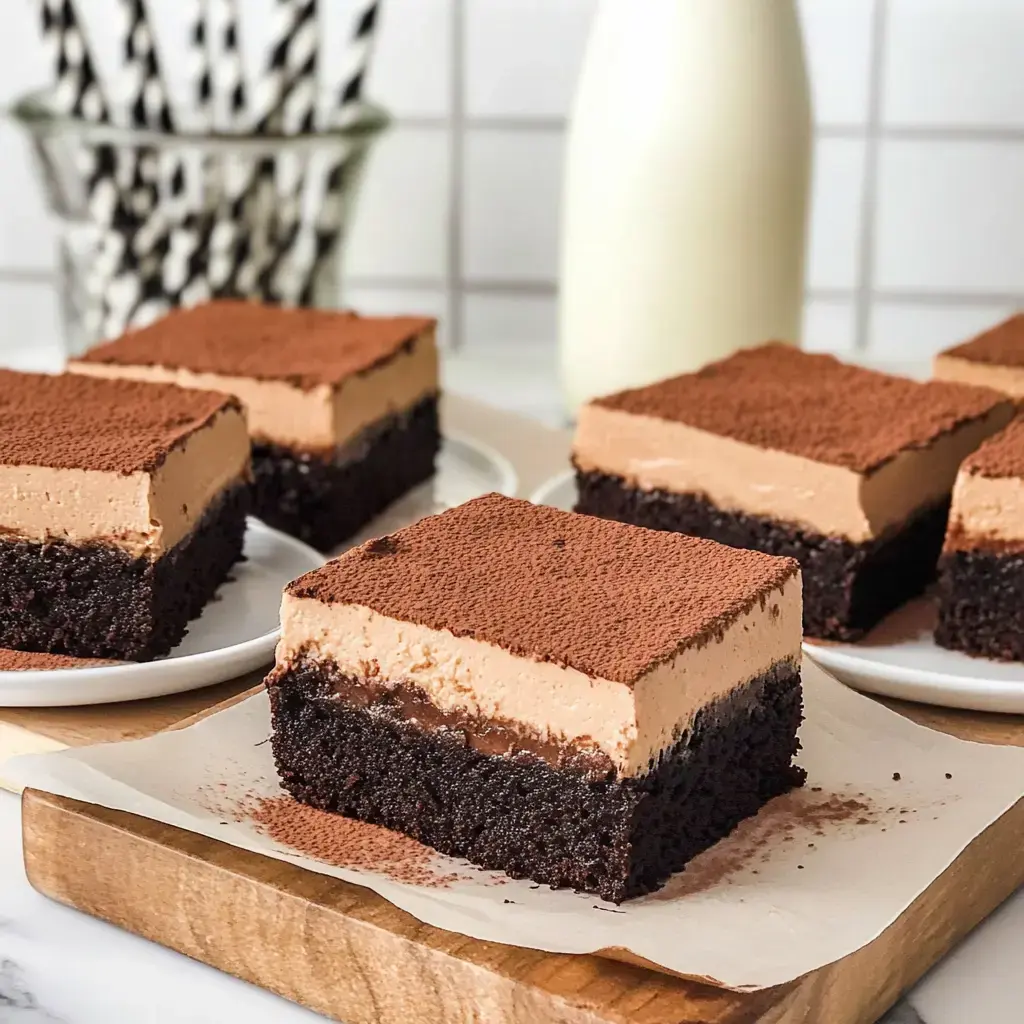
These Chocolate Mousse Brownies came to life during my kid's birthday party and quickly turned into our family's top dessert pick. Imagine biting into three amazing chocolate layers – a super fudgy brownie on the bottom, topped with fluffy chocolate mousse, and finished with a light sprinkle of cocoa. Everyone's face lights up whenever I bring this treat to the table.
Why These Stand Out
These go way beyond regular brownies. The real wow factor happens where that thick, chewy base meets the airy chocolate mousse. Each mouthful is a chocolate lover's dream. I've brought these to so many get-togethers, and they always grab all the attention. I still get excited when I cut them open and see those gorgeous layers.
What You'll Need
Getting great results starts with good shopping. I always pick unsalted butter so I can add just the right amount of salt myself. Eggs work best when they're not cold from the fridge. Dutch processed cocoa makes all the difference with its deep chocolate kick. For the topping, I don't cheap out – good semi sweet chocolate bars are worth it. The heavy cream turns into that fluffy mousse, and a bit of plain gelatin keeps everything from falling apart. Sometimes I switch things up and use peanut butter mousse instead.
Making It Step By Step
First tackle the brownie part by mixing your butter, sugar and vanilla together before adding the eggs. Then mix in your cocoa, flour and salt, put it in your pan and pop it in the oven. While that's cooking, let's make the mousse. Start by soaking the gelatin, then warm it with some cream. Pour this mixture over your chocolate and stir until everything looks smooth. When it's all cooled down, gently mix in the whipped cream for that perfect fluffy texture. Put it all together and now comes the tough part – waiting overnight while it firms up in your refrigerator.
 Save
Save
Pro Tips From My Kitchen
After messing up a few times, I always remember to put parchment paper in my pan with extra hanging over the edges so I can lift everything out easily. Don't rush between layers – everything needs to cool down completely. Let them stay in the fridge overnight for those clean, pretty slices. You can cut them small for sharing at parties or bigger when you're really craving something sweet. And on busy days, I won't lie – a good box mix works fine for the brownie layer.
Storage Advice
Always keep these treats in the fridge in something airtight, and they'll stay good for about 3 days, though at my house they're usually gone way before that. I wouldn't try freezing them – the mousse just doesn't thaw right. They taste best right from the refrigerator, and if you want to go all out, try them with a scoop of vanilla ice cream or some fresh berries on the side.
Wrapping Up
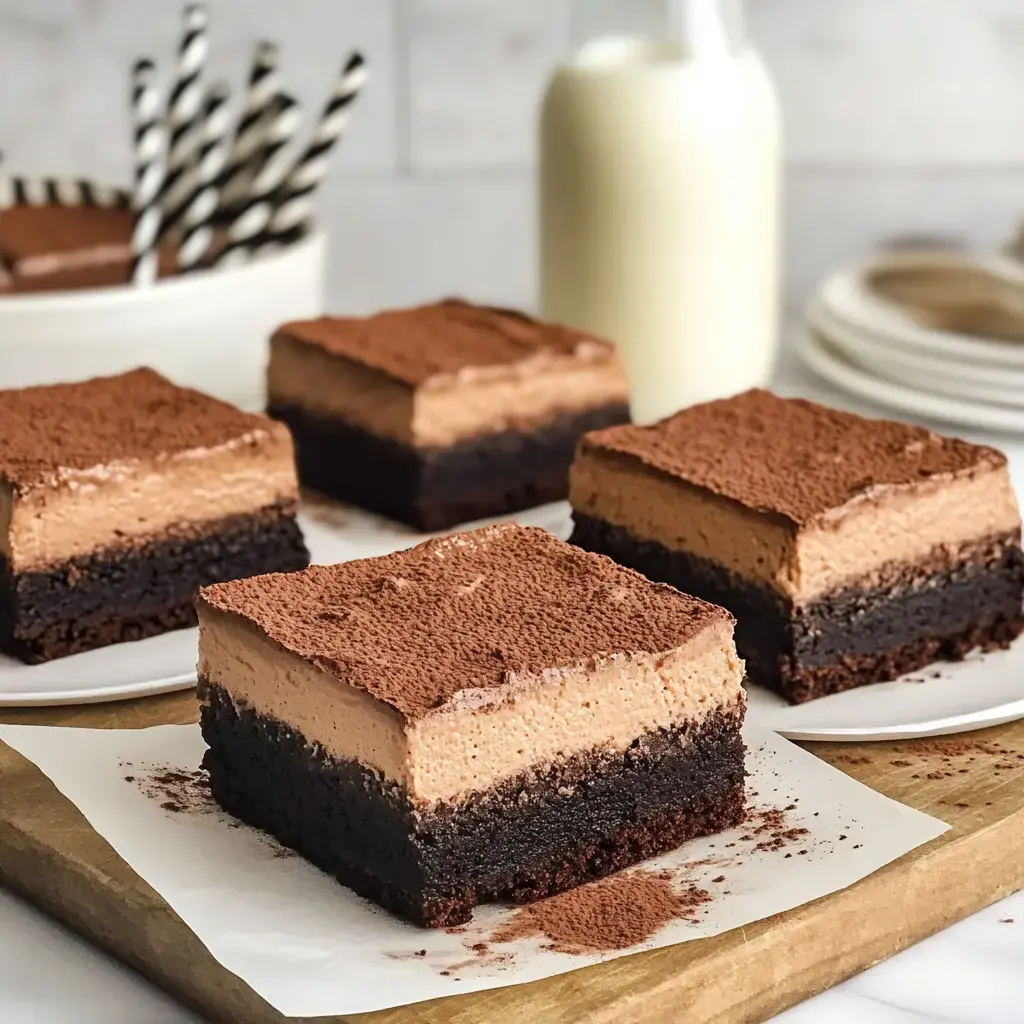
These mousse squares mix a fudgy base with airy chocolate topping. Most of the prep is hands-off, needing chilling time for the perfect set.
Recipe FAQs
- → Why do these need so much chilling time?
- The mousse uses gelatin, and it takes 6-8 hours of chilling for it to set well enough to slice cleanly and get the right texture.
- → What’s special about Dutch cocoa powder?
- Dutch cocoa has a stronger chocolate taste and darker hue compared to regular cocoa. It’s smoother and less tangy because it’s less acidic.
- → Can I make these squares in advance?
- Definitely! Prepare them a day early but sprinkle the cocoa powder right before serving for the best look.
- → Why gently mix the chocolate into the whipped cream?
- Folding keeps the cream fluffy by preserving the air inside. If you mix too hard, it’ll lose all its puffiness.
- → How come the chocolate should cool before mixing it in?
- If the chocolate’s still warm, it’d make the whipped cream melt and ruin its light texture. Cool it to room temp first.