
 Save
Save
This decadent Peanut Butter Cake delivers melt-in-your-mouth tenderness with a sweet, nutty frosting that makes any gathering feel like a celebration. You start with classic pantry ingredients, add simple steps, and end up with a show-stopping cake that always disappears fast at family parties.
I was first inspired to bake this for a back-to-school treat and now my cousins request it at almost every family get-together. There is just something a bit nostalgic about peanut butter desserts that gets everyone excited.
Ingredients
- peanut butter: brings rich nutty flavor make sure to use a smooth creamy style for best texture
- unsalted butter: adds moisture and richness seek out fresh high quality butter for the most delicate crumb
- brown sugar plus granulated sugar: create a layered sweet flavor brown sugar adds depth
- all purpose flour: provides the structure measure carefully and sift if possible for the fluffiest result
- baking soda: helps the cake rise for a tender bite check that your box is fresh
- eggs: at room temperature help everything blend smoothly
- buttermilk: at room temperature brings tanginess and keeps the crumb extra tender use real cultured buttermilk if possible
- vanilla extract: rounds out all the flavors opt for real vanilla over imitation
- whole milk for frosting: ensures silky smoothness do not swap in skim
- powdered sugar: makes the frosting fluffy sift for lump free texture
- miniature marshmallows (optional): help keep the frosting glossy and soft
- honey roasted peanuts for garnish: provide crunch and extra peanut flavor pick the freshest you can find
Step-by-Step Instructions
- Prep Your Pan:
- Line a half sheet pan with parchment paper and lightly spray both the paper and sides with nonstick spray. This step guarantees easy removal and minimizes sticking so every piece of cake lifts out perfectly.
- Make the Peanut Butter Mixture:
- In a small saucepan bring together the peanut butter water and butter. Stir constantly as it comes just up to a boil. This step melts everything until silky smooth ensuring even peanutty flavor throughout the cake.
- Combine the Dry Ingredients:
- In a large mixing bowl blend both sugars flour salt and baking soda. Whisk well to break up any lumps and evenly distribute the baking soda for a consistent rise.
- Mix Wet and Dry:
- Pour the hot peanut butter mixture right over the dry ingredients. Stir gently and thoroughly until the batter is smooth. The heat helps dissolve the sugars quickly so your cake emerges supper tender.
- Add Eggs and Dairy:
- Crack in the eggs pour in the buttermilk and vanilla extract. Stir or whisk gently until everything looks just smooth. Take care not to overmix at this stage so the crumb stays extra soft.
- Bake the Cake:
- Spread the batter evenly into your prepared pan using an offset spatula. Bake at 375 F for 15 to 20 minutes or until a toothpick inserted in the center comes out clean. Watch those edges—do not let them dry out.
- Prepare the Frosting:
- While your cake cools slightly make the frosting. In a saucepan let the butter peanut butter and milk come gently to a boil. If using mini marshmallows toss them in and stir until dissolved. Whisk in vanilla.
- Combine with Powdered Sugar:
- Sift your powdered sugar into a large bowl. Pour the hot peanut butter mixture over top and whisk like mad until the frosting is pourable and totally smooth. If needed add another little splash of milk to get the right consistency.
- Frost and Garnish:
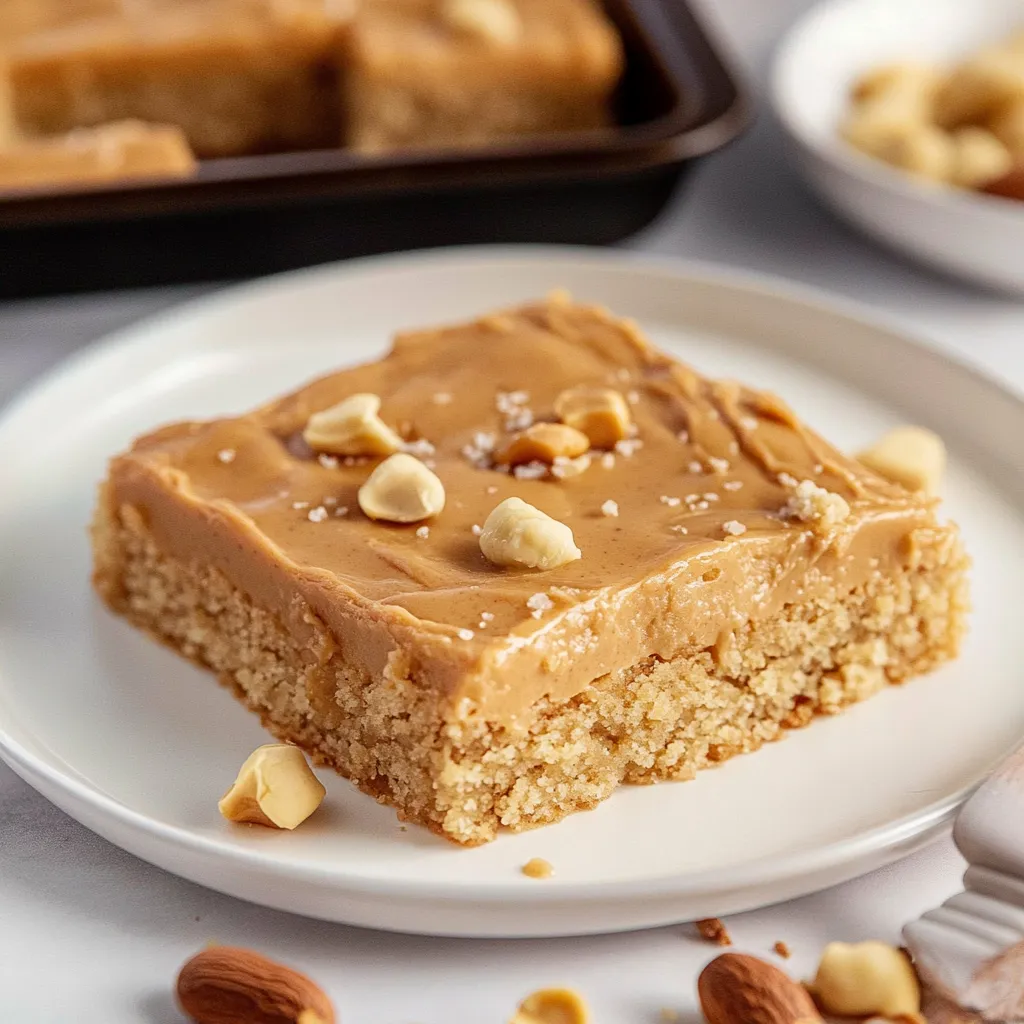
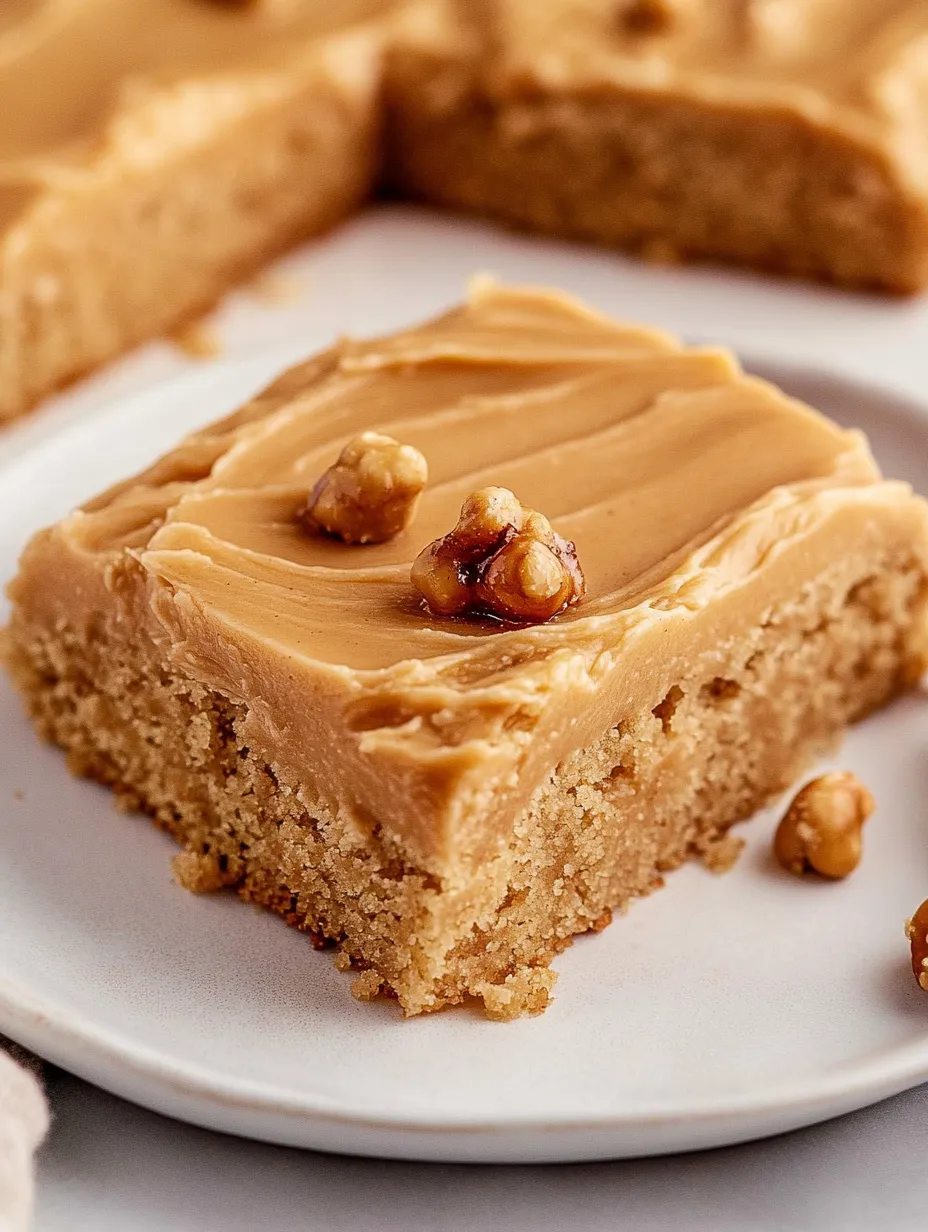
- Immediately pour the warm frosting over the still warm cake spreading it quickly with a spatula for even coverage. Top with chopped honey roasted peanuts for a pretty finish and let cool completely before slicing into squares.
 Save
Save
I love the honey roasted peanuts on top because they add such a perfect touch of salty crunch. My little nephew once tried to swipe all the garnish off every slice at a party. Now I always make a little extra to sprinkle on right before serving so nobody misses out.
Storage Tips
Once your peanut butter cake is completely cool cut it into squares and store in an airtight container at room temperature for up to three days. For longer storage tuck the pieces into a freezer safe bag with wax paper between the layers. Thaw at room temp then enjoy as usual. I always wrap a few slices just for myself and tuck them in the freezer for late night cravings.
Ingredient Substitutions
No buttermilk on hand Mix one half cup whole milk with a teaspoon of vinegar and let sit for five minutes. Out of brown sugar You can use all white sugar though the cake will be a bit lighter in flavor and color. Feel free to leave out the marshmallows in the frosting if you prefer a less sweet finish.
Serving Suggestions
This cake stuns on a big platter at group events or bake sales but it is also right at home as a weeknight dessert. Try topping each slice with a dollop of whipped cream or a scoop of vanilla ice cream for a knocked out treat. For peanut lovers a little drizzle of warm fudge sauce never hurts either.
 Save
Save
Cultural and Historical Context
Peanut butter cake is a beloved Southern American classic often showing up at church socials and picnics across the region. Its sheet pan style makes it extra practical for big gatherings where easy serving and maximum flavor matter most. If you love old fashioned potluck desserts this one is a must try.
Recipe FAQs
- → How do I keep the cake moist?
Using buttermilk and room temperature eggs ensures a tender crumb, while not overbaking helps retain moisture.
- → Can I use natural peanut butter?
Traditional peanut butter is recommended for a stable texture, but well-stirred natural peanut butter can work if mixed thoroughly.
- → What pan size should I use?
A half sheet pan (17.5”x13”) works best, but a 13”x9” baking dish can be used with a longer bake time.
- → How do I get the frosting smooth?
Pour the warm frosting over the cake while it’s still slightly warm and spread immediately for a glossy, even finish.
- → Are the marshmallows necessary for the frosting?
Miniature marshmallows add smoothness and structure, but the frosting will set well without them if omitted.
- → Can I make this dessert ahead?
Yes, it can be baked and frosted a day in advance. Store covered to keep fresh and maintain texture.