
 Save
Save
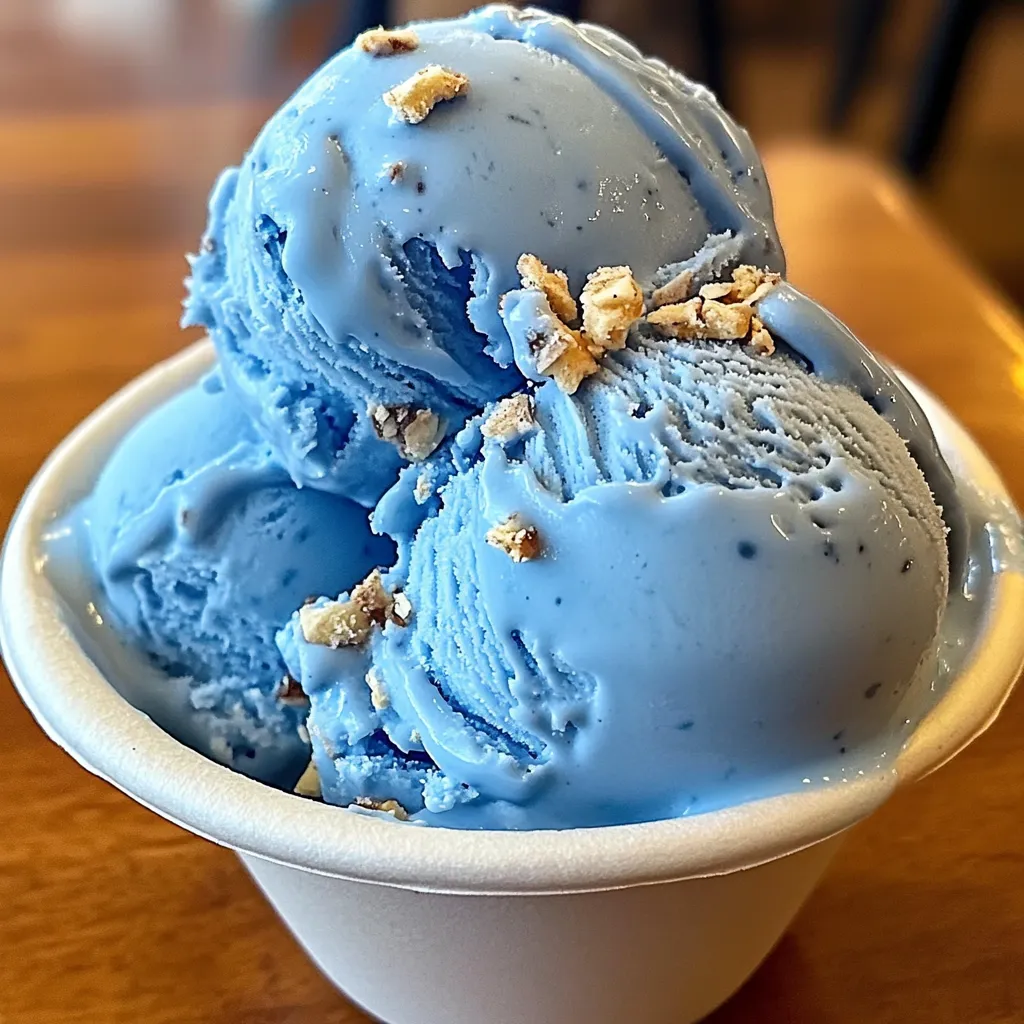
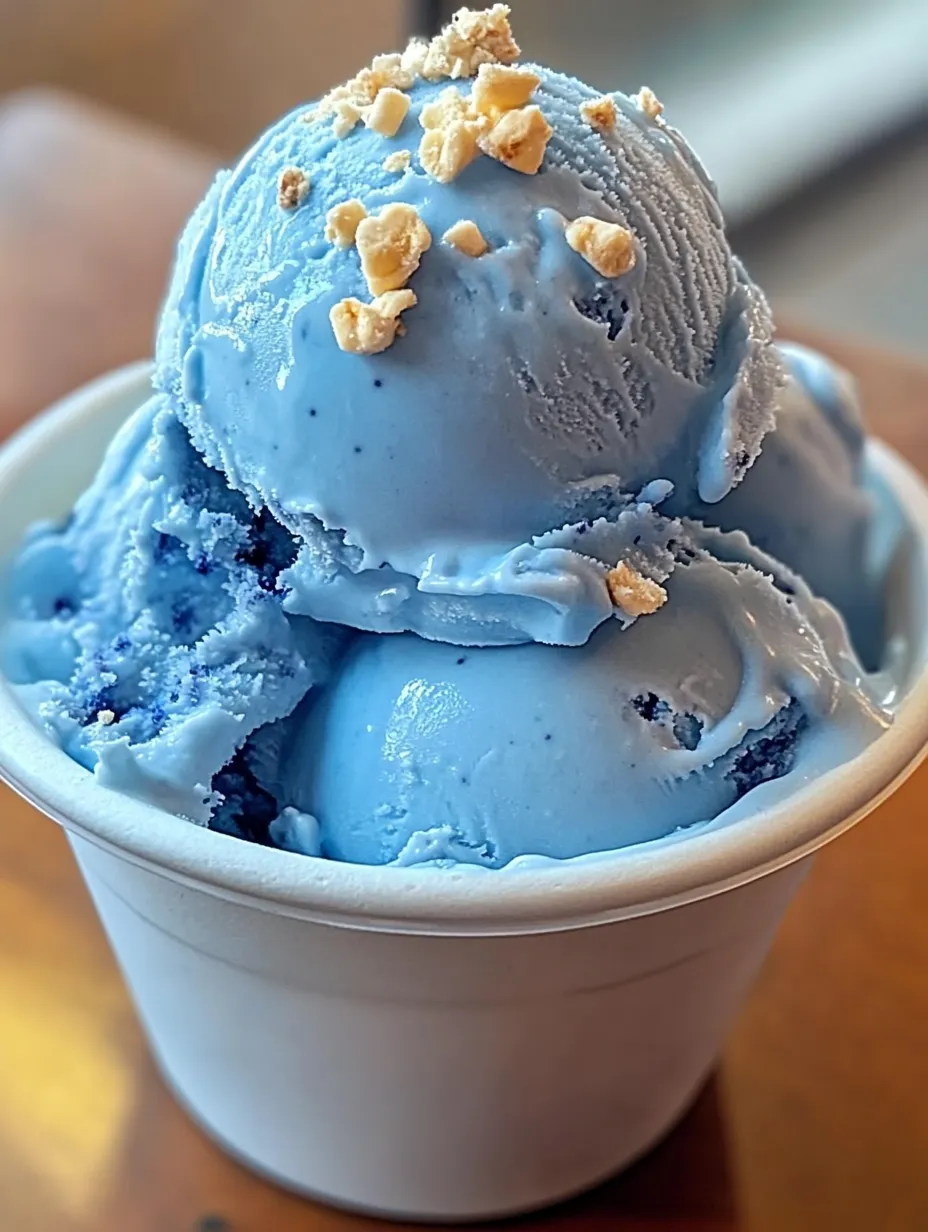
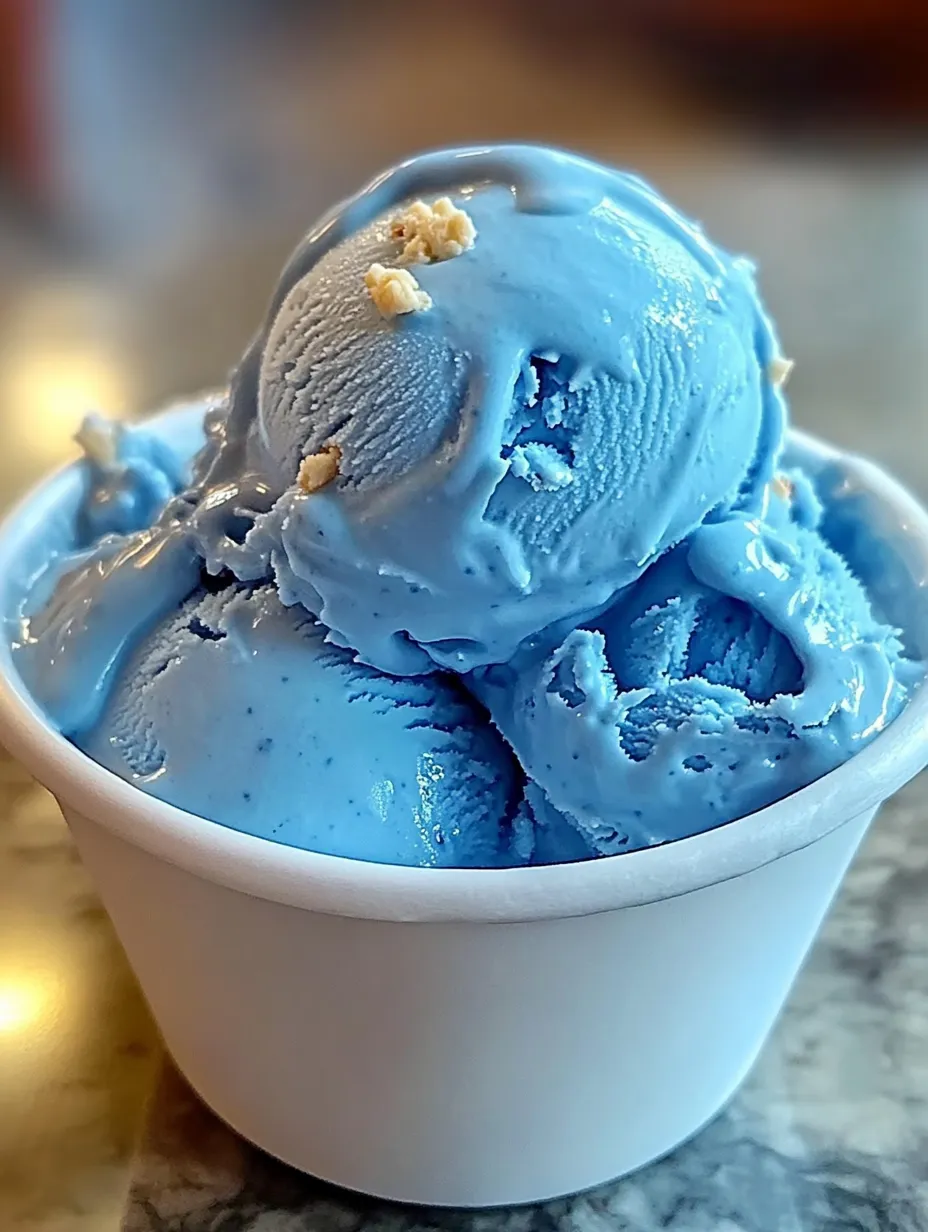
Magic blue moon ice cream adds a whimsical flair to DIY frozen desserts with its eye-catching color and enigmatic taste profile. The bright blue shade grabs your attention right away, while the special blend of vanilla and almond creates that hard-to-define flavor that's made this Midwestern classic so treasured. This recipe balances lush creaminess with gentle flavor hints that swirl across your palate, making each spoonful feel familiar yet thrilling.
When I whipped this up for my niece's birthday last summer, the kids couldn't take their eyes off the color. What really caught me off guard was watching so many grown-ups coming back for more, trying to figure out that mysterious flavor. Quite a few folks swore it tasted way better than any blue moon they'd had from shops or grocery stores.
Key Ingredients
- Heavy cream: Gives that fancy mouthfeel that puts homemade ice cream above the store-bought stuff. The high fat helps stop ice crystals from showing up during freezing.
- Whole milk: Cuts the heaviness of cream while keeping things smooth and silky. Going with lower-fat milk will make your ice cream too icy.
- Granulated sugar: Does more than just sweeten—it changes how the mixture freezes and feels. Make sure it's completely melted to avoid gritty ice cream.
- Vanilla extract: Creates the familiar taste foundation that anchors the flavor profile. Stick with real extract instead of fake for best results.
- Almond extract: Brings that signature flavor that makes blue moon what it is. Just a tiny bit adds depth without taking over.
I've played around tons with how much vanilla versus almond extract to use, and this mix creates that spot-on mysterious flavor that isn't quite vanilla, isn't quite almond, but is definitely 'blue moon.' When picking almond extract, I've noticed the clear kinds work better than brown ones for keeping that vivid blue color.
 Save
Save
Preparation Steps
- Ideal blend
- Mix heavy cream and whole milk in a big glass bowl, then slowly stir in sugar with a balloon whisk. Keep whisking for 2-3 minutes until sugar fully melts. You can check by rubbing some between your fingers—it should feel smooth with no grainy bits. Getting this right stops crystals from forming while freezing and makes sure your ice cream turns out silky.
- Adding flavor
- Put in the vanilla and almond extracts, making sure to measure with proper spoons instead of guessing. Too much almond can quickly ruin the delicate flavor balance. Stir gently but thoroughly to spread the extracts evenly through the mix. It should smell nice but not too strong.
- Getting the color
- Add blue food coloring a drop at a time, mixing after each drop until you get the right shade. Gel food coloring works best since it gives bright color without watering down your mixture. Go for a medium-bright blue that catches the eye but doesn't look fake. Remember, the frozen version will look a bit lighter than the liquid.
- Ice cream machine
- Pour everything into your ice cream maker's cold bowl, being careful not to fill past the max line since the volume grows during churning. Turn it on and let it run for the time your machine needs, usually 20-25 minutes. Watch for the mix to grow in volume and get to soft-serve thickness. It should form soft peaks and stick to the mixer when it's ready.
- Adding cherries
- If you're using maraschino cherries, drain them well and pat them dry to get rid of extra juice that might mess up your ice cream. Chop them small and quickly fold them into your churned ice cream with a few gentle stirs. Work fast so the ice cream doesn't melt, and don't overmix or you'll end up with pink ice cream instead of blue with cherry bits.
- Freezing properly
- Move the freshly churned ice cream to a cold container with a tight-fitting lid. Fill it quickly but carefully, pressing down with a spatula to get rid of air bubbles. Smooth the top, put a piece of parchment directly on the ice cream, then close the lid. This double protection keeps freezer burn and ice crystals away.
- Ready to eat
- Take the ice cream out of the freezer about 5-10 minutes before serving so it softens just enough for perfect scooping. Use a scoop dipped in warm water between servings to make pretty, round scoops. Serve in cold bowls or waffle cones for the real deal experience. The right serving temperature lets all the flavors open up while keeping the ice cream from melting too fast.
I've spent years tweaking this blue moon ice cream recipe, and my big breakthrough came when I figured out how to balance the extracts just right. My early tries used way too much almond extract, which made it taste like marzipan instead of true blue moon. Getting both extracts in the perfect ratio was crucial. I also found that churning it a bit longer than other ice creams creates that special dense but creamy texture that makes blue moon so unique.
Tasty Pairings
Show off scoops of blue moon ice cream in transparent dishes to highlight the stunning color. For an old-school treat, put it in sugar cones topped with colorful sprinkles. Make a fancy dessert by serving it with homemade shortbread or crisp wafers for a nice texture contrast. During summer parties, I enjoy creating a build-your-own-sundae station with this blue moon ice cream next to traditional flavors, plus various toppings for everyone to mix and match.
Tasty Twists
Consider dropping in white chocolate chips during the final minute of churning for bursts of sweetness and texture. Swap out maraschino cherries for tiny marshmallows to make a kid-friendly version inspired by rocky road. For a fancier flavor combo, mix a teaspoon of culinary lavender into the cream during heating, then strain it out before churning. My favorite version includes a swirl of homemade raspberry sauce folded in just before freezing, creating gorgeous color contrast and bright flavor that works beautifully with the mysterious blue moon base.
Keeping It Fresh
Keep your blue moon ice cream in a wide, shallow container rather than a deep one to maintain even texture throughout. Put plastic wrap right on top of the ice cream before adding the lid to stop ice crystals from forming. Store ice cream at the back of your freezer where temps stay steadiest, not near the door. For keeping it longer than two weeks, split it into smaller containers to limit air exposure when serving. I've learned that special insulated ice cream containers work way better than regular plastic ones for keeping that premium texture and avoiding freezer burn.
 Save
Save
I've taken this blue moon ice cream to so many summer gatherings, kid parties, and family events through the years. There's something truly special about watching people's expressions when they first see that vibrant blue color, and then their surprise when they taste that unique flavor nobody can quite put their finger on. The mystery of blue moon is part of what makes it so great—everyone tastes something slightly different, but nobody forgets it. Whether you grew up with this Midwest favorite or you're trying it for the first time, this homemade version captures all that blue moon magic in every rich, dreamy bite!
Recipe FAQs
- → How would you describe the taste of Blue Moon?
- Blue Moon has a sweet and hard-to-describe flavor. It might remind you of Fruit Loops, amaretto, or a mild fruity mix with a citrus touch, thanks to vanilla and almond extracts.
- → Can you make it without an ice cream maker?
- Absolutely! Whisk heavy cream until firm, fold in the rest, and freeze for 6-8 hours. Stir a few times to keep the texture smooth.
- → Is artificial coloring necessary for this treat?
- Not at all! Try butterfly pea flower tea or blue spirulina for natural coloring, though the shade will be softer than the usual vibrant blue.
- → How long does it last in the freezer?
- It stays fresh for about 2 weeks in a sealed container. To avoid ice buildup, place plastic wrap on the ice cream’s surface before freezing.
- → What toppings or extras work well with it?
- Try things like white chocolate pieces, rainbow sprinkles, cherries, or mini marshmallows. They’ll pair wonderfully with its standout flavor and bold color.