
 Save
Save
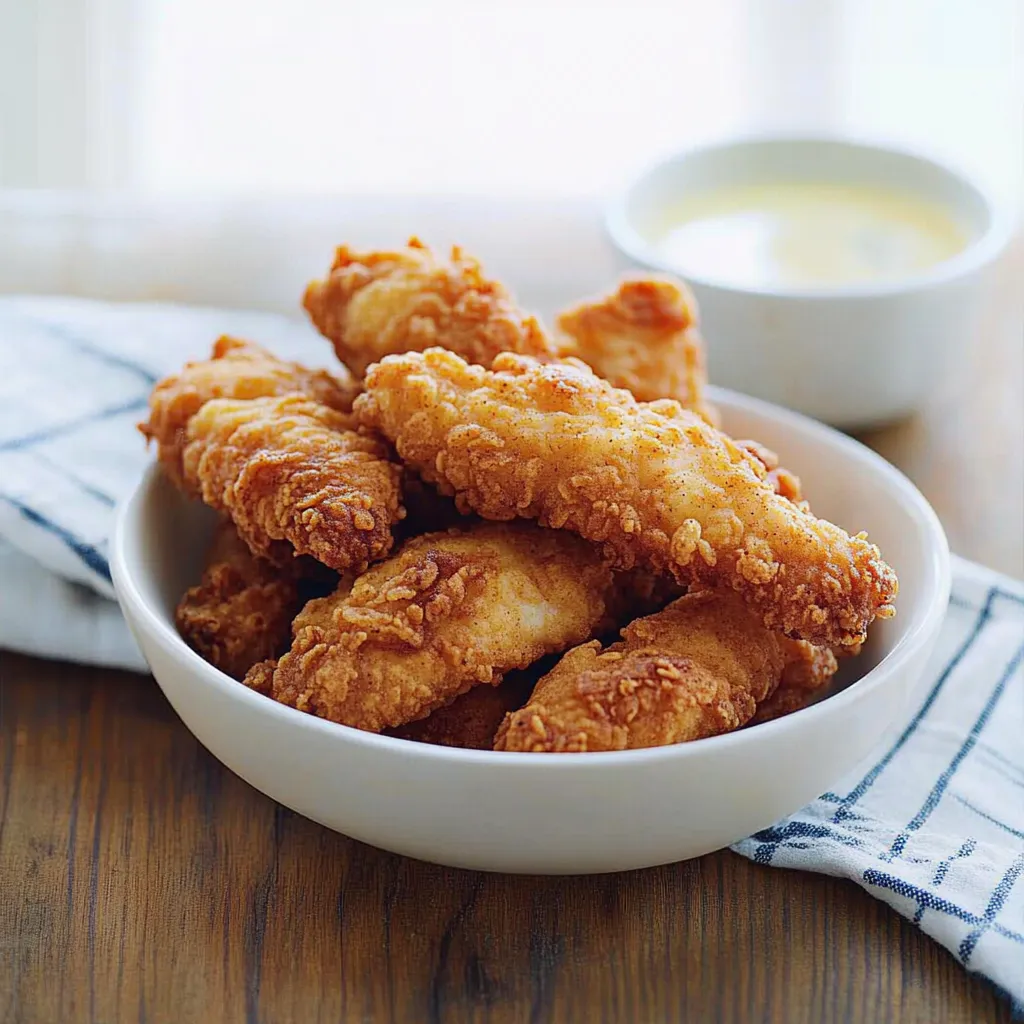
These crispy chicken tenders were perfected in my farmhouse kitchen over countless Sunday dinners. Through patient testing and discovery, this recipe evolved into our family's ultimate comfort food. The secret lies in a proper buttermilk marinade that tenderizes the meat beautifully, combined with a specially seasoned coating that maintains its crunch long after frying.
Essential Ingredients
Select fresh chicken tenders that are firm and plump.
Traditional full-fat buttermilk is essential - no substitutes will achieve the same results.
Use unbleached all-purpose flour for the sturdiest, crispiest coating.
Fresh, aromatic garlic powder adds the perfect savory note.
Quality ingredients make a noticeable difference - fresh local buttermilk particularly elevates these tenders to restaurant quality.
 Save
Save
Preparation Method
- Marinating Process:
- Combine buttermilk and seasonings in a deep glass bowl.
- Whisk until seasonings are evenly distributed.
- Submerge chicken tenders individually in the mixture.
- Refrigerate overnight for optimal tenderness.
- Coating Technique:
- Prepare seasoned flour in a shallow dish.
- Create texture by adding small amounts of marinade to the flour.
- Coat each tender thoroughly, allowing excess marinade to drip off first.
- Press coating firmly onto each piece for complete coverage.
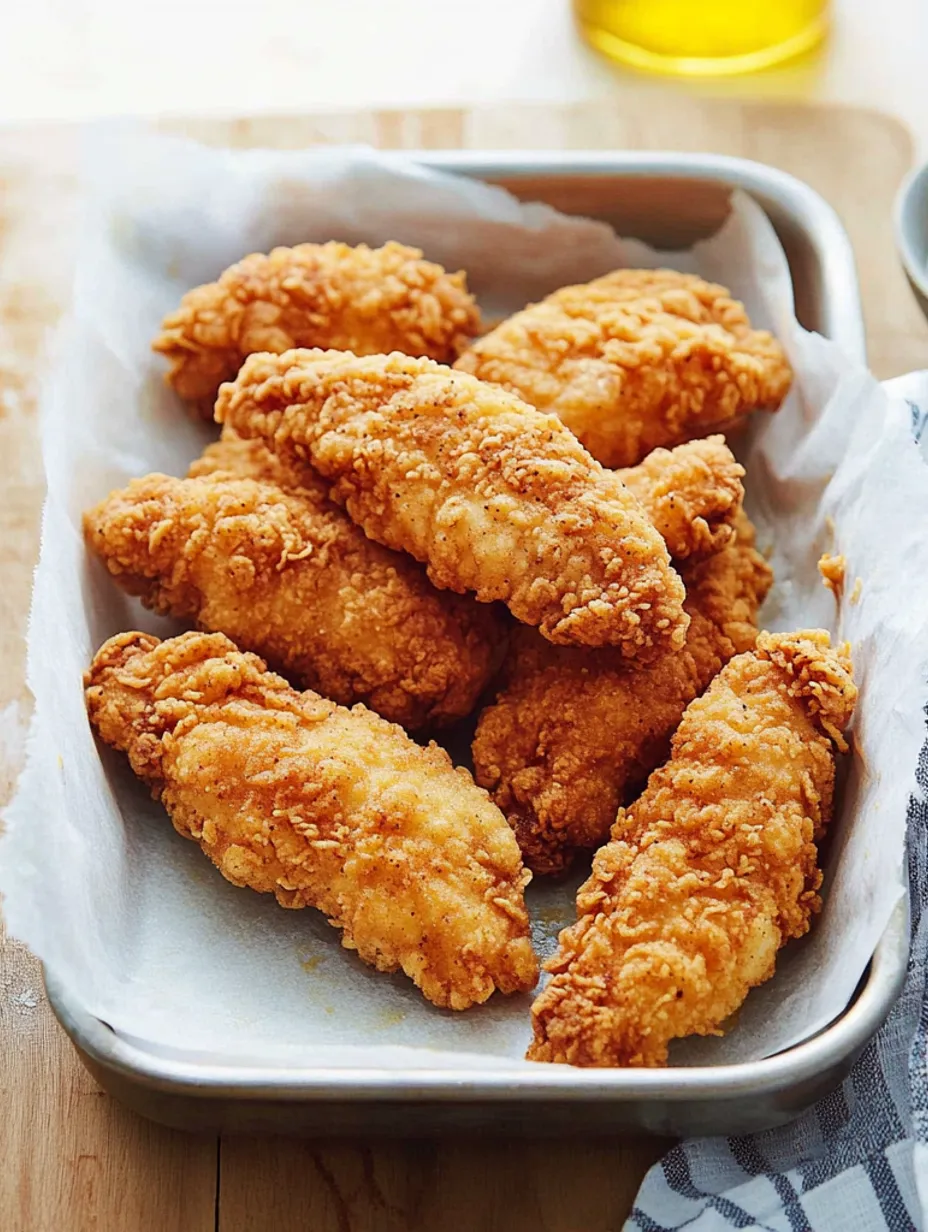
- Frying Instructions:
- Heat oil in a heavy-bottomed pot until properly tempered.
- Add tenders carefully to maintain oil temperature.
- Listen for steady, moderate sizzle while cooking.
- Cook until golden brown, turning once.
Serving Suggestions
These versatile tenders complement many sides and sauces. Serve them simply with classic dipping sauces for casual meals, or elevate them with specialty honey and fresh herbs for entertaining. They pair beautifully with summer picnic sides like potato salad and grilled vegetables, or winter comfort foods like mashed potatoes and roasted brussels sprouts.
Recipe Variations
The base recipe welcomes creative adaptations. Try adding grated parmesan and dried herbs to the coating for Italian flair. Incorporate hot sauce in the marinade for gentle heat, or mix ranch seasoning into the flour for a zesty twist. Each variation builds on the reliable foundation while offering new flavor dimensions.
Storage Methods
For optimal storage, cool completely on wire racks. Layer with parchment paper when refrigerating to prevent sticking. Reheat in a 350-degree oven to restore crispiness - avoid microwaving. The proper cooling and reheating process helps maintain the original texture.
 Save
Save
Make-Ahead Tips
These tenders adapt well to advance preparation. For packed lunches, cool slightly before packing. When freezing, arrange in single layers initially, then transfer to freezer storage. They maintain quality for several months when properly frozen.
Professional Insights
Test oil temperature with a sprinkle of flour - proper bubbling indicates readiness.
Season flour mixture generously to ensure flavorful results after frying.
Use wire racks for cooling to maintain crispiness.
This recipe has graced countless gatherings and family meals, earning its place as a trusted favorite. Each batch builds cooking confidence and creates lasting memories, while delivering consistently delicious results.
Recipe FAQs
- → How long should the chicken soak in buttermilk?
- The minimum is about 4 hours, but leaving it up to a full day adds more flavor.
- → Can I store these in the freezer?
- Yes! Freeze them for up to 3 months, then pop them in a 350°F oven for 25 minutes to reheat.
- → How do I check if they’re cooked through?
- Fry until golden on each side, even if the inside looks lighter in the oil.
- → What’s the purpose of buttermilk in this recipe?
- It gives a slightly tangy taste and helps create the perfect coating for crispiness.
- → What’s the best type of oil to fry them in?
- Stick with vegetable oil heated to around 350°F for the best results.