
 Save
Save
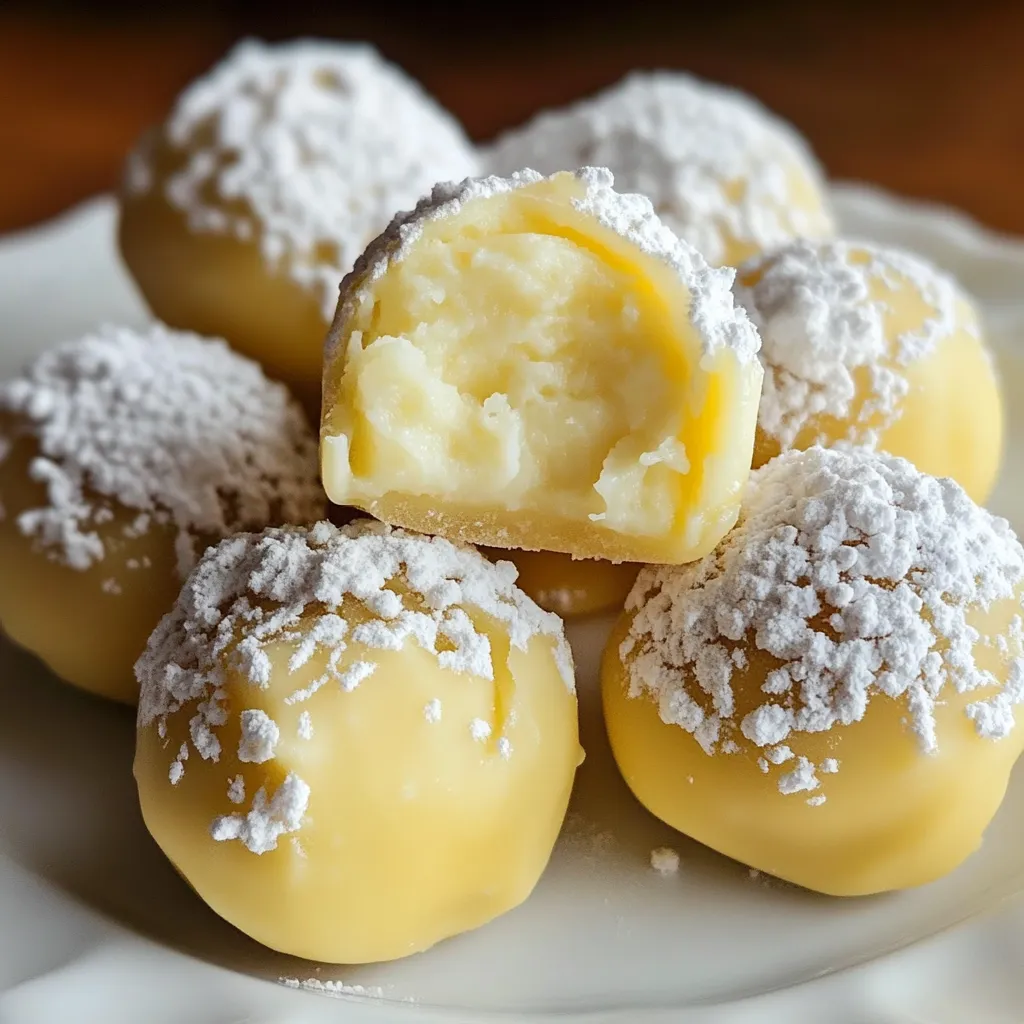
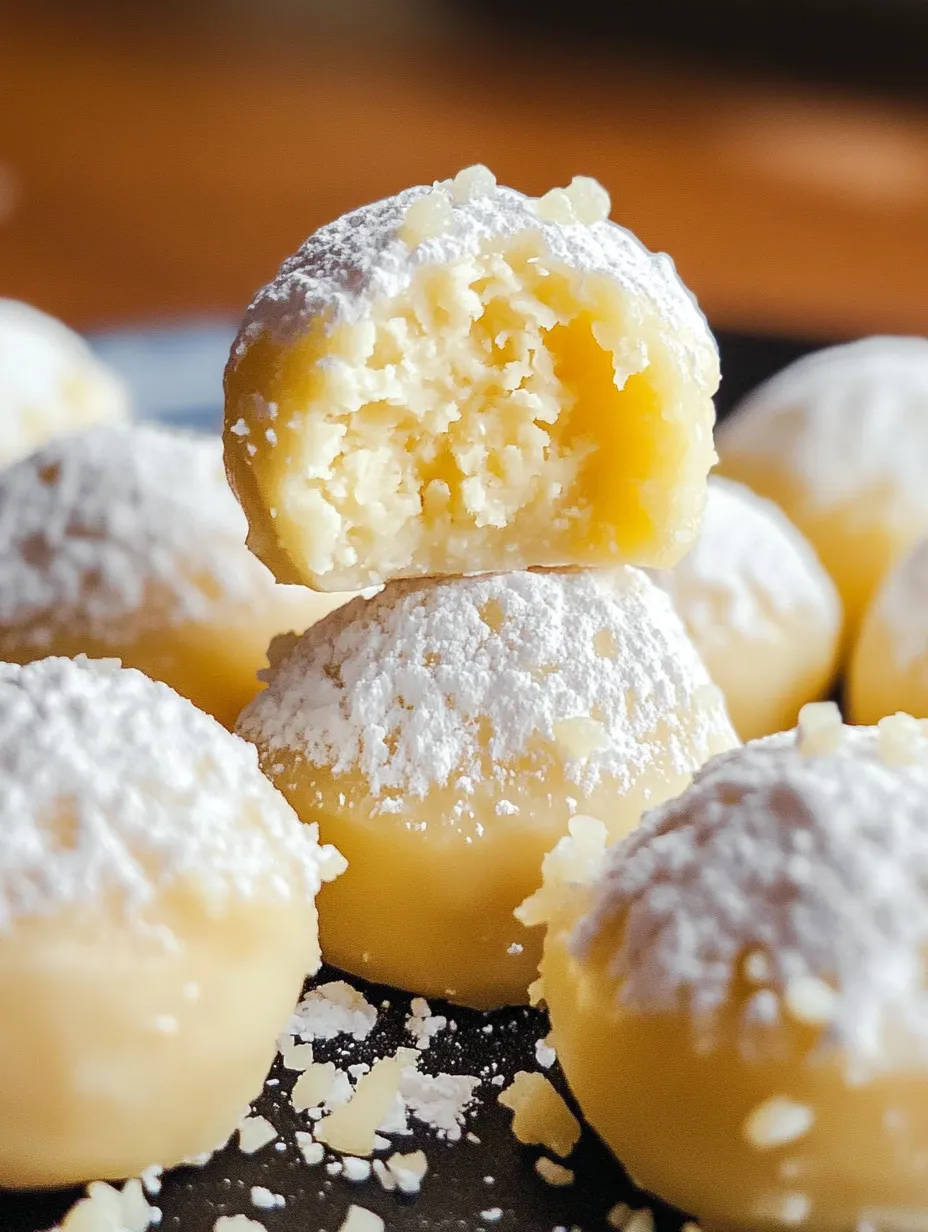
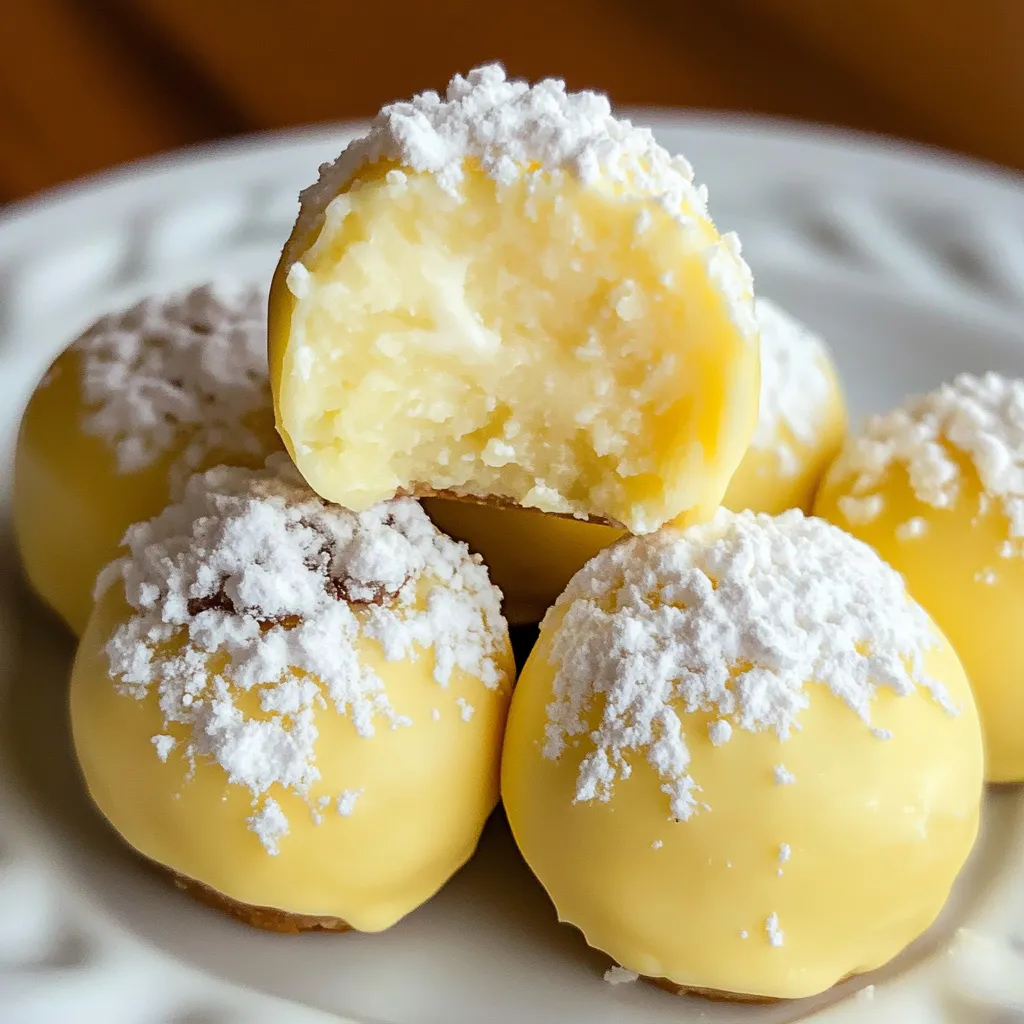
I stumbled on this lemon truffle idea last year when I needed a quick treat for a pal's get-together. These sunny little morsels strike just the right balance - smooth and decadent, yet fresh and tangy from real lemon. The best thing? They come together quickly with just a few basic ingredients most folks already have in their kitchen.
I brought these to my sister's party last week. She's super fussy about sweets and can't stand anything too sugary. She gobbled up four before we even sat down for dinner, then asked to take the leftovers home. My brother-in-law sent me a message the next day saying she wouldn't let him have any.
Understand Your Components
- Cream cheese: Gives that dreamy smooth foundation. Be sure it's completely softened or you'll be battling chunks forever. I've forgotten mine on the counter longer than planned and it turned out just fine.
- Butter: Brings depth and creates that lovely melt-away feeling. Using the real stuff makes a clear difference in flavor here.
- Powdered sugar: Adds sweetness without any grainy texture. The suggested amount keeps them from going overboard - I tried using more once and it drowned out the lemon.
- Lemon zest: This delivers all that wonderful zingy taste. A microplane works best for super-fine zest, and stick to the yellow outer part - the white stuff underneath tastes bitter.
- White chocolate: Nice to have but not must-have for that truffle-like coating and prettier look. When making them just for myself, I often skip this step and they're still wonderful.
- Natural coloring: Purely for looks - they taste identical without it. When I ran out of food coloring once, I used a tiny bit of turmeric and nobody spotted the switch.
 Save
Save
Crafting Your Delightful Lemon Truffles
- Ready Your Stuff:
- Get your cream cheese and butter truly softened to room temp - this really matters for getting everything smooth. In a rush? Cut them into tiny chunks to speed things up.
- Mix It All Up:
- An electric hand mixer does this job fast and avoids lumps, but I've made these many times just mixing hard with a fork when I didn't want more dishes to clean. They turn out slightly less smooth but taste just as good.
- Pick Your Approach:
- Using a container is honestly simpler - just dump the mix into a small dish lined with parchment. Making individual truffle balls looks fancier but you'll need that extra freezing time to firm up the mix for scooping.
- Cool Until Set:
- This happens pretty quickly in the freezer - around 15-20 minutes. Don't try to rush past this step or you'll end up with sticky fingers and a mess.
- Add Chocolate If You Want:
- For the white chocolate outer layer, make sure your truffles are super cold before dipping. The trick to smooth coating is mixing in that small amount of oil to the melted chocolate - it works wonders.
- Slicing Trick:
- That suggestion about cutting them while the chocolate's still soft? Works amazingly for getting those clean edges like fancy store-bought chocolates.
My first try making these happened during a hot spell with broken AC. Big mistake. The mixture wouldn't firm up enough to shape into balls, so I ended up freezing the whole batch and cutting squares instead. Turns out I now prefer this method anyway. I've also tried adding a bit of limoncello for a grown-up twist - not needed but super tasty. And once when I was out of white chocolate, I rolled them in crushed graham crackers for a lemon pie feel.
Tasty Twists
Though the original lemon version tastes amazing, you can easily change things up. Switch the lemon zest for orange or lime for a different citrus flavor. Toss in some tiny chopped fresh berries for taste and pretty colors. Add poppy seeds to get that lemon-poppy muffin vibe. For more interesting flavor, try a tiny bit of vanilla or almond extract in the mix.
Keeping Them Fresh
These treats stay good in the fridge for about a week, so you can make them well ahead of time. Store them in something airtight with parchment paper between layers so they don't stick together. They freeze really well for up to three months - just let them thaw in the fridge when you want them. They actually have the creamiest texture after being frozen and sitting out for about 5-10 minutes.
 Save
Save
I've served these lemon truffles at so many different gatherings - from baby showers to book groups to last-minute dinner parties when I need something sweet but can't bake. Something about that bright, sunny flavor just makes people happy. My neighbor now asks for "those lemony things" whenever we get invited over, and my husband always peeks in the freezer hopefully when he hears me zesting lemons. Sometimes the easiest recipes become the family favorites, and these little bites of sunshine definitely fall into that group.
Recipe FAQs
- → Is there a way to make them dairy-free?
- Absolutely! Replace butter and cream cheese with coconut butter for a creamy, dairy-free twist.
- → How long will these keep?
- Store in the fridge for up to a week or freeze up to 3 months in something airtight.
- → Can these be made sugar-free?
- For sure! Swap out the powdered sugar with erythritol for a sweet, sugar-free option.
- → Do I have to cover them with white chocolate?
- Nope! They're tasty just as they are, so it's totally up to you.
- → How can I get the best lemony taste?
- Make sure to use freshly grated zest and avoid the bitter white part of the peel for a bold lemon flavor.