
 Save
Save
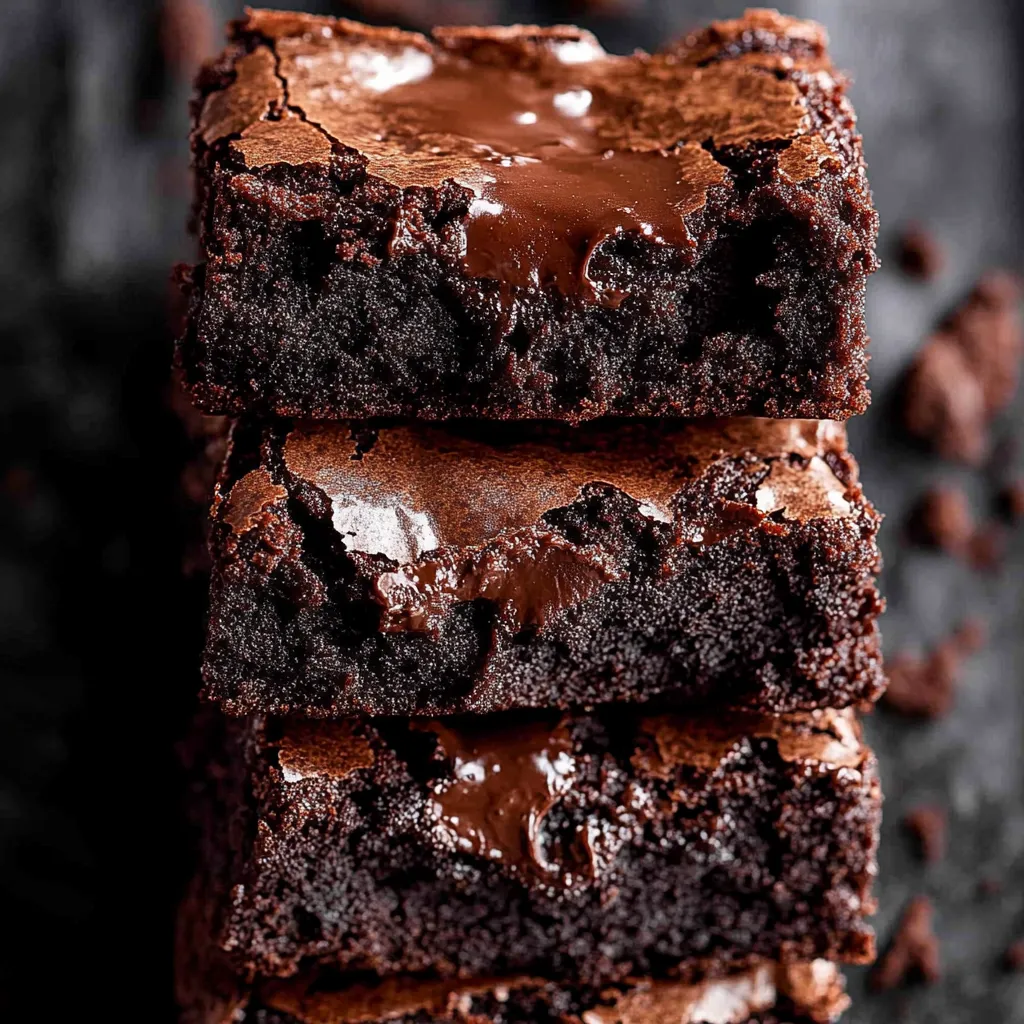
I'll never forget when these brownies completely changed my baking game. It was pouring outside, and my kid had brought her entire soccer team home after practice. I had half an hour to whip up something that would wow a bunch of picky teens. Out of options, I tried this super basic brownie recipe that claimed to be quick and amazing. When those brownies came out of the oven, they smelled so good that the kids showed up in the kitchen before I even called them. That first taste – the crispy, crackly crust breaking into a gooey middle filled with melty chocolate bits – stopped all conversation. These brownies have now become what I'm known for, and everyone wants them for everything from school fundraisers to family get-togethers, and I'm finally letting you in on my little secret.
When I brought these to my neighbor's dinner, her husband messaged me at midnight asking if there were any leftovers he could "take." I still wonder if he was serious about jumping our fence to check my kitchen. These brownies make people do crazy things.
Easy Secret Ingredients
- Unsweetened Cocoa Powder - This gives the main chocolate kick. Dutch-processed makes them darker and smoother tasting, but regular works great too. Just check that it's fresh – old cocoa doesn't taste as good.
- Butter - I go with unsalted so I can add the right amount of salt myself, but if you only have salted, just use a bit less added salt. And yes, melting the butter is key for getting that fudgy texture.
- Vegetable Oil - This might look weird next to butter, but this tiny bit of oil helps create that crackly top everyone fights for. Don't leave it out!
- White and Brown Sugar - You need both kinds. White sugar makes the crackly top, while brown sugar keeps everything moist and rich. I've tried tons of different amounts and this combo works best.
- Eggs - These hold everything together and make the brownies rich. Room temperature eggs mix in better, but if you forgot, just put them in warm water for a few minutes.
- Vanilla Extract - Try to use the real thing. It seems small but it makes the chocolate taste even better.
- Flour - Just enough to bind everything without making them cakey. Measuring right is super important – too much flour is why most brownies turn out dry.
- Chocolate Chunks - Pick chocolate you like eating on its own. I like the really dark kind (around 70% cacao) for a strong chocolate flavor, but semi-sweet is great too. Chopping a bar instead of using chips gives you those awesome melty spots.
 Save
Save
Simple Baking Method
Getting ReadyFirst heat your oven to 350°F (175°C) and put parchment in your pan. Leave extra hanging over the sides so you can lift the brownies out easily later. I use an 8×12-inch pan for just the right thickness, but 8×8 works for extra-thick brownies (just bake them a few minutes longer).
Mix It RightIn your bowl, stir together the melted butter and oil first, then mix in both sugars until they're well combined. This creates the base for that crackly top everyone loves. Add eggs and vanilla, then whisk hard for a full minute – you're not just mixing, you're adding air, which is super important for the texture.
Add Dry Stuff CarefullyNext, sift your flour, cocoa powder, and salt right into the wet mixture. This stops lumps without needing another bowl. Use a spatula to fold everything together with light strokes, just until you can't see any dry spots. If you mix too much, the flour gets overworked and makes tough brownies instead of tender ones.
Chocolate TimeMix in most of the chocolate chunks, but save some for the top. This two-step approach means you get melty chocolate inside the brownies and pretty chocolate pools on top that look amazing.
Baking MagicPour the batter into your pan and smooth it out. Don't tap the pan to get rid of air bubbles – we want to keep those for the right texture. Sprinkle the leftover chocolate chunks on top, pushing them in just a little.
Watch The ClockBake for 25-30 minutes if you want that amazing fudgy center that makes these brownies so special. The middle shouldn't wobble anymore but should still look slightly underbaked. A toothpick stuck in will come out with some moist crumbs, not totally clean. Remember, the brownies keep cooking from their own heat after you take them out.
Wait A BitThis is the hardest part: let them cool in the pan for 15-20 minutes before moving them to a rack. They need this time to set up right. For neat slices, wait until they're completely cool, though I won't blame you if you dig in while they're still warm (just know it'll be messy).
My daughter's friend Madison, who calls herself a "brownie expert" at just 13, gave these her highest score ever and asked if I'd make them for her birthday instead of cake. I couldn't have gotten a better compliment.
Tasty Serving Ideas
Turn these brownies into a fancy dessert by serving warm squares with cold vanilla ice cream and a drizzle of salty caramel sauce. The difference between the warm brownie and cold ice cream creates an amazing taste experience that's better than either one alone. I serve this combo when I want guests to think I worked harder on dessert than I actually did.
Make an awesome sundae bar at parties by cutting the brownies into small pieces, then putting them out with ice cream, whipped cream, nuts, fresh berries, and different sauces. Everyone can make their own creation, and somehow this dessert station gets everyone talking. It's saved more than one awkward party at my house.
For a quick but satisfying afternoon snack, eat a small brownie square with strong coffee or espresso. The bitter coffee works perfectly with the sweet, rich chocolate. This is how I personally like these brownies best – it's my mid-afternoon treat at least once a week.
Tasty Variations
Coffee BoostMix in 1 tablespoon of instant espresso powder with the dry ingredients. It won't make the brownies taste like coffee, but it makes the chocolate flavor much richer. This is what I do when I'm trying to impress serious chocolate lovers.
Add Some CrunchMix in 1 cup of toasted chopped walnuts, pecans, or hazelnuts with the chocolate chunks. The difference between the fudgy brownie and crunchy nuts makes an amazing texture combo. My husband refuses to eat these brownies without nuts now.
Minty MagicDuring Christmas, swap the vanilla extract for 1/2 teaspoon of peppermint extract and top with crushed candy canes instead of extra chocolate chunks. These holiday brownies vanish faster than any other Christmas treat at our yearly neighborhood cookie swap.
Keeping Them Fresh
Counter StorageKeep completely cooled brownies in an airtight container at room temperature for up to 3 days. Put parchment paper between layers if you need to stack them. They actually taste better after a day as the chocolate flavors grow stronger.
To keep them longer, stick them in the fridge for up to a week. The cold makes them much firmer, so let them warm up before eating for the best texture, or heat them quickly in the microwave for that fresh-baked feel.
Freezing Works GreatThese brownies freeze really well for up to 3 months. Cut them into individual pieces, wrap each one tightly in plastic wrap, then put them in a freezer bag. This way, you can thaw just what you need when a chocolate craving hits.
To thaw, unwrap and leave at room temperature for about 2 hours, or microwave for 15-20 seconds for that warm, gooey texture. Nobody will ever know they were frozen.
 Save
Save
Smart Cooking Advice
Chocolate MattersThe nicer your chocolate, the tastier your brownies. This doesn't mean expensive, just good chocolate you'd enjoy eating by itself.
Foil HelpIf your brownies are getting too brown on top but aren't done inside, loosely cover them with aluminum foil for the rest of the baking time.
Cutting TrickUse a plastic knife to cut brownies – it doesn't stick to the fudgy middle like metal does. Sounds weird but it really works!
Last Valentine's Day, I gave these brownies in small heart-shaped boxes to my daughter's teachers. One teacher emailed me that night asking for the recipe because her husband had taken the whole box and she "needed to make more right away." That's what a truly perfect brownie does – it makes chocolate fans forget all about sharing and self-control.
Recipe FAQs
- → Why are these brownies so fudgy?
- The secret is the extra fats from butter and oil, along with not overmixing once the dry ingredients are added. This keeps air out, which would make them cakier.
- → How do I tell when they're baked to perfection?
- They’re done when the center is no longer wobbly, but a toothpick comes out with some damp crumbs. Check at 25-30 mins; they’ll finish cooking as the pan cools.
- → Is Dutch-processed cocoa powder okay?
- Absolutely! It’ll create a smoother, milder chocolate flavor while natural cocoa gives a stronger, more fruity taste. Either works well.
- → Why use eggs at room temperature?
- Room temp eggs mix in better, helping create the shiny, crackly surface. Cold eggs might make the butter harden, ruining the texture.
- → Can I double the batch size?
- Yes, double everything and bake in a 9×13-inch dish for 35-40 minutes. Check when the center just sets, staying moist for a gooey finish.
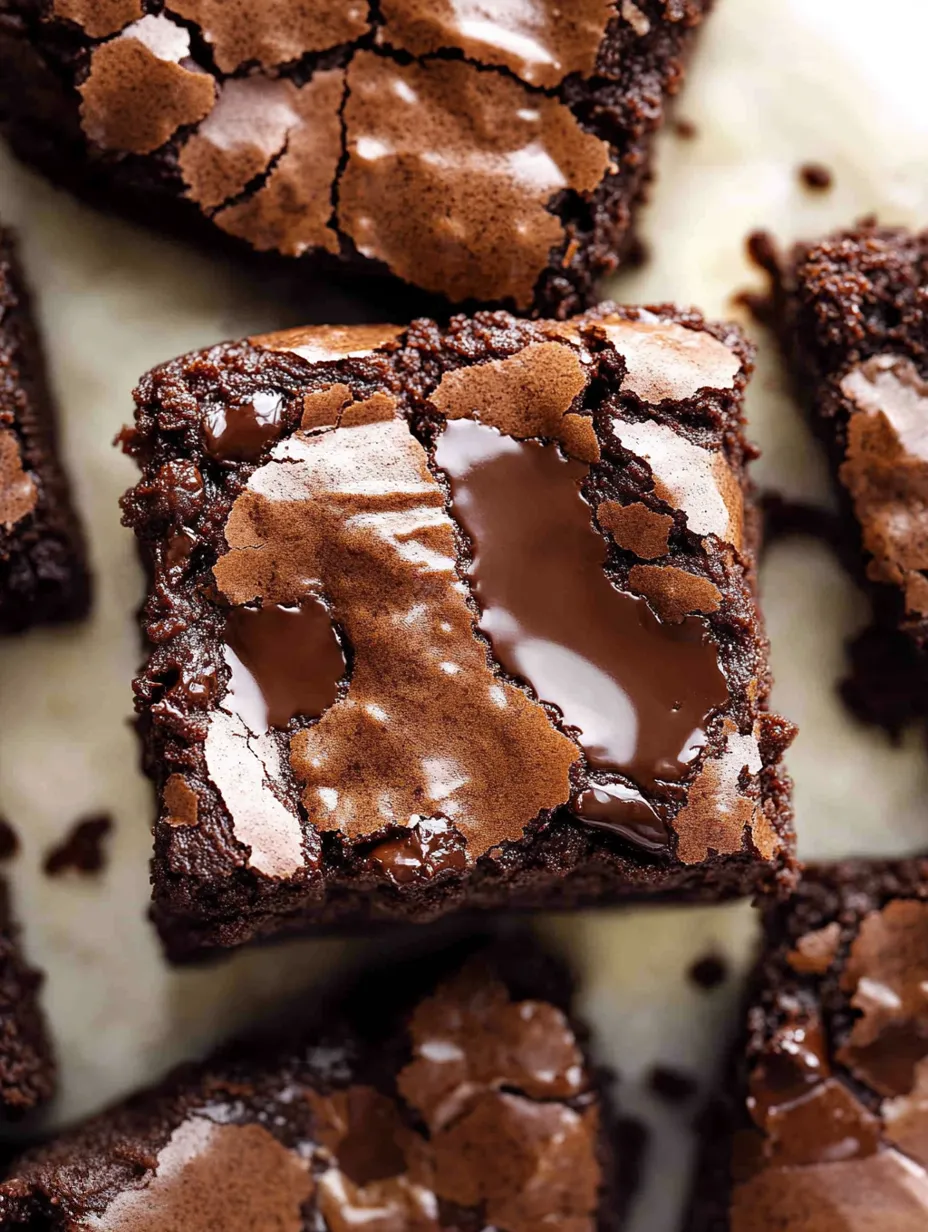
Easiest fudgy chocolate brownies
Treat yourself to ultra-fudgy brownies with gooey middles, crunchy tops, and chunks of melty chocolate in every bite.
Ingredients
→ Main Ingredients
→ Optional Add-ins
Steps
Turn your oven to 175°C (350°F). Spray a little cooking oil on an 8×12-inch pan. Line it with parchment or baking paper and leave it aside.
Whisk the melted butter, oil, white sugar, and brown sugar together in a medium mixing bowl until smooth. Add your eggs and vanilla, then beat until the mixture looks fluffy and lighter in shade (this takes about a minute).
Sift cocoa powder, salt, and flour into the wet batter. Carefully fold in the dry parts using a spatula until they're just mixed in. Don’t overdo the mixing! A heavy hand here can make the brownies less gooey and more like cake.
Stir in ¾ of your chocolate pieces, making sure they're spread out evenly in the batter.
Dump the batter into your prepped pan and smooth it out so it's all level. Sprinkle the last bits of chocolate over the top.
Stick it in the oven. Bake for 25-30 minutes if you like mid-set, rich brownies with some softness, or 35-40 minutes for firm ones. Once the middle stops looking wobbly and feels set when you touch it, pull it out. Remember, the brownies will keep cooking because the pan stays hot after coming out of the oven.
Use the parchment paper to carefully lift the brownies out after 15-20 minutes. Cool completely on the counter before cutting into 16 squares. The texture will firm up as they sit.
Notes
- To make thicker brownies, bake them in a 7×11-inch dish for 40-45 minutes. For thinner ones, bake in a 9×13-inch dish for about 18-20 minutes.
- Over-mixing makes too much air and can ruin that fudgy texture—keep a light hand once the dry stuff gets added.
- Baking on the upper rack of the oven avoids browning them too fast. The middle rack can cook stuff quicker, which risks burning the top or drying them out.
- Store at room temp for 3 days, the fridge for 5 days, or freeze for 3 months. If frozen, pop them in the fridge overnight to thaw. Let them come to room temp or microwave a few seconds before eating.
Required Tools
- 8×12-inch baking pan
- Baking or parchment paper
- Medium bowl for mixing
- Whisk for stirring
- Fine strainer or sifter
- Rubber or silicone spatula
Allergy Information
Check each ingredient for potential allergens and consult a healthcare professional if needed.
- Has gluten (from the flour)
- Has dairy (butter and chocolate)
- Contains eggs
Nutritional Facts (per serving)
These details are provided for informational purposes and aren't a substitute for medical advice.
- Calories: 350
- Fats: 19 g
- Carbohydrates: 46 g
- Proteins: 3 g