
 Save
Save
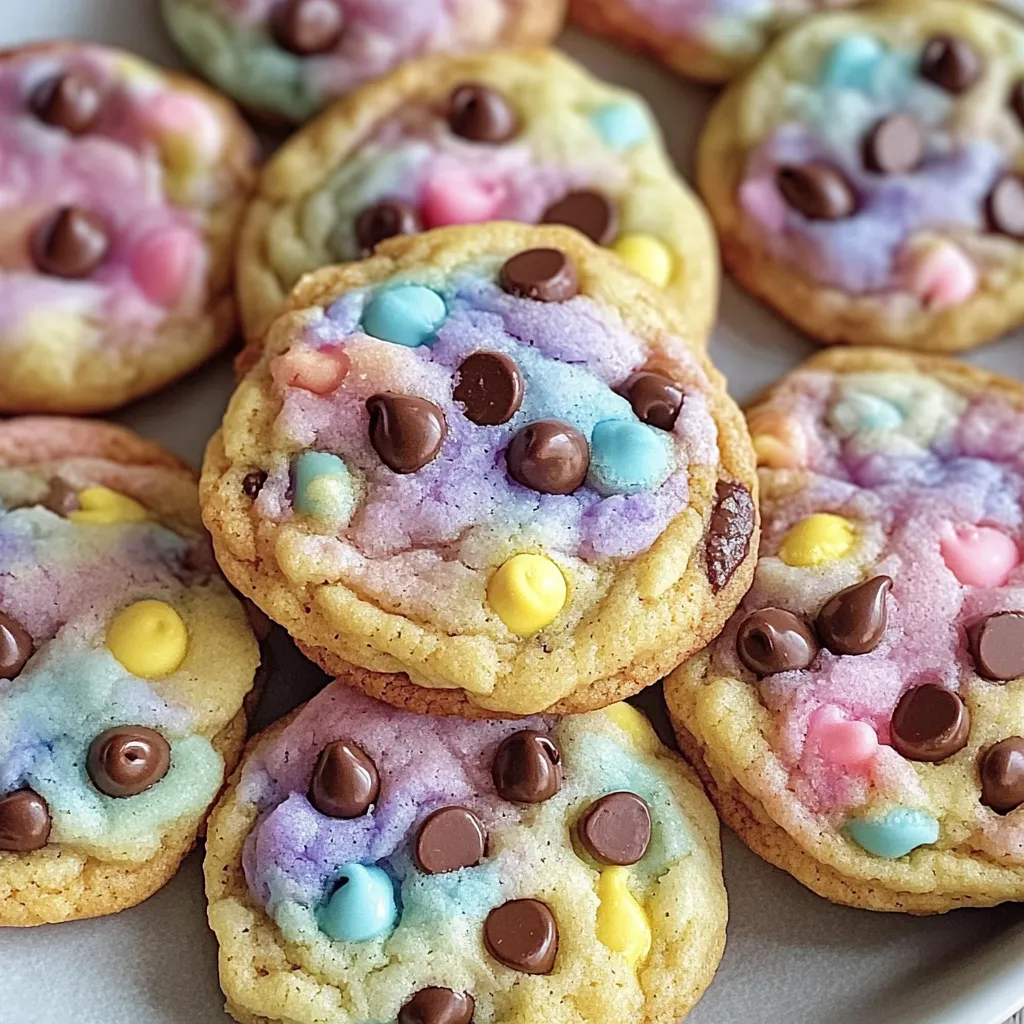
Last spring while looking for fun activities during spring break with my kids, I came across these Easter chocolate chip treats. The way the pastel colors swirl through the classic cookie dough makes them look stunning and taste amazing. They've now become what we look forward to making each Easter, giving us just as much happiness making them as eating them.
When we baked these, my kids had friends over who watched with absolute wonder as the colorful dough came together. Later that day, their mom messaged asking where to find the instructions because her children couldn't stop talking about those "magic colored cookies." It's funny how a simple twist can turn an ordinary treat into something unforgettable.
Ingredients List
- Butter and sugars: They work together to create that irresistible chewy texture everyone craves
- Gel food coloring: Gives brighter colors than the liquid kind without messing up your dough
- Chocolate chips: The perfect little bits that cut through the sweetness just right
- Vanilla extract: Brings that cozy, fragrant dimension that makes homemade cookies feel special
- Standard cookie ingredients: Just the basics you probably already have in your pantry
 Save
Save
Preparation Steps
Butter TipsYour butter needs to be just right—soft but not melty or hard. I usually set mine out about an hour ahead, or if I'm rushing, I'll chop it up to speed things along. When you mix it with the sugars, you'll notice it gets fluffier and lighter colored. This step really matters for getting that chewy texture we're after.
Mixing ApproachAdd your eggs one by one so they blend in completely. This makes your dough smoother. When it's time for the dry stuff, mix only until you can't see flour anymore. Too much mixing makes cookies tough. I often switch to a wooden spoon at the end to avoid overdoing it with the mixer.
Color TipsAlways go with gel colors for these cookies—regular liquid ones add too much moisture and mess with the texture. I split my dough into four equal parts using a scale, then use a toothpick to gradually work in small amounts of color until I get nice pastel shades. For Easter vibes, I stick with soft pink, purple, yellow, and blue tones.
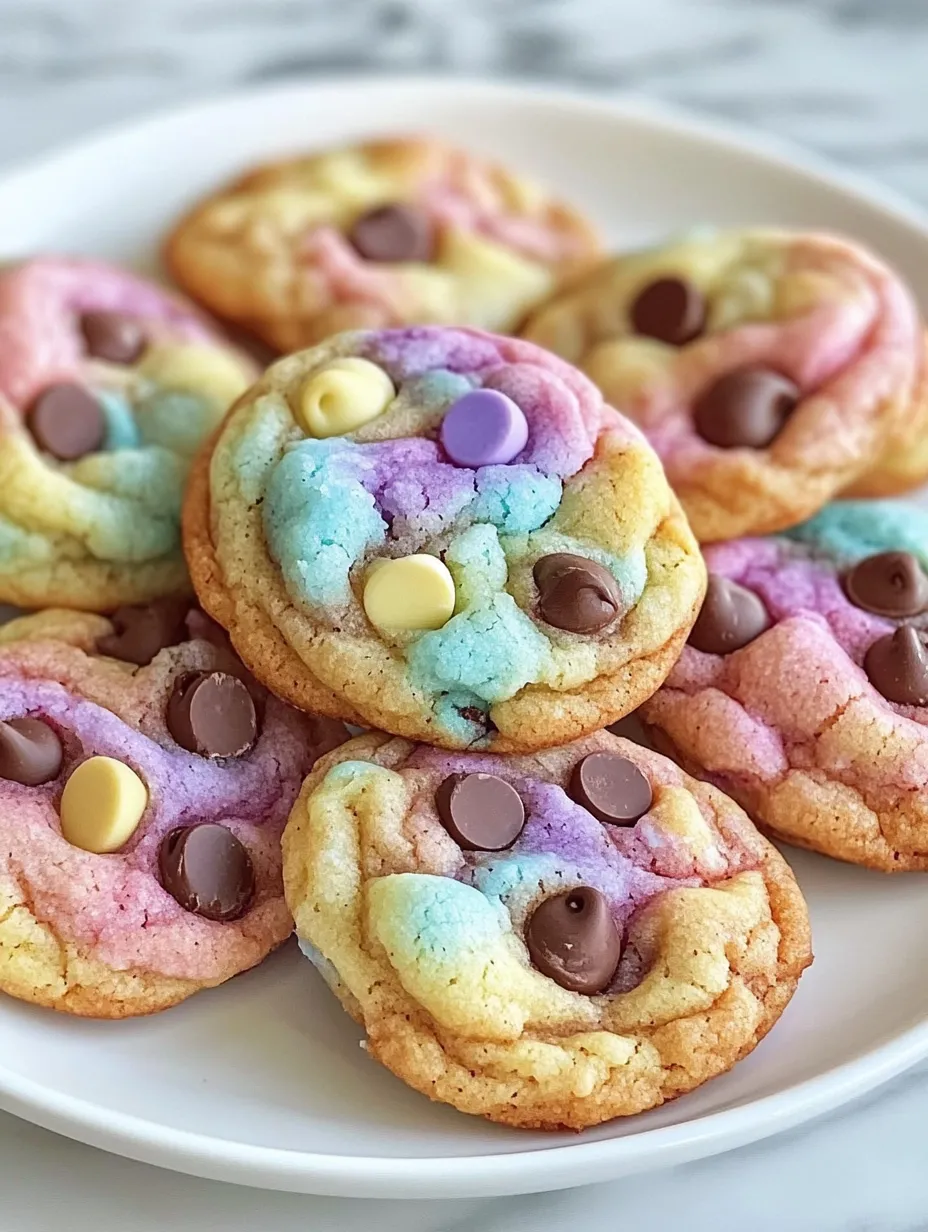
Swirling MethodThis part is where the fun happens, and you really can't mess it up. Grab small chunks of each color (about a tablespoon each), push them together loosely, and give them just a gentle twist or two. You want that pretty marbled look, not completely mixed colors. If you work the dough too much here, the colors will blend together and lose their distinct swirls.
Timing TipsThese cookies bake pretty fast since the dough gets handled several times. I start checking around 9 minutes, though 10-12 usually works best in my oven. They're ready when the edges look set and slightly golden, while the middles still seem a bit soft—they'll finish cooking as they cool on the tray.
My husband usually skips any cookies that look too fancy and sticks to plain chocolate chip, but he actually told me these were better than regular ones. He likes how the marbling creates different chocolate experiences throughout each cookie. There's something about the way the colors and flavors play together that makes an everyday snack feel extra special.
Ways To Enjoy
Pour some milk in pastel glasses to go with these fun cookies. When hosting Easter get-togethers, put them on a plate with some fresh berries for a pretty spring dessert. You can also tuck them into Easter baskets for a homemade surprise. My kids grab them after school during Easter season, and I like having one with my afternoon coffee.
Custom Variations
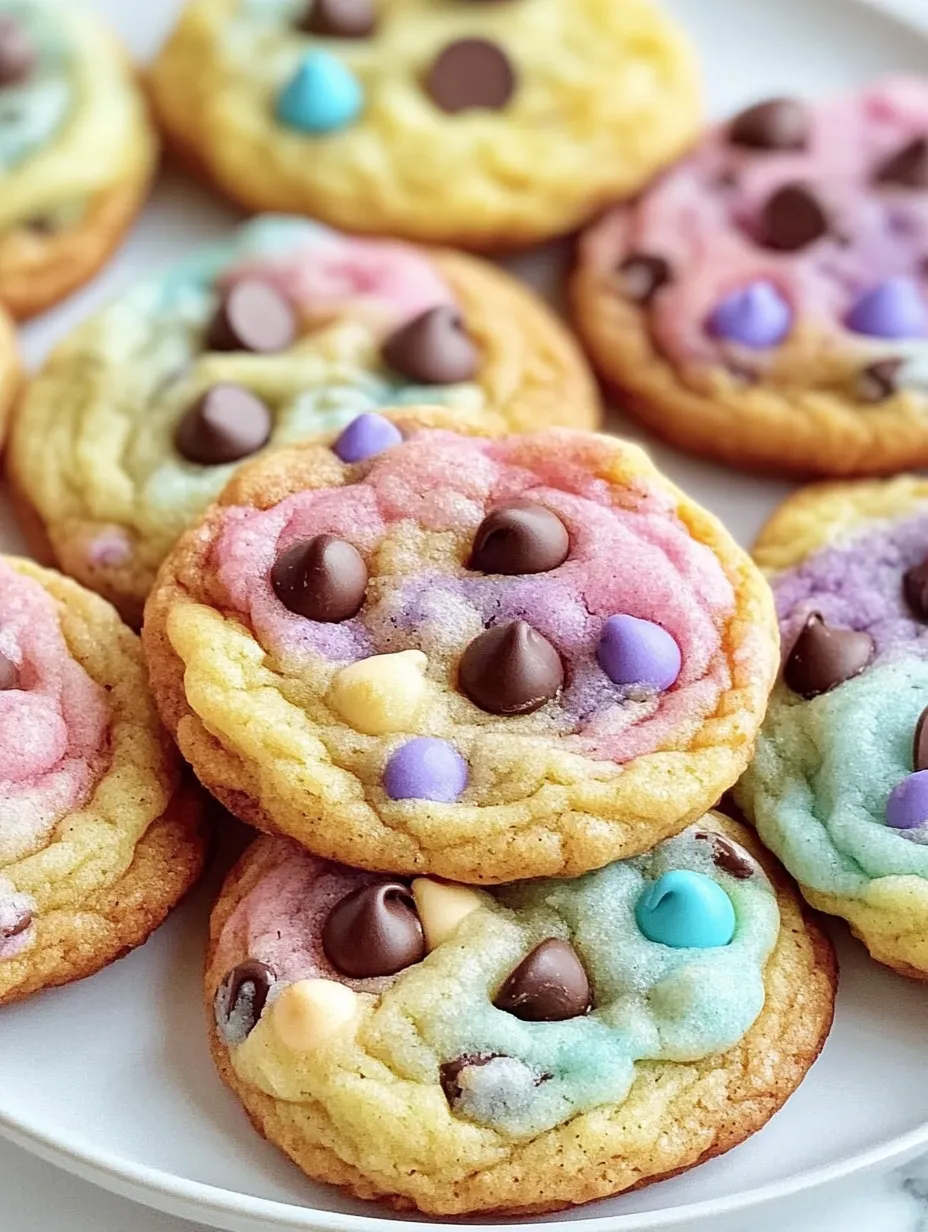
Try swapping in white chocolate chips or pastel candy-coated chocolates for more spring colors. Add a splash of almond extract with the vanilla for a fancier flavor. Mix in some colorful sprinkles with the chocolate chips for a party look. Last Easter, I tried something different by keeping half the dough plain and marbling just one or two colors through the other half, then combining them for a more subtle but equally pretty effect.
Keeping Fresh
These cookies will stay good in a sealed container at room temp for about 5 days. If you want to keep them longer, freeze the baked cookies flat first, then put them in a freezer bag once they're solid. They'll last around 3 months that way. The raw dough freezes great too - I often make double, shape all the cookies, freeze them on a tray, then bag them up so I can bake fresh cookies whenever I want.
 Save
Save
Expert Advice
- Grab a cookie scoop so all your cookies are the same size and bake evenly
- Stick extra chocolate chips on top before baking to make them look extra nice
- Make sure your baking sheets are totally cool between batches for best results
I've brought these Easter chocolate chip cookies to school parties and family gatherings, and they always get people smiling. There's something truly special about how those pastel colors twist together, making treats that look as good as they taste. My daughter now asks for them for playdates and birthdays throughout the year, saying we can just change up the colors to match whatever we're celebrating!
Recipe FAQs
- → How do I keep the swirl colors from blending too much?
- Don’t knead the colored dough together. Gently press them side by side, stack, and fold instead of rolling to avoid overmixing.
- → Can I use liquid dyes if I don’t have gel coloring?
- Gel colors are better since they’re more vibrant and don’t mess with dough consistency. If using liquid, go light and add a sprinkle of flour if needed.
- → Is it possible to freeze this dough ahead of time?
- Yes! Shape the dough into balls first, freeze on a tray, then transfer to a bag. Bake directly from frozen, just add an extra minute or two.
- → Why do my cookies flatten too much?
- Warm butter or overworked dough can cause that. Chill your dough for about 15 minutes, and make sure pans cool completely between baking.
- → What are some other tasty add-ins for this cookie?
- Try using pastel M&Ms, white chocolate chips, colorful sprinkles, or mix in chopped nuts for a bit of crunch.
Colorful Easter cookies
Chewy cookies loaded with chocolate chips and pastel hues in pink, yellow, purple, and blue. They're a fun pick for Easter celebrations.
Ingredients
→ Coloring and Mix-Ins
→ Wet Ingredients
→ Dry Ingredients
Steps
Heat your oven up to 350°F (175°C). Prepare your baking sheets by either using silicone mats or parchment paper so the cookies don't stick.
Take the flour, salt, and baking soda, and whisk them together in a medium-sized bowl until everything is evenly mixed. Put it aside for now.
Mix the softened butter with the brown and white sugars using an electric mixer. Blend until the texture becomes fluffy and airy, which typically takes 2-3 minutes.
Crack in the eggs, one at a time, into the butter mixture and beat well after each one goes in. Once they're mixed in, stir the vanilla in until smooth.
Slowly add the previously mixed dry ingredients into the butter mixture. Use a low mixer setting and only mix until no dry flour spots are visible, being careful not to overdo it.
Carefully fold in 1½ cups of the chocolate chips with a spoon or spatula. Save the remaining ½ cup to top the cookies later.
Split the dough into four parts. Add a different pastel gel color to each portion — pink, yellow, purple, and blue. Mix gently until the color is spread evenly.
Grab small chunks of the different colored doughs and gently press them together without overmixing. Roll them into balls that are about the size of 2 tablespoons.
Set the marbled dough balls onto the lined baking sheets, keeping them 2 inches apart. Press the balls down slightly and sprinkle the tops with the leftover chocolate chips.
Bake in the heated oven for 10-12 minutes until you notice the edges turning light golden. The centers will look soft and slightly undercooked but will set nicely when cooled.
Take the sheets out and let the cookies rest for 5 minutes before carefully moving them to wire racks to cool completely.
Pair the cookies with a glass of milk for a treat! Keep leftovers in a sealed container on the counter (up to 5 days).
Notes
- To keep the marbled colors bold, avoid mixing the colorful dough portions too much before baking.
- Switch out chocolate chips for white chocolate ones to complement the pastel shades nicely.
- If your dough gets too sticky or warm, chill it for about 15-20 minutes in the fridge before continuing.
- The cookies might look slightly doughy when you take them out, but they’ll firm up into soft, chewy treats as they cool down.
Required Tools
- Cookie sheets
- Silicone mats or parchment paper
- Electric mixer
- Medium and large mixing bowls
- Measuring tools (cups and spoons)
- Cooling racks
Allergy Information
Check each ingredient for potential allergens and consult a healthcare professional if needed.
- Made with wheat (all-purpose flour)
- Includes dairy (butter, chocolate chips)
- Contains eggs
Nutritional Facts (per serving)
These details are provided for informational purposes and aren't a substitute for medical advice.
- Calories: 245
- Fats: 12 g
- Carbohydrates: 32 g
- Proteins: 3 g