
 Save
Save
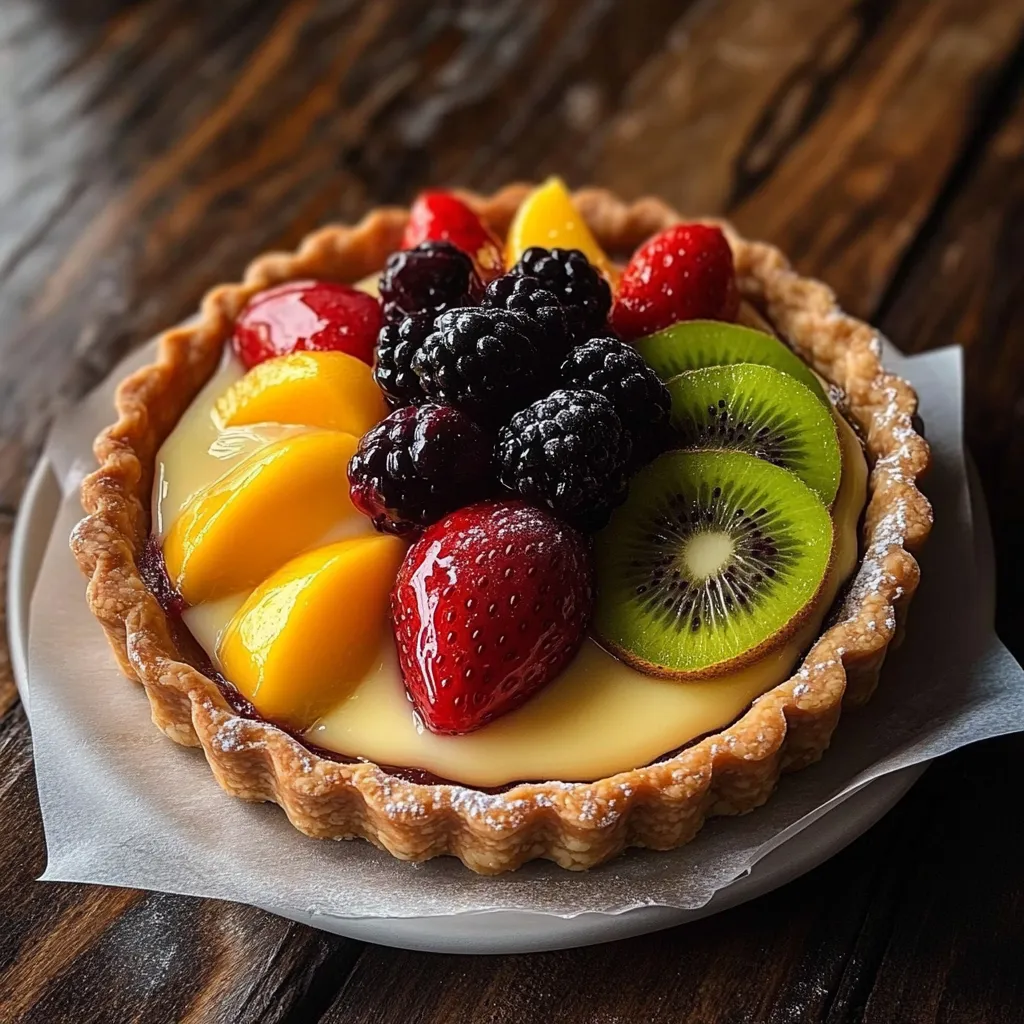
I came across this fruit tart idea a couple years ago when I needed something fancy but doable for a spring get-together. That flaky crust paired with smooth cream filling and bright fresh fruit makes an amazing treat that looks straight out of a high-end shop. It's become what I turn to whenever I want to impress friends without being stuck in the kitchen all day.
My next-door neighbor walked in right when I was putting the fruit on top and actually thought I'd grabbed it from a fancy bakeshop. She couldn't believe I'd made it myself and wanted the instructions right away. It's funny how the easiest recipes can make the biggest splash.
Basic Components
- Chilled butter - What makes your crust break apart perfectly with that lovely crunch
- In-season fruit - Builds that stunning colorful topping that gets everyone talking
- Vanilla - Brings richness to your cream filling that makes the whole dessert better
- Cornstarch - Your trick for cream that stays put when you cut a slice
- Glaze (if you want) - Gets you that fancy shine while keeping fruit looking fresh longer
 Save
Save
Assembly Process
- Shell Secrets
- Getting an awesome tart shell means everything stays super cold. I cut my butter into small blocks then toss them in the freezer about 10 minutes before mixing. Adding water is tricky - you need just enough to bring the dough together. Work it too much and you'll lose that tenderness. I've learned that cooling the dough at least 30 minutes (60 is way better) makes rolling so much easier without sticking issues. When baking, those little holes you poke help stop bubbles, and sometimes I throw in some pie weights for the first 15 minutes so it doesn't shrink back.
- Cream Mastery
- Warming milk with vanilla spreads flavor everywhere. I grab a real vanilla bean when I can, but the bottle stuff works great too. To avoid lumps in your cream, mix those eggs really well before adding hot milk, and pour the milk in slowly while mixing constantly. This stops your eggs from cooking too fast. Once back on the stove, don't stop stirring - those few minutes of watching it closely turn lumpy goop into smooth heaven. That last bit of butter makes it richer and gives it a nice glow.
- Putting It Together
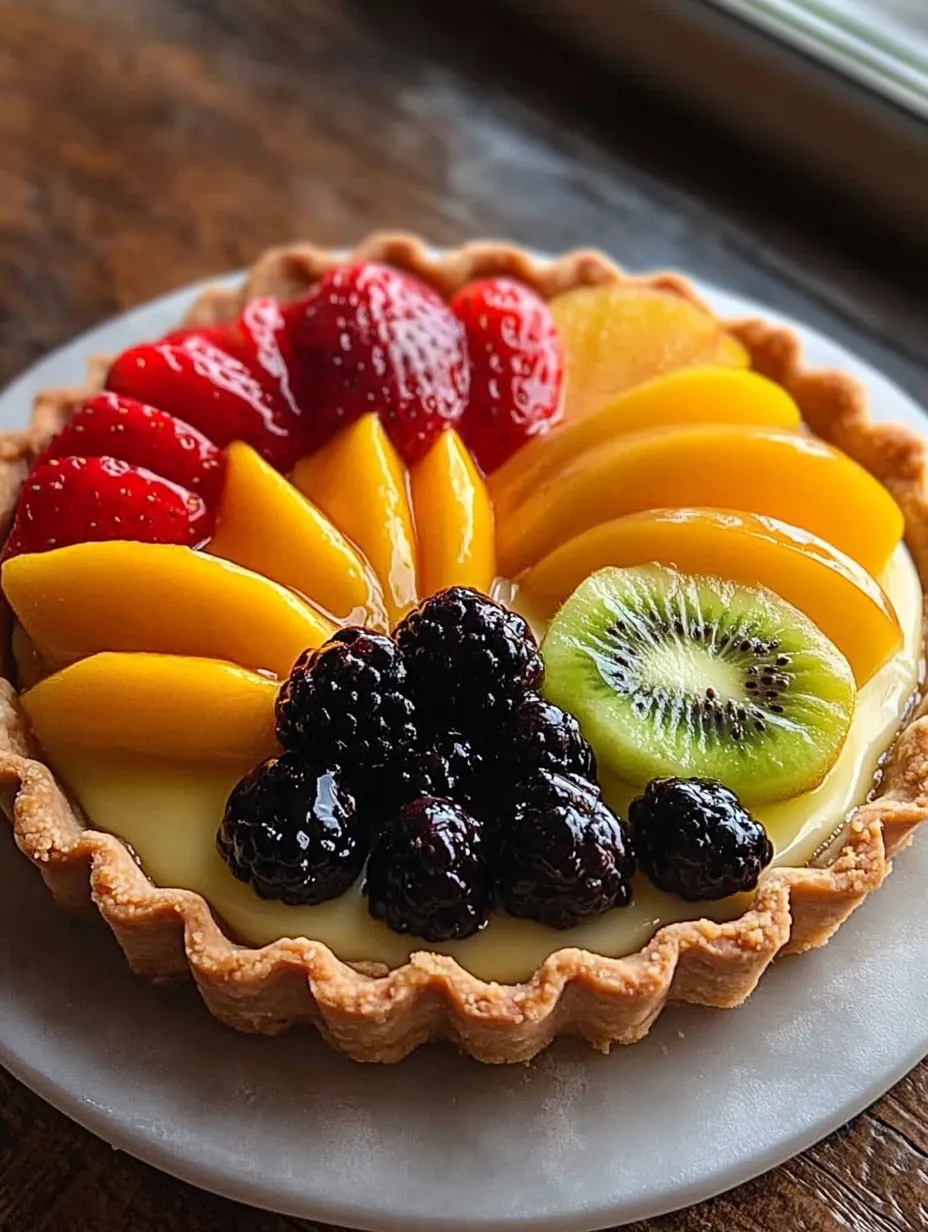
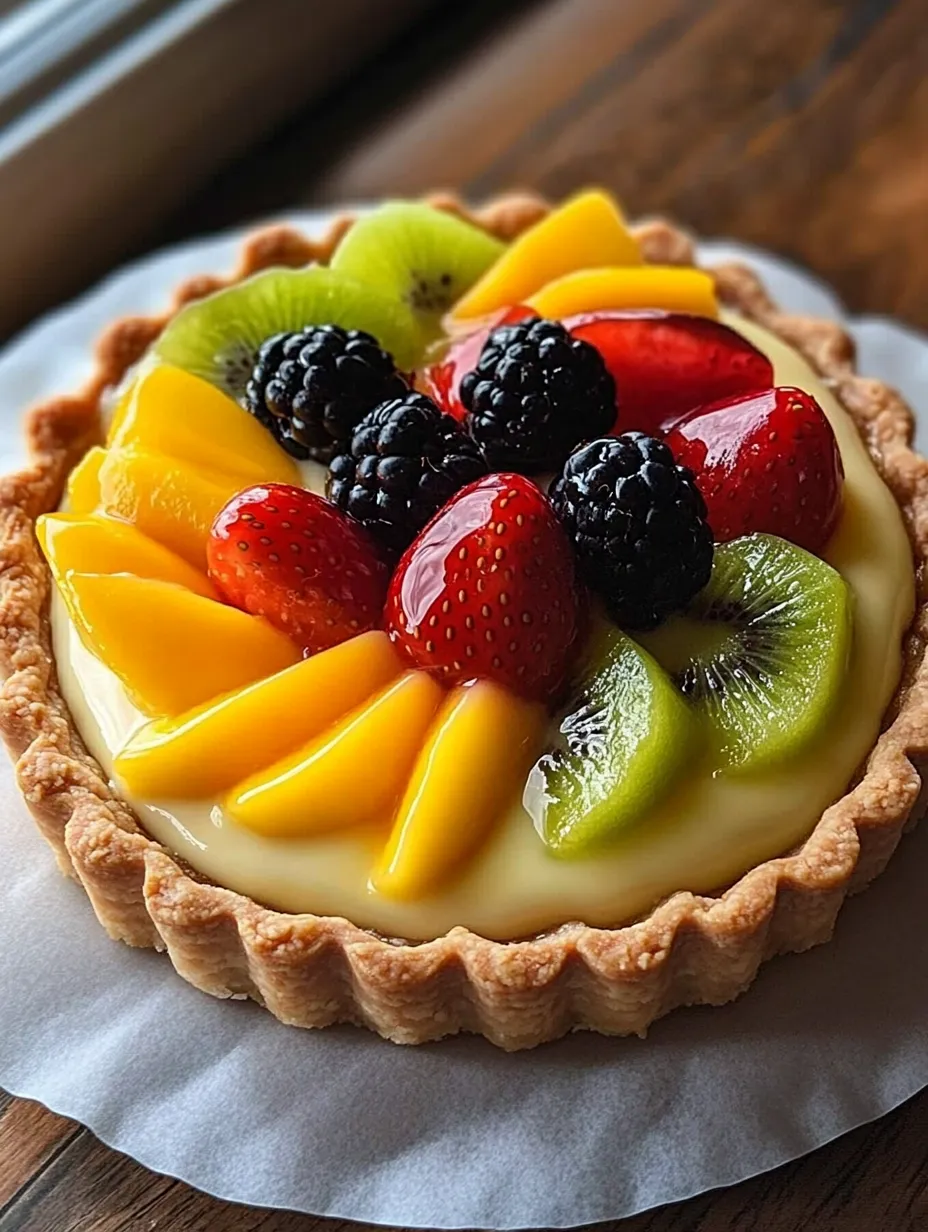
- I always let both the shell and filling cool completely before I combine them so the bottom doesn't get mushy. Spreading the cream flat creates the perfect spot for your fruit. When I place the fruit, I work from outside to center, making rings or patterns that show off all the colors. Cutting fruit to the same thickness makes it look super fancy. Sometimes I'll keep berries whole to add height, or slice bigger fruits like mangos into thin, fancy pieces.
- Adding Shine
- That optional glaze isn't just pretty - it actually helps your fruit stay fresh and adds a touch of sweetness. I mix equal parts apricot jam and water until it barely bubbles, then strain out chunks for a smooth finish. Brush it on while it's warm (not hot) for that bakery-style shine without messing up your fruit design. As it cools, it forms a light shield that keeps fruit looking great longer.
- Final Cooling
- The last cooling step seems simple but it's super important for flavors to blend and for clean slicing. I try for at least an hour in the fridge, though two is even better if I'm not rushed. Taking it out about 15 minutes before serving lets the crust soften just a bit from that hard, cold state, making it easier to cut and nicer to eat. For the cleanest slices, I wipe my knife after each cut.
- Changing With Seasons
- Though the recipe lists certain fruits, I just use whatever looks freshest at the store that day. Summer means loads of berries and peaches; winter might mean citrus segments and kiwi. What's great about this recipe is how flexible it is - as long as you've got fresh, bright fruit, your tart will look amazing. Sometimes I group similar colors together for a bold look, other times I make rainbow patterns for something more fun.
My partner, who usually skips sweets, actually wanted more of this tart the first time I baked it. There's just something about that mix of buttery crust, creamy vanilla filling, and fresh fruit that wins over even folks who don't usually go for dessert.
Delightful Accompaniments
Enjoy this fancy tart with some afternoon coffee or tea for a special break. At dinner parties, try it with some bubbly or sweet wine for a classy finish. Sometimes I add a tiny scoop of vanilla ice cream or some lightly whipped cream on the side to make it extra fancy. When berries are in season, I might scatter a few extra fresh ones next to each slice for more color and freshness.
Innovative Twists
Switch to a chocolate crust by swapping 2 tablespoons of flour with cocoa powder. Add some dark chocolate ganache under the pastry cream for chocolate fans. Try different flavors in your cream - almond, orange, or lemon all match nicely with different fruits. Last summer, I tried coating the inside of the baked shell with white chocolate before adding the cream, which kept the crust crispy much longer.
 Save
Save
I've brought this fruit tart to everything from family dinners to fancy parties, and it always gets folks talking. Something about how pretty it looks and how well the flavors work together makes people think you put in way more work than you actually did. My kid now asks for it instead of cake on her birthday, which is probably the best compliment a cook can get. I've found the most memorable treats are often just simple techniques with fresh ingredients that come together as something that looks and tastes really special.
Recipe FAQs
- → Can I prep parts of the tart in advance?
- Definitely! Get the crust and cream ready a day early. Keep the crust dry at room temperature and store the cream chilled. Add fruit when you're ready to serve.
- → What's the best fruit to use?
- Go for fruits like berries, kiwi, mango, peaches, or mandarin slices. Avoid overly juicy ones to keep the crust from getting soft.
- → Can I skip making the crust from scratch?
- Sure thing! Use a ready-made crust or even a graham cracker base if you're short on time.
- → Why does my cream turn out with lumps?
- If eggs heat too fast, lumps form. Whisk steadily as you mix heated milk into the eggs, and if needed, strain the cream when it’s done.
- → How long will this tart stay good?
- Eat it within 24 hours for best quality. After that, the crust might soak up moisture from the fruit and cream.
- → Is it okay to skip the glaze?
- Totally fine. The glaze adds shine and keeps the fruit fresh-looking, but the tart tastes amazing even without it.