
 Save
Save
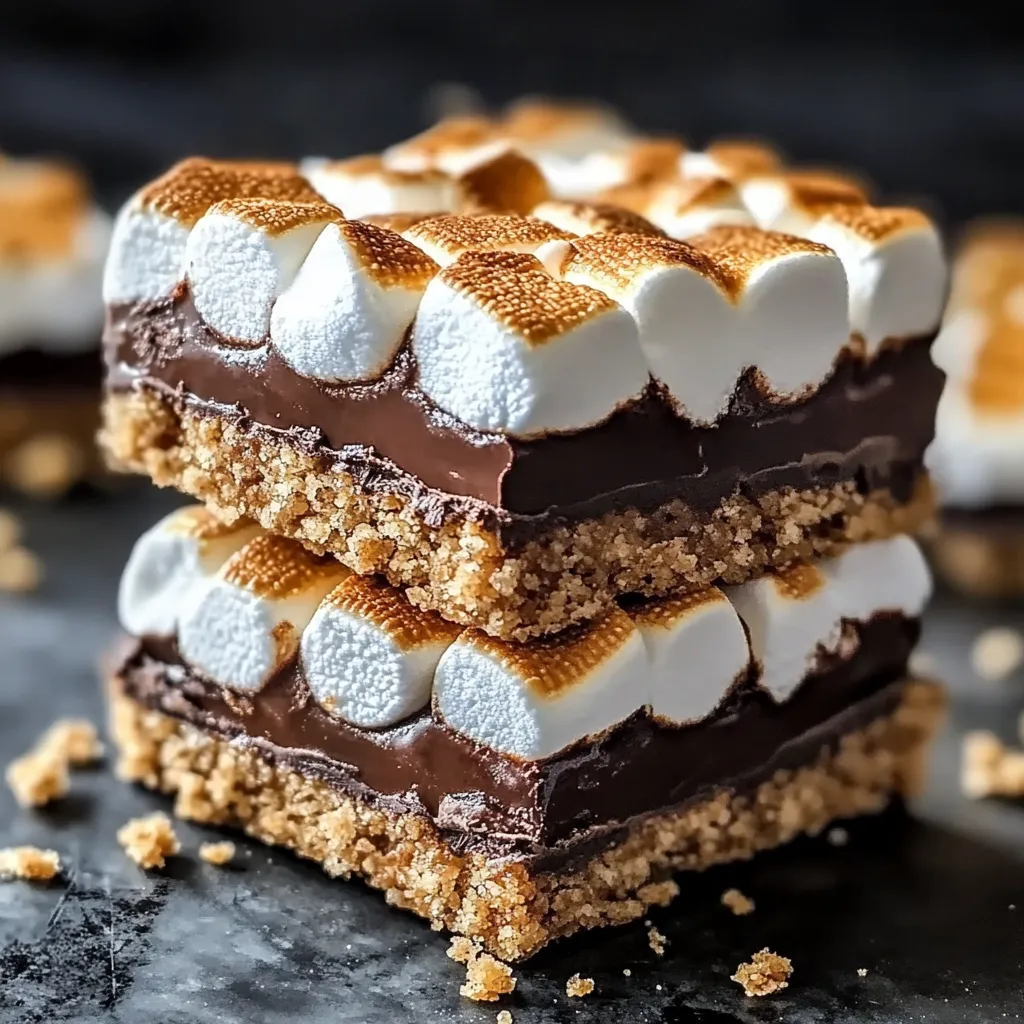
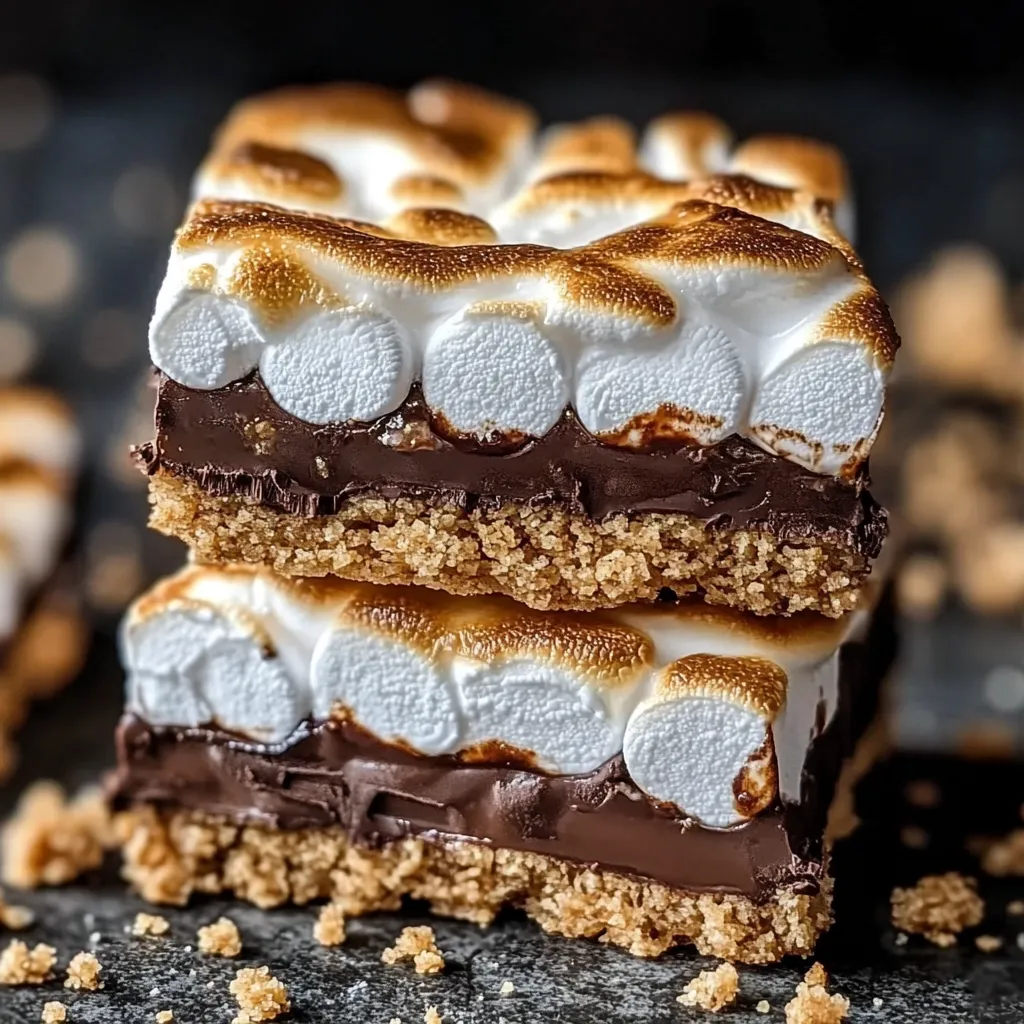
Enjoy campfire magic at home with these irresistible s'mores squares. The crunchy graham base supports velvety melted chocolate topped with fluffy marshmallows—all in a neat, easy-to-handle format. This clever twist keeps everything we love about traditional s'mores but steps it up with better texture balance and equal chocolate-marshmallow goodness in each delicious square.
I whipped these up when rain ruined my kid's birthday campfire plans. The moment these bars came out, sad faces turned to smiles—those golden-brown marshmallow tops and gooey chocolate layers were instantly recognized as their favorite outdoor treat. I caught several parents sneaking back for extra pieces when they thought nobody was looking!
Must-Have Components
- Graham Cracker Crumbs: They make that signature base we all recognize. Crush your own crackers instead of buying pre-made crumbs for way better taste.
- Butter: Brings everything in the base together with rich flavor. Go for unsalted so you can control how sweet your bars turn out.
- Milk Chocolate Chips: Create that smooth, dreamy middle layer. They melt better than other types thanks to their fat content.
- Mini Marshmallows: Give you that awesome golden top and gooey pull. The tiny ones brown more nicely and spread better than big marshmallows.
- Granulated Sugar: Adds just enough sweetness to the graham base. You don't need much—it mainly helps things stick together.
- Vanilla Extract: Brings a warm background flavor to everything. You can skip it, but even a tiny splash makes these bars taste so much better.
Foolproof Instructions
- Setup Steps:
- Start by turning your oven to 350°F so it gets hot enough. Put parchment in your 8×8 pan with extra hanging over two edges. This trick will let you lift everything out later without breaking your bars.
- Making Your Base:
- Mix your graham crumbs, melted butter and sugar until it looks like damp sand and clumps when squeezed. Dump it into your pan and press it down hard with a measuring cup. You want it packed tight so it won't fall apart later.
- First Bake:
- Pop the crust in the oven for 8-10 minutes until it smells amazing and looks slightly golden. This quick bake makes the crust hold together and brings out a toasty flavor that makes these bars extra good. Let it cool a bit before the next step.
- Chocolate Time:
- Scatter your chocolate chips all over the warm base, covering every spot. The leftover heat will start softening them up. Don't use cheap chocolate here—it won't melt right and might get grainy.
- Marshmallow Magic:
- Spread mini marshmallows across your chocolate layer. Leave tiny gaps since they'll grow while baking. You want them close but not totally crowded so each bite has the right amount of toasty goodness.
- Final Touch:
- Put the pan back in for 5-7 minutes, watching closely at the end. You want your marshmallows puffy with golden tops but not burnt. This quick trip melts your chocolate completely and transforms those marshmallows into gooey perfection.
- Waiting Game:
- Let everything rest in the pan for at least 30 minutes before lifting out using your parchment handles. This waiting part is crucial—it lets the chocolate set up just enough so you can cut clean slices.
- Slicing Secrets:
- For super clean cuts, spray your knife with cooking spray or dip it in hot water and wipe it between slices. Cut straight down in one motion instead of dragging through the marshmallow layer which can make a mess.
 Save
Save
My grandma always said layered desserts need patience. My first try with these bars turned into a tasty but sloppy mess because I couldn't wait for them to cool. Now I follow her advice and let them cool completely. The reward? Beautiful distinct layers that show off all three parts of this favorite treat. Sometimes waiting a bit longer makes all the difference between good and amazing.
Ways To Serve
These squares work for just about any occasion with almost no effort. For backyard hangouts, just stack them on a plate and watch them disappear. Want to impress guests? Try zigzagging extra melted chocolate on top for a fancy touch. Make dessert extra special by warming a square slightly and adding a scoop of vanilla ice cream. Got a kids' party? Put individual bars in bright cupcake liners for less mess. In summer, try adding some fresh berries on the side to balance out the sweetness.
Fun Twists To Try
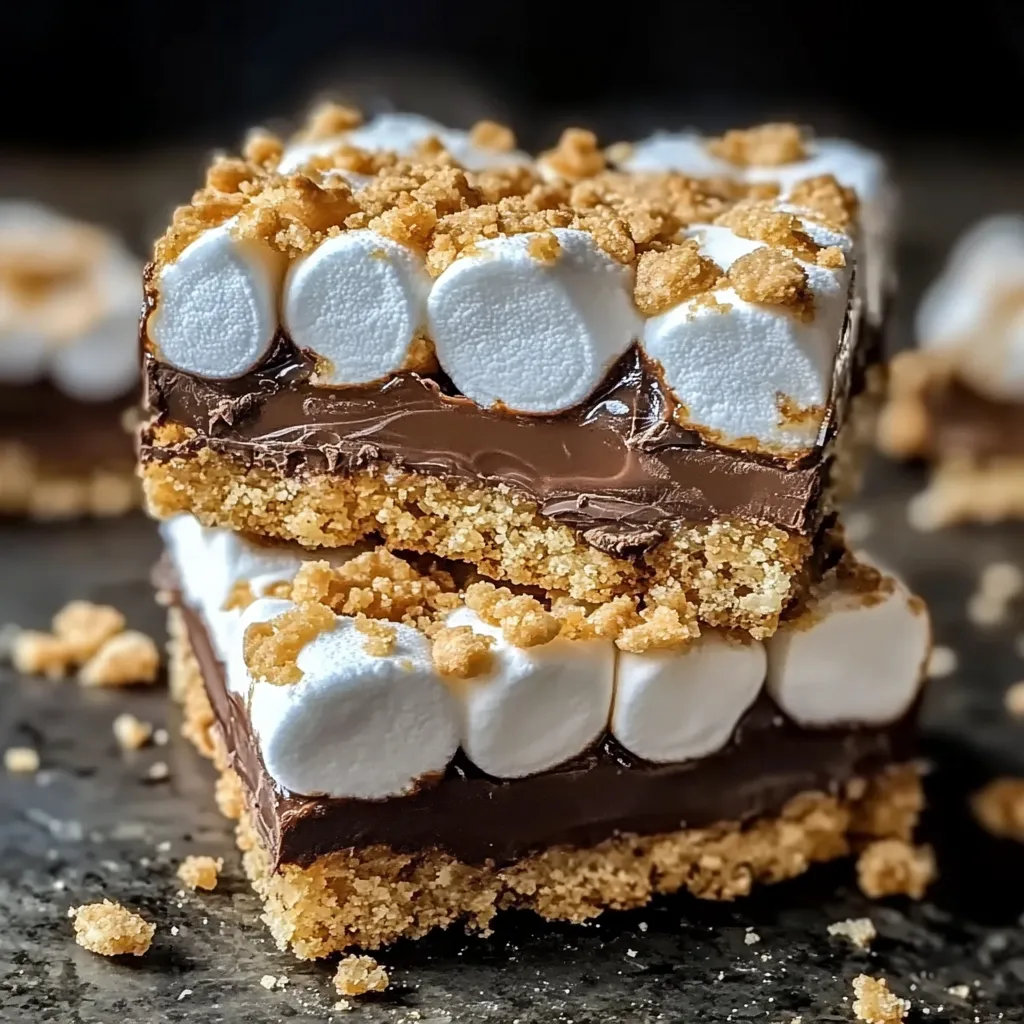
Play around with this flexible recipe to create your own signature version. If you love peanut butter, spread a thin layer over the baked crust before adding chocolate. Chocolate fans can swap half the regular graham crackers for chocolate ones or mix some cocoa powder into the crust. During holidays, try crushing candy canes on top of the marshmallows for Christmas or drizzle with caramel sauce in fall. Want more crunch? Toss some chopped nuts into the crust or sprinkle them between the chocolate and marshmallow layers.
Keeping Them Fresh
Take care of leftover bars by storing them right. Once they've completely cooled, put them in a sealed container at room temperature with parchment between layers so they don't stick together. They'll stay good for 4-5 days, though the marshmallow part will slowly get less fluffy. Need them to last longer? Keep them in the fridge for up to a week, but let them warm up before eating so they taste their best. Don't try freezing these—the marshmallows turn weird and spongy when thawed out.
These squares show how we can take a classic treat and make it more practical without losing what makes it special. They capture everything wonderful about traditional s'mores while making improvements through better prep and presentation. Whether they're at a kid's party, summer cookout, or just a family dessert night, these bars hit that sweet spot between nostalgic comfort and smart convenience that keeps everyone coming back for more.
 Save
Save
Recipe FAQs
- → Can I crush whole graham crackers at home?
- You can! Use about 12 graham cracker sheets. Grind them in a food processor, or crush them manually in a zipped bag using a rolling pin.
- → When will I know the marshmallows are ready?
- They'll look puffed up with a golden-brown surface. Keep an eye on them since they can overcook fast! You could also broil them briefly for a toasted top.
- → Can I prep these in advance for an event?
- Sure thing! Make them 1-2 days early, and store them in an airtight box. Warm conditions? Pop them in the fridge to keep fresh.
- → Why are my bars crumbling when I slice them?
- Let the bars chill completely before cutting. Use a sharp knife and clean it after each slice. Still crumbly? Dip the knife in warm water and dry before cutting.
- → Can I include add-ons in the mix?
- Absolutely! Try sprinkling in chopped nuts, toffee pieces, or adding peanut butter swirls. Flavored chips like caramel or mint also work great!