
 Save
Save
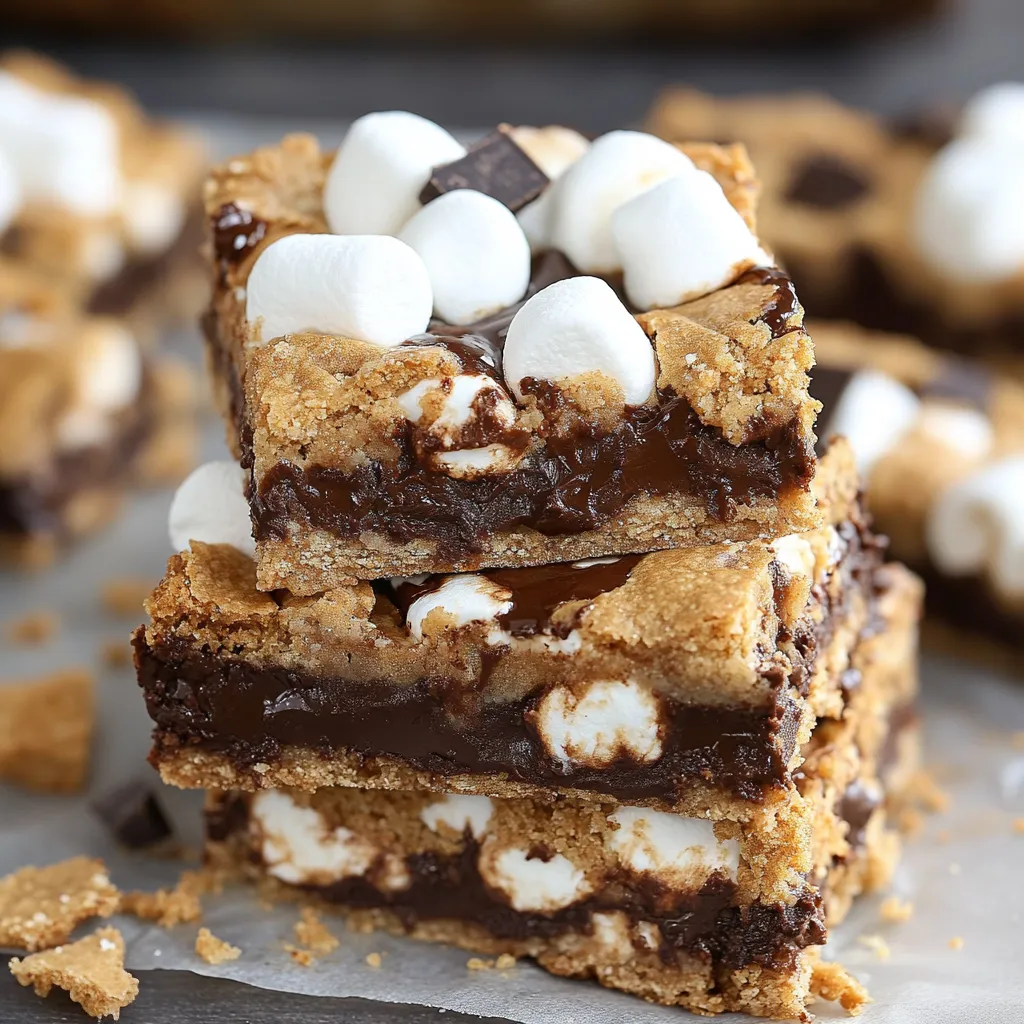
Toss those baking pans in the oven and bring campfire magic to your kitchen with these S'mores Seven Layer Bars. I whipped up this treat during a downpour when my kiddos were craving traditional s'mores but couldn't get outside. Each bite packs all the good stuff—gooey marshmallows, melty chocolate chunks, and crispy graham bits—minus the smoky clothes and sticky fingers. They've turned into our favorite sweet for family get-togethers, neighborhood parties, or just when we want something tasty that doesn't need much work.
When I dropped these off at my neighbor's cookout last year, the entire plate was empty before I could grab seconds. I spotted my friend's husband, who kept telling everyone he was "cutting back on sweets," sneaking back to the table four different times. When I caught his eyes on the last trip, he just smiled and told me, "These don't count as dessert—they're camping equipment." I had to laugh at his reasoning.
Delightful Campfire Components
- Graham cracker crumbs: The backbone of any true s'more. I like buying whole crackers and smashing them myself to get some chunky bits mixed with fine powder for better texture. You can blitz them in a food processor or put them in a plastic bag and pound away with a rolling pin if you need to release some stress.
- Butter: This binds your graham base into a solid foundation. I tend to pick salted butter because it balances the sweetness nicely, though unsalted works great too. Just make sure it's fully melted when you mix it in.
- Sweetened condensed milk: This sticky wonder is what fuses everything into gooey goodness. Don't grab evaporated milk by mistake—they're totally different things and your bars won't turn out right.
- Mini marshmallows: These little puffs brown more uniformly than big ones and spread better throughout. Adding them in two batches is key—some melt inside while others get that beautiful toasty top you want.
- Chocolate chips and chocolate bars: We need both! The chips sink in and create pockets of chocolate inside, while the bar pieces on top give that authentic s'more look and an extra hit of chocolatey goodness.
 Save
Save
Simple Assembly Steps
- Getting your base right:
- Your graham and butter mix should feel like damp sand that clumps when squeezed. Pack it down hard in your pan—I press with a measuring cup bottom to get it flat and tight. Any loose spots will make your bars fall apart when serving.
- Setting up your sticky layer:
- Drizzle the condensed milk carefully across the entire crust. Try to reach all the edges—this stuff works like cement to hold your toppings in place. Tip the pan slightly if needed to cover corner spots.
- Adding your fillings:
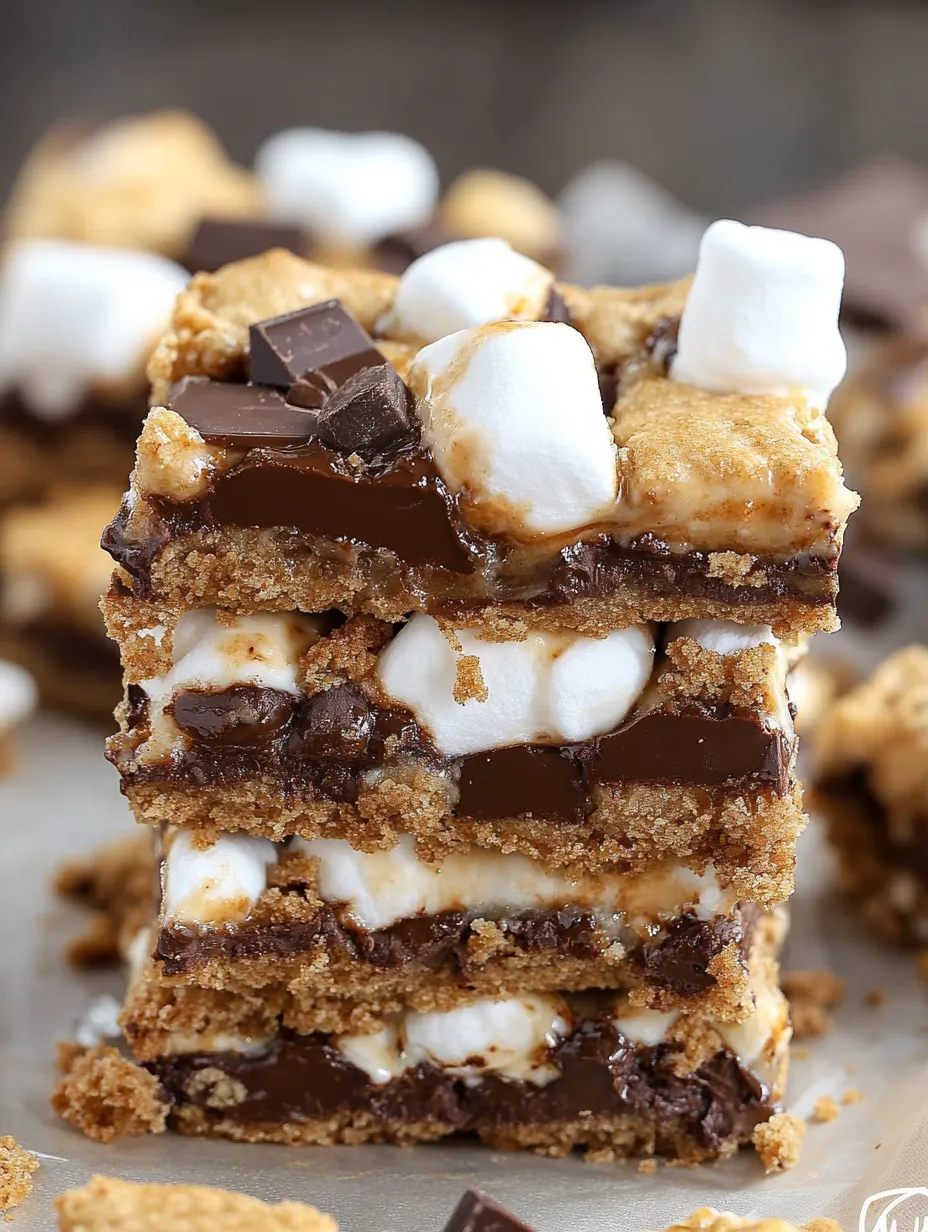
- Scatter your first batch of marshmallows, chocolate chips, and graham pieces evenly over everything. Fight the temptation to pile on extra—too much will keep the bars from setting properly. Break your graham crackers into quarter-sized pieces for the best bite.
- Getting that roasted flavor:
- The second round in the oven after adding more marshmallows is what makes these taste like real s'mores. Keep an eye on them toward the end—you want golden tops, not charred ones. Different ovens vary, so start peeking around 8 minutes.
- Adding the last touch:
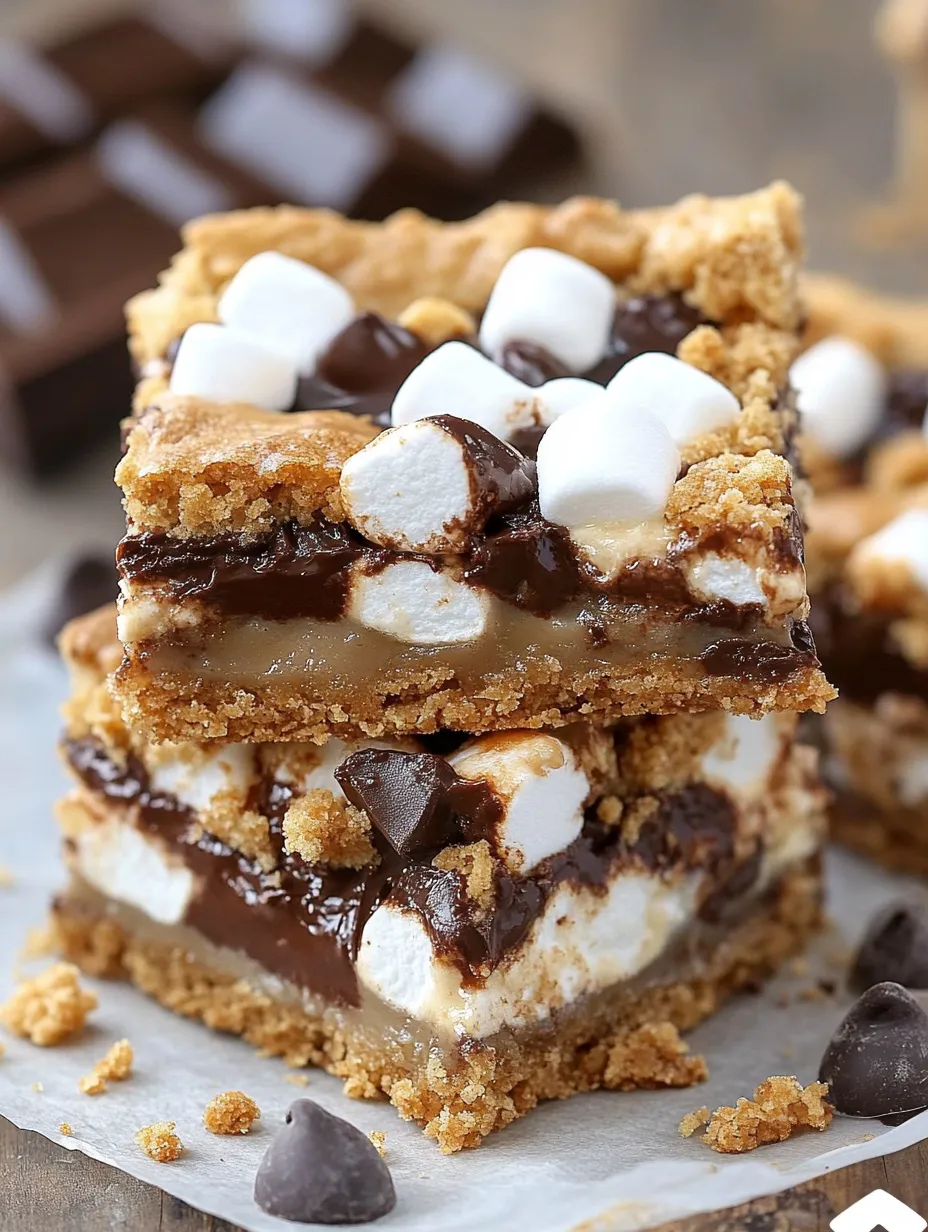
- Put your chocolate bar chunks on while everything's still hot so they soften and stick without completely melting away. Space them out so each slice gets some of that classic chocolate bar topping.
My earliest try with these bars taught me to wait before cutting. I sliced into them straight from the oven and wound up with a yummy but very messy pile. Now I make myself leave the kitchen for at least 15 minutes after baking to avoid temptation. After lots of tests, I've found this exact mix of marshmallows and chocolate works best—too many puffy marshmallows makes a sticky jumble you can't cut neatly.
Fancy Serving Ideas
Make these bars extra special by warming them slightly before adding a scoop of vanilla ice cream alongside. For summer parties, I place them on a wooden platter with fresh strawberries and blueberries scattered around for red, white, and blue flair. They look cute as mini desserts too—just cut them small and pop them into paper cupcake wrappers on a standing tray.
Fun Flavor Twists
After you've got the basic recipe down, play around with different add-ins. Try throwing in some chopped peanut butter cups for a Reese's twist. Switch to cinnamon graham crackers for a warm spicy note. Around Christmas, I sprinkle crushed candy canes on top for holiday flair. If you're crazy about chocolate, mix dark chocolate chips with milk chocolate bars for richer flavor.
Keeping Them Fresh
These treats stay good for 3-4 days in a sealed container on your counter. Put wax paper between layers if you need to stack them. You can stick them in the fridge too, which makes them firmer—great if you don't like super gooey desserts. They also freeze really well for up to 3 months. Just let them sit out for about an hour before you want to eat them.
 Save
Save
I've brought these S'mores Seven Layer Bars to block parties, school functions, and family dinners. There's just something about toasty marshmallows mixed with melty chocolate that brings back happy memories and puts smiles on faces. While we'll always love making traditional s'mores around a fire pit, these bars have become our go-to when we want those same flavors without the hassle. Plus, everyone gets the exact same mix of tasty stuff in every square—no fighting over who got the perfectly roasted marshmallow!
Recipe FAQs
- → Can I substitute mini marshmallows with larger ones?
- Totally! Just cut the bigger marshmallows into smaller pieces. Minis are easier and melt better, though.
- → How do I keep these fresh?
- You can leave them in a sealed container at room temp for a few days. Chill them if you like, but let them warm up a little before serving for the best texture.
- → Can these bars be frozen?
- Yes! Wrap each piece tightly in plastic wrap, pop them in a freezer-safe container, and they’ll last about 3 months. Just let them thaw before digging in.
- → How can I cut them without a mess?
- Cool them down all the way first, then use a sharp knife dunked in hot water. Wipe the knife clean after every slice. Chilling them helps too!
- → Can I mix in extra goodies?
- For sure! Toss in some nuts, caramel drizzle, white chocolate, or toffee bits to make them even better.