
 Save
Save
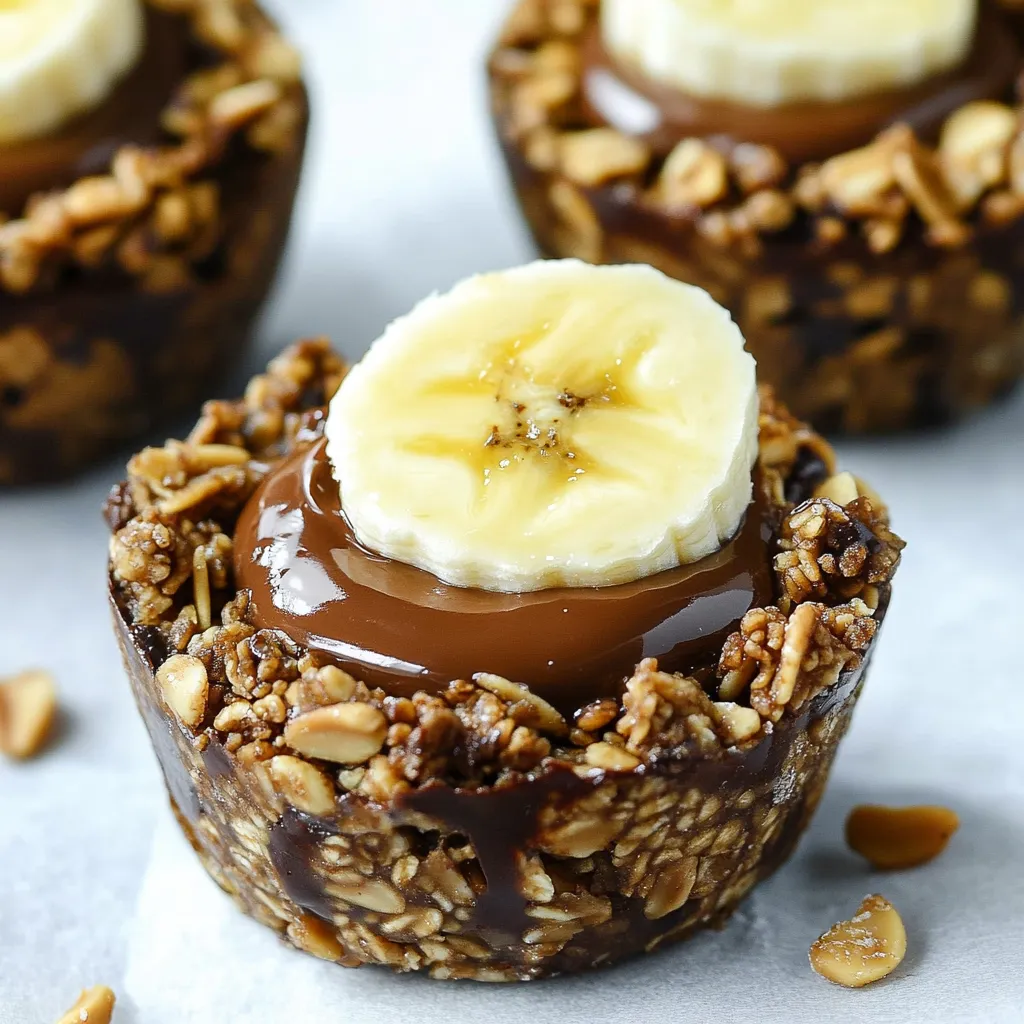
These chocolate granola cups have become my morning lifesaver when life gets crazy. I whipped them up during a super busy week last year when I needed something quick to grab that would keep my hunger at bay until lunchtime. The mix of crunchy chocolate-covered granola with smooth peanut butter in the middle creates this amazing combo of textures and tastes that feels like you're cheating but actually gives you long-lasting energy.
When I brought these to my hiking buddies' early gathering last month, my friend Jen who normally shows up with fancy power bars took one bite and instantly wanted to know how to make them. Since then, three others have sent me pictures of their own tries. There's nothing better than watching the peanut butter flow out when you bite through that crispy chocolate outer layer.
Basic Elements
- Honey granola: Pick whatever brand you like, though one with chunks works better for mouthfeel. I sometimes throw in homemade when it's available.
- Chopped peanuts: They give extra bite and boost the nutty taste. Brown them slightly for deeper flavor.
- Dark chocolate: Its subtle sharpness works well against the sweet granola. I usually go for 60% cacao, but choose what you prefer.
- Peanut butter: All-natural is fine for the center, but for mixing with chocolate, regular smooth peanut butter combines more easily.
- Honey: This sweet addition also serves as the glue that makes the cups stick together.
- Coconut oil: A small amount helps the chocolate melt properly and makes the cups set better.
 Save
Save
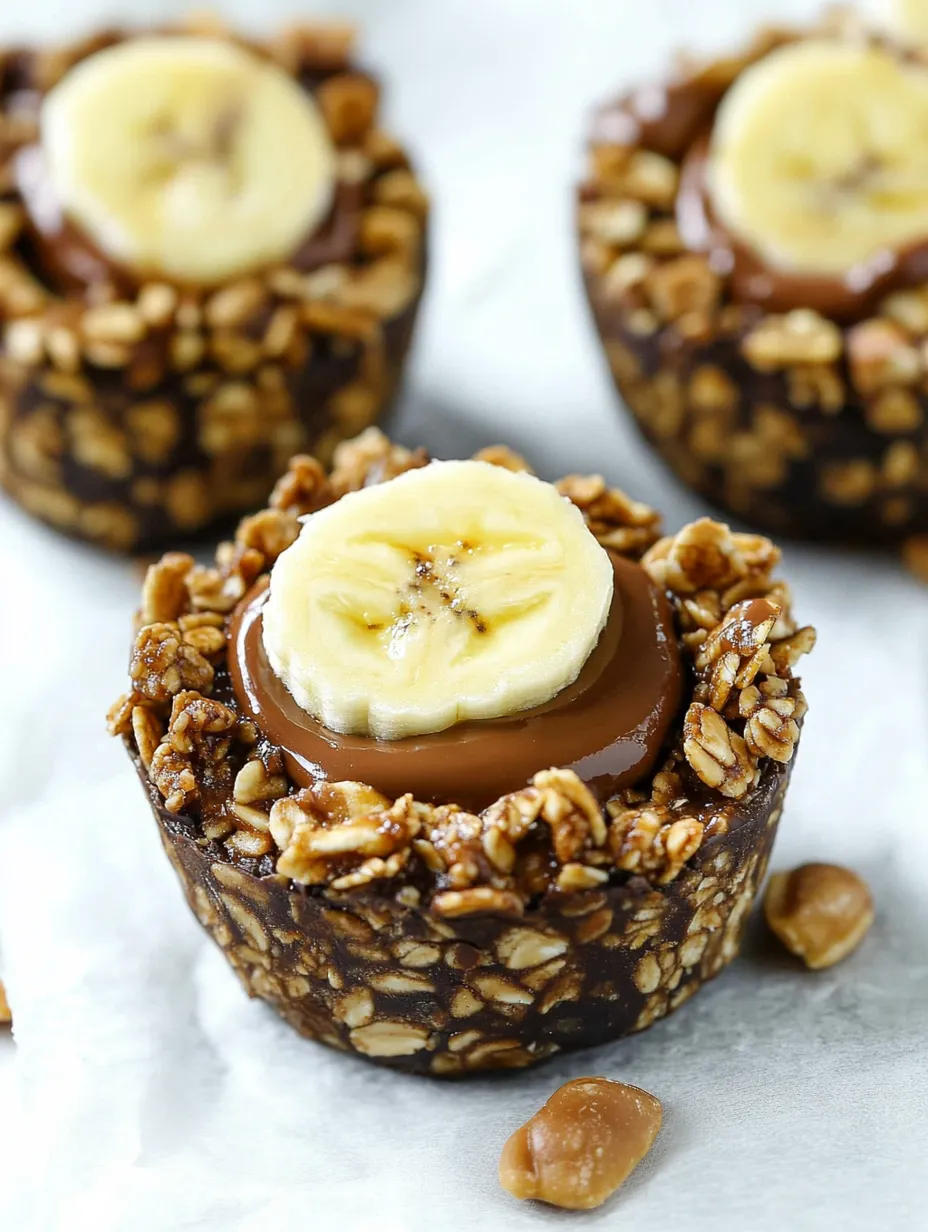
Cup-Creating Wonder
- Granola preparation
- Breaking down any big clusters makes a more even texture that sticks together better. Don't crush it completely - keep some chunks for texture.
- Chocolate consistency
- The chocolate mix should be totally smooth before adding to your granola. You can't fix any bumps after mixing.
- Mixture texture
- You want to hit that perfect balance where the mix is damp enough to stick when pressed but not so wet it won't firm up. Add more granola or honey if needed.
- Proper packing
- When pushing the mix into cups, use a spoon's back to pack it down firmly, especially around the sides. This stops them from falling apart when you take them out.
- Creating the dent
- Make the middle hollow deep enough to fit plenty of peanut butter but not so deep you break the cup bottom.
- Chilling strategy
- A quick trip to the freezer helps the cups get firm enough to pop out, but don't leave them too long or they'll stick. Go for just solid, not totally frozen.
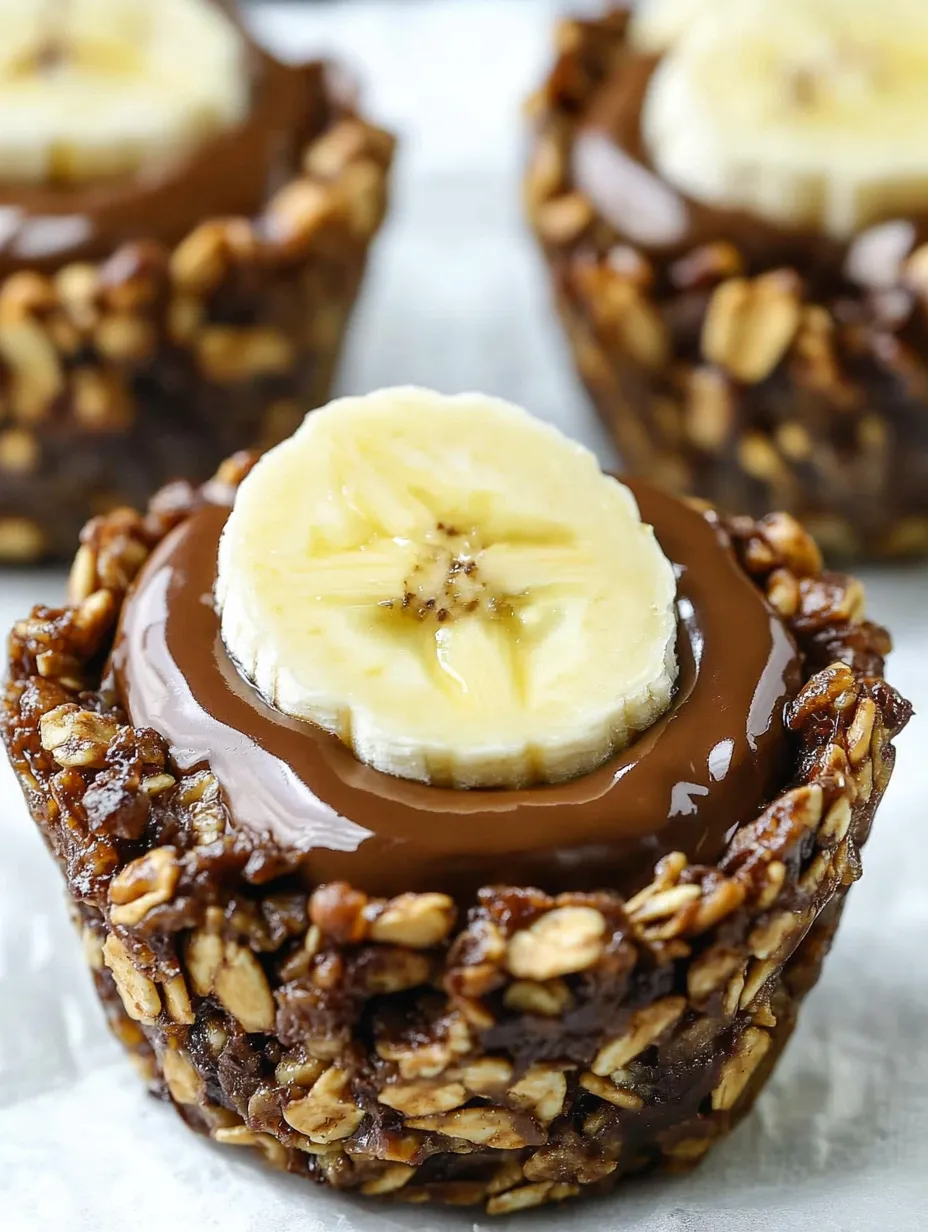
I came up with this recipe after getting fed up with paying $3 each for similar snacks at my coffee shop. My first try was too crumbly and fell apart with one bite. After tweaking how much honey and chocolate I used with the granola, I found the right mix to hold everything together. Now my teenage son, who usually skips breakfast, grabs one on his way to school - total mom victory!
Enjoyment Suggestions
Put these cups out during brunch alongside fresh fruit and yogurt. For a fancier dessert option, add some extra melted chocolate on top before eating. They're perfect with coffee or tea when you need a quick pick-me-up in the afternoon.
Creative Changes
Switch to almond butter or cookie butter in the center for something different. Throw some mini chocolate chips into the granola mix for more chocolate goodness. During holidays, add crushed peppermint candy to the chocolate coating.
Keeping Fresh
These stay good in the fridge for up to a week if kept in an airtight container. For longer storage, stick them in the freezer for up to 3 months. I often make twice as much and freeze half for when I need snacks in a hurry. Let frozen ones thaw overnight in the fridge or sit out for about 30 minutes.
 Save
Save
I've made these chocolate granola cups for tons of breakfast preps, hiking adventures, and as snacks for my kids and their pals. There's something really special about how portable they are and how they perfectly balance being healthy yet tasty. The fact that I can make them in about 15 minutes using stuff I always have in my kitchen makes them my go-to when I want something impressive without much work.
Recipe FAQs
- → Can I swap peanut butter for a different spread?
- For sure! Options like almond butter, cashew butter, or sunflower seed butter are great alternatives.
- → How can I make sure these are gluten-free?
- Choose a granola labeled gluten-free and double-check all your other ingredients for the same.
- → Is it possible to make these nut-free?
- Definitely! Use seeds like sunflower or pumpkin instead of peanuts, and swap the peanut butter for sunflower seed butter.
- → What’s the easiest way to unstick them from the pan?
- After freezing, leave them out for a few minutes, then carefully loosen the edges with a knife before lifting.
- → Would silicone muffin pans work better here?
- Absolutely. Silicone pans are fantastic for this and usually mean no greasing or sticking hassle.