
 Save
Save
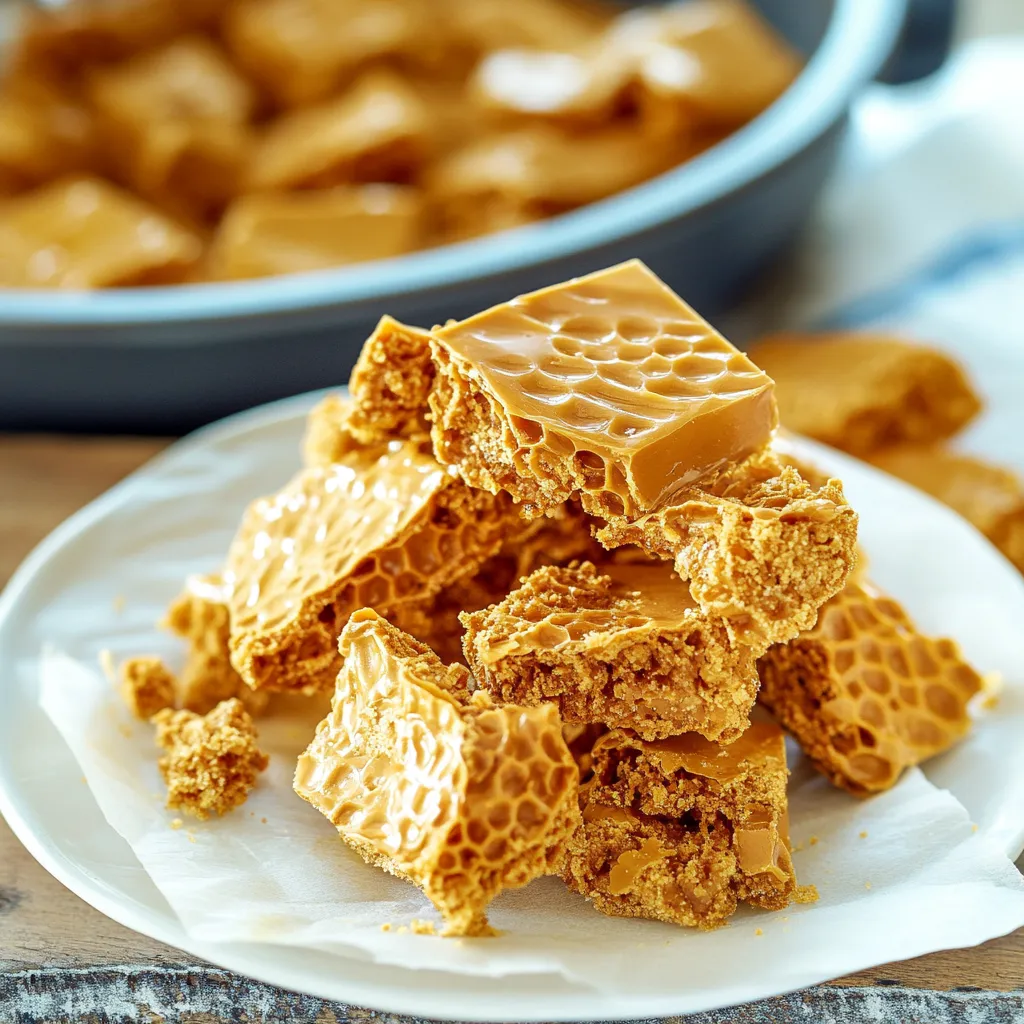
This airy toffee treat turns basic kitchen staples into something truly special - a light, crunchy confection that breaks apart in your mouth before dissolving into sweet bliss. With its honey-like flavor and signature bubble structure, this easy-to-make candy works great as gifts, dessert decorations, or just a tasty snack when sugar cravings hit.
My first time making this candy happened after I saw someone whip it up on TV. I couldn't believe such amazing results came from such ordinary ingredients. That moment when you toss in the baking soda and watch everything puff up like magic still gets me excited every single time.
Basic Tasty Components
- Sugar forms the foundation and gives the candy its main sweetness
- Corn syrup helps everything stay smooth without forming unwanted crystals
- Honey adds that signature taste that makes this candy special
- Water dissolves the sugar and makes sure everything heats up properly
- Baking soda creates the awesome reaction that makes all those bubbles
- Vanilla deepens the flavor and balances out the sweetness
- Salt brings out all the other flavors and makes everything taste better
 Save
Save
Candy Making Approach
Getting ReadyStart by putting parchment paper in an 8×8 inch pan, leaving some hanging over the edges so you can pull it out later. This setup is super important because once things start bubbling, you'll need to move fast. Get your baking soda, vanilla, and salt measured out beforehand so they're ready to go.
Making The BasePut sugar, water, corn syrup, and honey into a big, deep pot - bigger than you think you need since the mixture will grow a lot. Stick a candy thermometer on the side, making sure it doesn't touch the bottom. Mix everything together before you turn on the heat.
Careful CookingCook everything on medium heat without mixing it at all. You'll see it start to bubble and slowly turn amber. Keep an eye on your candy thermometer - you want to hit exactly 300°F, which is when all the good stuff happens.
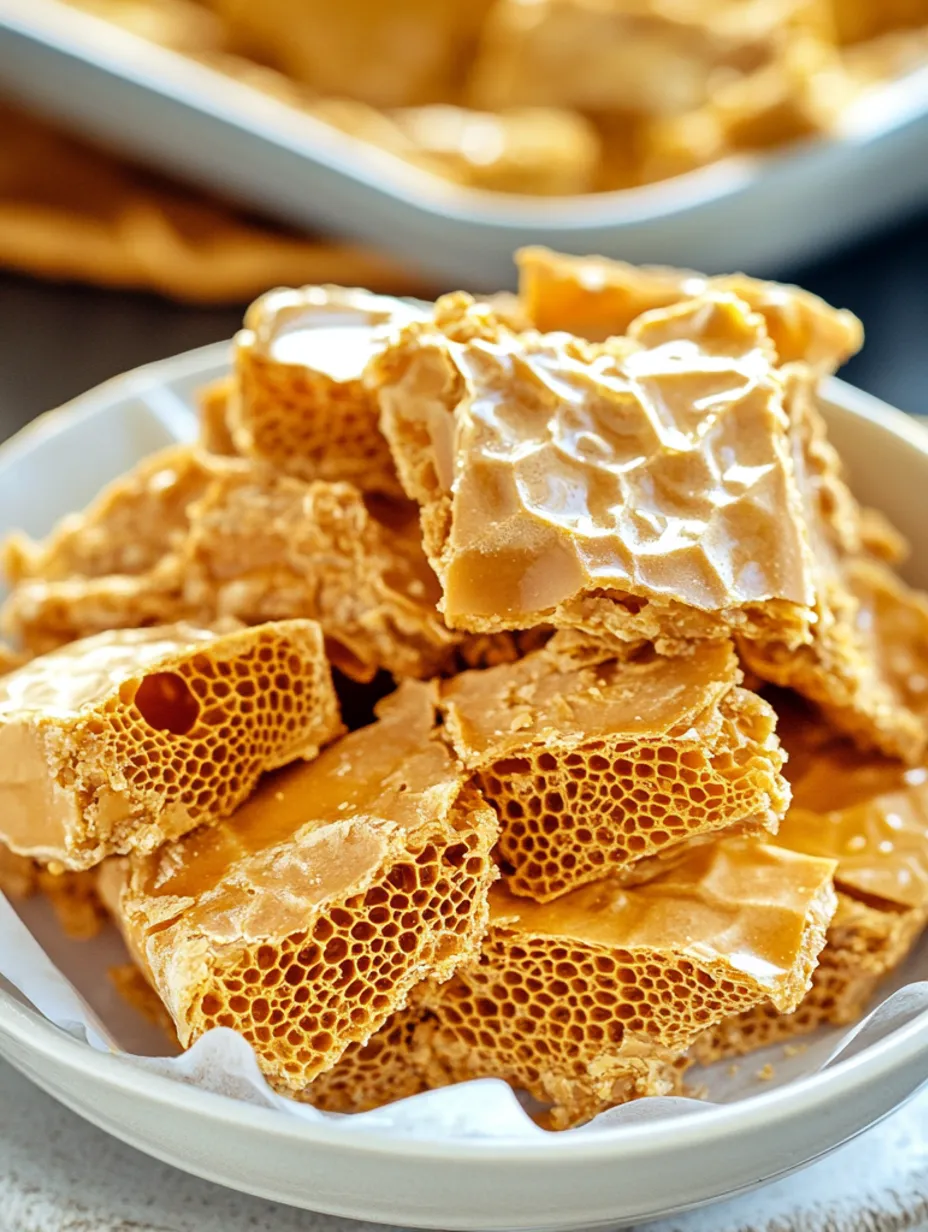
The Magic MomentAs soon as it reaches the right temperature, take it off the heat and quickly mix in your baking soda, vanilla, and salt. This is the fun part - the mixture will suddenly puff up and maybe even triple in size as tiny bubbles form all through it.
Moving To The PanQuickly but carefully pour the foamy mixture into your waiting pan. Don't try to spread it out - that'll just squash all those nice bubbles. If needed, just give the pan a gentle shake to help it settle evenly.
Waiting TimeLet your candy cool all the way at room temperature, which takes about an hour. During this time, everything hardens and those bubbles get locked into place. Don't stick it in the fridge to speed things up - the moisture can ruin it.
Breaking It UpOnce it's completely cool, lift the whole thing out using those parchment paper edges. You can break it up with your hands for a rustic look or cut it with a sharp knife for neater pieces. Either way, some crumbling will happen - that's just how this candy works.
The first time I tried making this candy, I picked a pot that was way too small. The whole thing bubbled over like a volcano eruption! Sticky candy went all over my counter and hardened almost right away. These days I always grab my biggest pot and stand ready with potholders to quickly move it when needed.
Tasty Ways To Enjoy
This candy tastes great by itself, but it also works wonders when added to other treats. Broken pieces make ice cream look fancy while adding a nice crunch. You can stick bigger chunks on cakes and cupcakes to make them look like they came from a bakery. For something really special, dip pieces in melted chocolate and let them set - you'll have your own homemade candy bars.
Fun Flavor Twists
Want something different? Try adding a teaspoon of espresso powder with the vanilla for a coffee-flavored version. During winter holidays, throw in some cinnamon or ginger for a seasonal touch. If you love chocolate, try covering cooled pieces with melted dark chocolate - the bitter and sweet combo works amazingly well.
Keeping It Fresh
Keep your candy in an airtight container at room temperature with parchment paper between layers so they don't stick together. Try to eat it within a week since it tends to absorb moisture from the air and can get sticky. Don't put it in the fridge or freezer - the moisture will ruin that perfect crunch.
 Save
Save
Handy Candy Tips
- When cleaning up, just soak sticky pots in warm water and the sugar will melt away
- Use a sharp, straight-edged knife with a bit of oil on it to cut pieces without sticking
- Make this candy on dry days for the best results - humidity makes it go soft
I once brought some homemade candy to a family get-together where my great-aunt Dorothy, who rarely says anything nice about anything, asked me which fancy store I'd bought it from. When I told her I made it myself, she didn't believe me until I showed her a video on my phone. Now whenever I visit, she always asks if I've brought any of "that honeybee candy." Coming from her, that's basically the highest praise possible!
Recipe FAQs
- → Why isn't my honeycomb bubbly and light?
- You probably mixed it too much after adding baking soda or pushed it down when transferring to the pan. Keep it light so the air bubbles stay intact.
- → Can corn syrup be left out?
- Sure thing! Swap it with golden syrup or more honey. Corn syrup helps keep the sugar from crystallizing, so make sure to watch temperatures closely if you skip it.
- → Why does my honeycomb have a burnt taste?
- The sugar likely got too hot. Use an accurate candy thermometer and take it off the heat the second it hits 300°F to stop it from burning.
- → How do I make it less sticky?
- Humidity can make honeycomb sticky. Store it in an airtight container with parchment layers between pieces. A silica gel packet helps too, or dip it in chocolate for protection.
- → Is it okay to add other flavors?
- Totally! Swap vanilla for almond, orange, or coffee extracts. Add them after cooking to keep their flavors strong.
- → Is this the same as real bees' honeycomb?
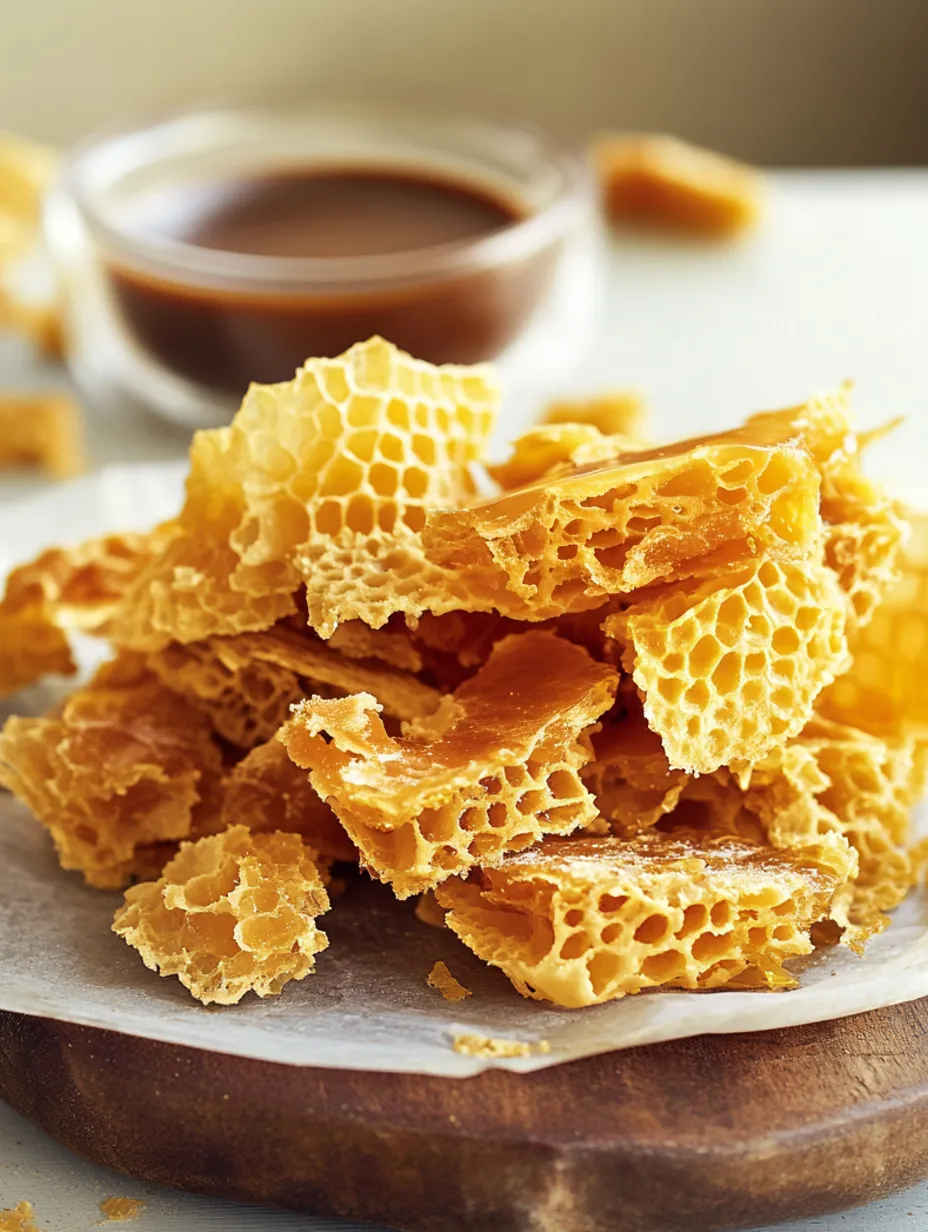
- Nope! It's called honeycomb candy because it looks similar, but it's made from sugar and baking soda. Other names include seafoam or sponge toffee.
Crunchy Candy Delight
A crisp, airy treat that breaks apart in crunchy bites. Tastes great plain or dressed up in chocolate!
Ingredients
→ Honeycomb Base
→ Optional Chocolate Topping
Steps
Grab an 8 x 8 dish or big pie pan and line it with parchment, leaving at least an inch hanging over the edges for easy lifting later.
Mix together sugar, water, honey, and corn syrup in a heavy medium pan. Attach your candy thermometer to the side for accuracy. Stir until it's clear, then heat on medium until it hits a perfect 300°F (this is the hard-crack stage).
Quickly take the pan off the heat. Stir in the vanilla, salt, and baking soda. It'll foam up a lot, so stir just enough to combine everything evenly. Don’t overdo it.
Carefully scrape the foamy mixture into the lined dish using a spatula. Avoid spreading it out, as this may ruin the airy texture.
Leave the honeycomb to cool down at room temperature for about half an hour. Once firm, pull it out using the paper edges and break it into pieces with your hands or a knife.
If you’re doing chocolate, melt the chips and coconut oil or shortening together in a double boiler. Stir until smooth. Spread the warm chocolate gently over the cooled honeycomb and let it set before breaking it apart.
Notes
- Using a candy thermometer will help you hit the exact 300°F needed for the right texture.
- Keep it in an airtight container at room temperature, and it’ll stay tasty for up to a week.
- Humidity can make honeycomb sticky, so store it in a dry place.
Required Tools
- Heavy saucepan (medium, with thick bottom)
- Whisk
- Candy thermometer
- Spatula (rubber works best)
- 8 x 8 dish or pie pan
- Parchment paper
- Double boiler (if using chocolate)
Nutritional Facts (per serving)
These details are provided for informational purposes and aren't a substitute for medical advice.
- Calories: 95
- Fats: 0.1 g
- Carbohydrates: 25 g
- Proteins: 0.01 g