
 Save
Save
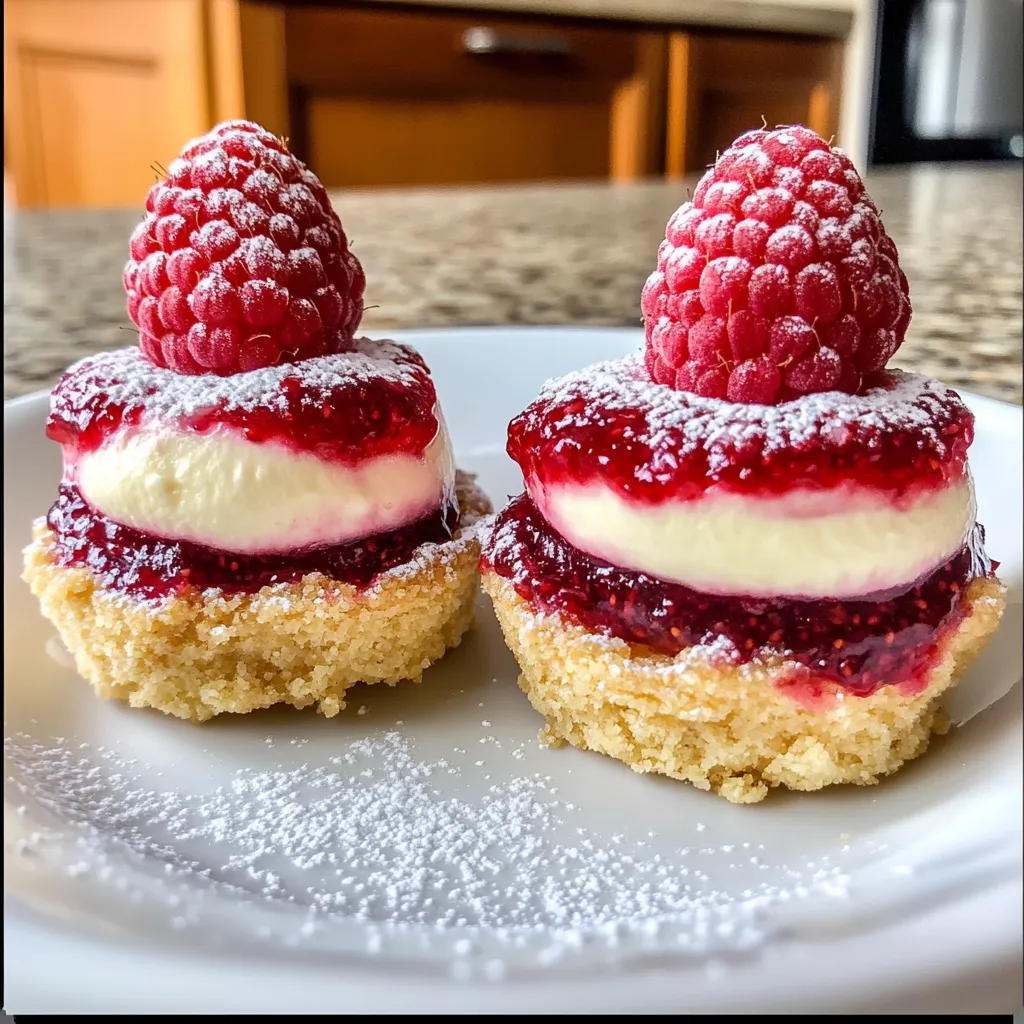
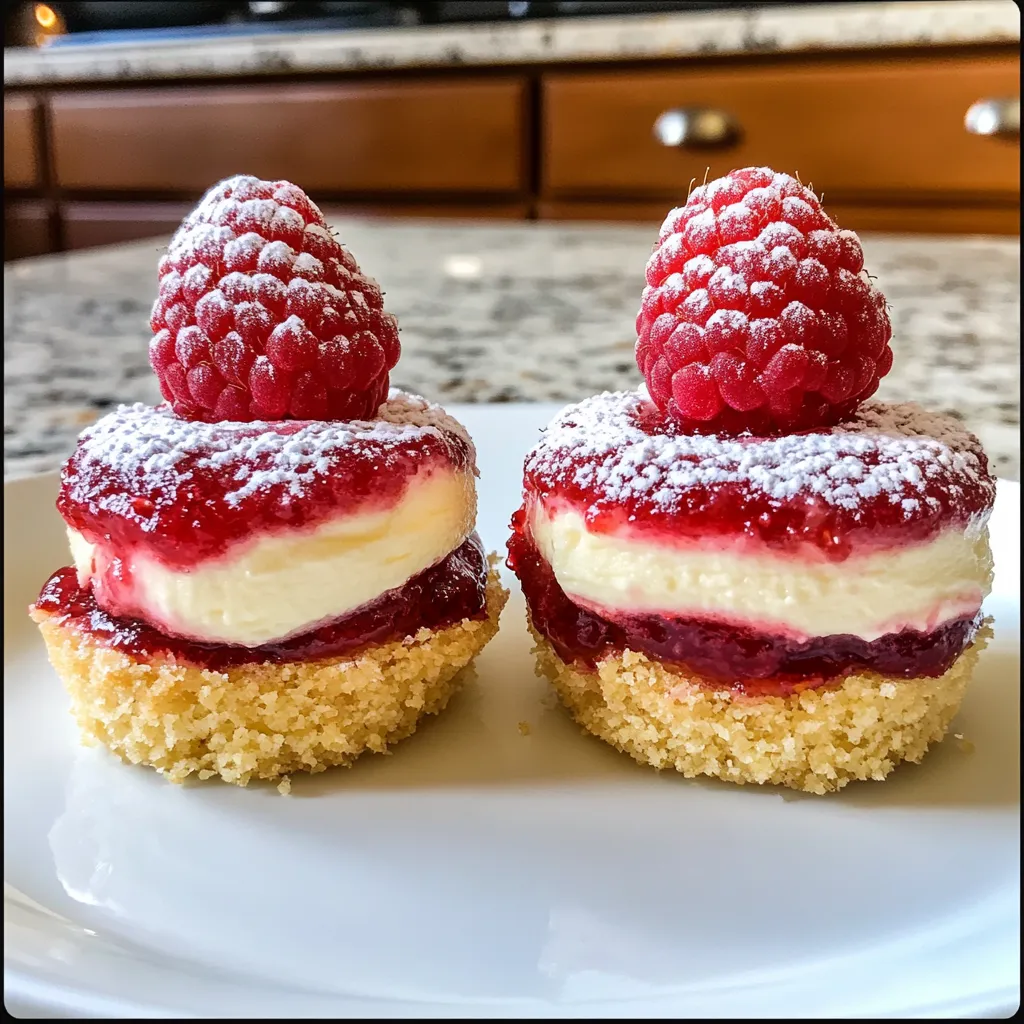
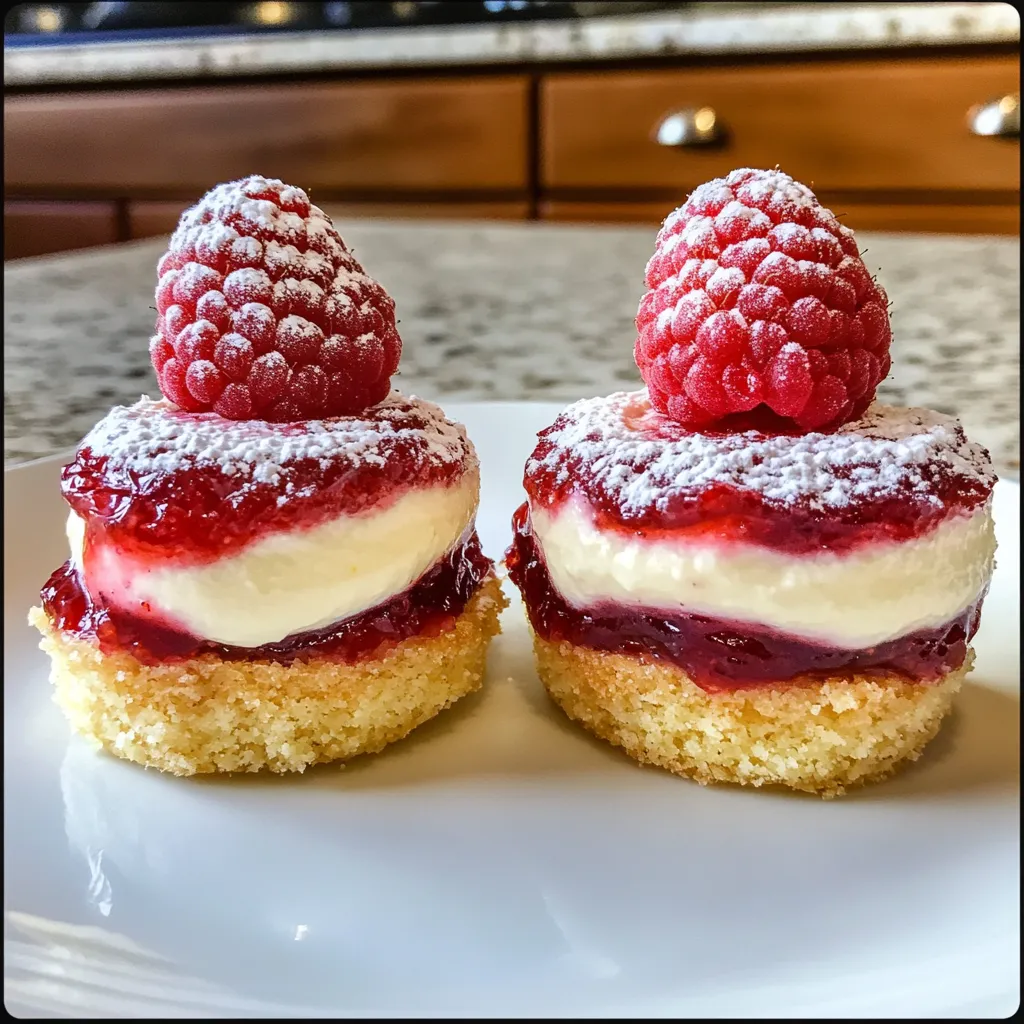
These zesty lemon raspberry cheesecake cups perfectly blend tangy citrus with juicy berries in handy single-serve portions. You'll fall for the crumbly graham base topped with smooth lemony cream cheese and crowned with vibrant raspberry goodness. They're just the right mix of sweet and tart, giving you a light and refreshing treat that won't leave you feeling stuffed.
I came up with these little treats for a backyard party when regular cake seemed too heavy for summer. As soon as they hit the table, folks couldn't stop staring at their pretty colors. What really shocked me was how many people who usually skip dessert grabbed one to try. Something about their lightness and fresh taste won everyone over. Even my dessert-avoiding neighbor who "never touches cheesecake" asked me how to make them before heading home.
Smart Ingredient Choices
- Graham Cracker Crumbs: They're the backbone of your base, giving that honey-sweet taste and classic texture. Making your own by crushing whole crackers tastes way better than buying pre-packaged stuff. Just pop whole crackers in your food processor for the freshest flavor.
- Unsalted Butter: It holds your crust together and adds a rich taste that plays nicely against the smooth filling. Always go unsalted so you can control how much salt ends up in your dessert.
- Cream Cheese: This is what makes everything so silky and luxurious. Don't skimp on the fat content if you want truly satisfying results. Let it warm up completely before mixing or you'll end up with annoying lumps.
- Sour Cream: This sneaky addition brings a slight tang and makes everything extra creamy. It works with the lemon to create depth while making the texture even smoother.
- Fresh Lemons: You need both the juice and the zest for real lemon flavor. The oils in the peel pack way more punch than any bottled juice could. Always scrape the zest off first, then squeeze the juice.
- Fresh Raspberries: These little red gems add gorgeous color and juicy freshness. Look for bright, firm berries without mushy spots or mold. Their tartness balances all the sweetness perfectly.
- Raspberry Preserves: Good quality preserves boost the berry flavor and give that perfect jammy texture. Try to find ones with real berry chunks and not too many additives for the truest taste.
- Eggs: They help your filling set properly while keeping everything creamy. Make sure they're room temperature so they mix in smoothly.
Flawless Method
- Building Your Base:
- Start by heating your oven to 350°F and putting paper liners in your muffin tin so they'll be easy to serve later. Mix one cup of graham cracker crumbs with a quarter cup of sugar in a bowl, making sure the sweetness spreads evenly. Pour in half a cup of melted unsalted butter and stir until everything looks like damp sand. When you squeeze it, it should stick together without feeling too greasy. Put about two tablespoons in each cup and press down firmly with a measuring spoon, pushing it slightly up the sides too. This creates a strong foundation that won't fall apart. Pop them in the oven for 8 minutes until they smell good and the edges start to darken.
- Whipping Up The Filling:
- While your crusts cool down, work on the creamy part. In a big bowl, beat eight ounces of softened cream cheese until it's completely smooth. Don't rush this step—any lumps now will show up in your finished dessert. Slowly add half a cup of sugar while you keep beating, and scrape the bowl often. Once it looks fluffy, mix in half a cup of sour cream for that silky-smooth texture. Add two large eggs one at a time, mixing just enough to blend each one. Don't overdo it or you'll get too much air in there, which can cause cracks. Finally, stir in a quarter cup of fresh lemon juice and all the zest from one lemon, which gives that bright, zingy flavor that makes these treats so refreshing.
- Getting The Bake Just Right:
- Spoon your creamy mixture over the cooled crusts, filling each cup about three-quarters full so they have room to rise. Tap the pan gently on your counter a few times to pop any air bubbles that might cause cracks. Bake them for 15-20 minutes, watching carefully. They're done when the edges look set but the middles still wobble slightly like firm jello. Don't leave them in too long or they'll dry out and crack. After baking, turn off the oven, crack the door open, and leave them inside for about 10 minutes. This slow cooling helps prevent them from sinking in the middle. Then move them to a cooling rack before chilling them for at least four hours or overnight.
- Making The Berry Topping:
- While your cheesecakes chill, put together your berry topping. In a pot, mix one cup of fresh raspberries with a quarter cup of raspberry preserves. Warm it gently, stirring now and then as the berries start releasing juice. Cook for about 3-4 minutes until it thickens a bit but some berries still keep their shape for texture. Take it off the heat and let it cool completely before spooning it over your cold cheesecake cups. The mix of cool, smooth cheesecake with slightly warm, jammy berries makes each bite feel special.
 Save
Save
My favorite twist on this recipe is adding a thin white chocolate layer between the crust and filling. It hardens as it chills and gives you a wonderful surprise when you bite into it. My grandma came up with this idea after chatting with her friend who works as a pastry chef. While we enjoy these treats all year long, they've become our unofficial summer kickoff dessert, showing up at our first outdoor get-together when the warm weather finally arrives.
Creative Presentation Ideas
You can dress these cheesecake cups up or down depending on the occasion. For fancy dinner parties, take them out of their liners and put them on small plates with a light sprinkle of powdered sugar and a fresh raspberry on top. The simple look really shows off their pretty colors. For brunch with friends, stack them on a tiered stand with some fresh fruit and coffee so everyone can grab their own. If you're heading to a picnic, keep them in their paper liners and pack them in a secure container with ice packs to keep them cool. For kids' birthdays, make them more playful by adding colorful sprinkles or tiny cookie decorations on top of the raspberry layer to catch little ones' eyes.
Tasty Twist Options
The basic lemon-raspberry combo works as a starting point for tons of creative changes. For a vacation vibe, swap out lemon for lime and replace the raspberry topping with mango and passion fruit. The bright citrus works amazingly with those tropical flavors. During winter holidays, try adding some cinnamon to the crust and top with spiced apple or pear instead of raspberries. Chocolate fans will love some mini chocolate chips mixed into the filling before baking, finished with a drizzle of melted dark chocolate that sets into a thin shell. If you want something lighter, try using Greek yogurt for half the cream cheese to cut down on fat while keeping things creamy and adding protein.
Keeping Them Fresh
These little treats store really well, making them perfect for preparing ahead of time. If you're eating them within a few days, just keep them in an airtight container in the fridge for up to four days. They actually taste better after sitting overnight as the flavors mingle together. Wait to add the berry topping until a day before serving so it doesn't make the cheesecake soggy. For longer storage, freeze them without the topping for up to two months. Wrap each cup in plastic wrap then foil to protect them, and store in a sturdy container. Let them thaw overnight in the fridge before adding fresh topping. Don't use the microwave to thaw them or you'll ruin their texture with uneven heating.
I started making these cheesecake cups as a simple experiment, but they've turned into my signature dessert that everyone asks for by name. What I love most about them is how forgiving they are—if the tops crack a little or the crust isn't perfectly even, the raspberry topping hides it all. The bright lemon mixed with sweet-tart raspberries creates something that tastes fancy but isn't intimidating. Unlike many desserts that leave you feeling stuffed, these balanced little treats satisfy your sweet tooth without weighing you down, making them perfect after dinner or with afternoon tea.
 Save
Save
Recipe FAQs
- → Can I prepare these cups in advance?
- Absolutely! Toss them in the fridge a day ahead. Dust with powdered sugar right before serving.
- → What if I don't have serving cups?
- No problem—a muffin tin works great! Use liners for easy release, or grease well to avoid sticking.
- → Is it possible to use other fruits?
- For sure! Swap raspberries with strawberries, blueberries, or blackberries in the same amounts.
- → How will I know when the cups are baked?
- When the edges are firm and the center wobbles just a little. They’ll finish setting as they cool.
- → Why did my filling crack?
- Cracks come from overmixing or baking for too long. Mix just enough and don’t stress! Topping hides small cracks.