
 Save
Save
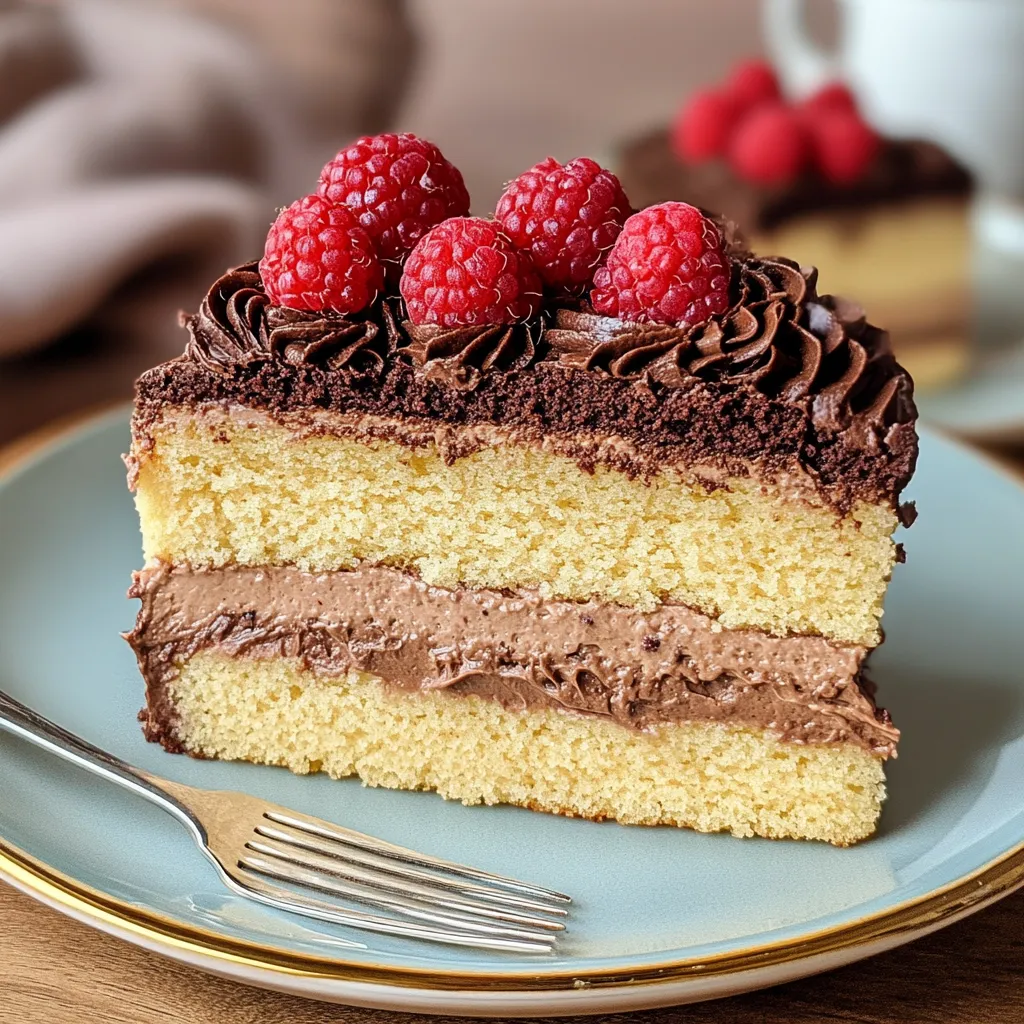
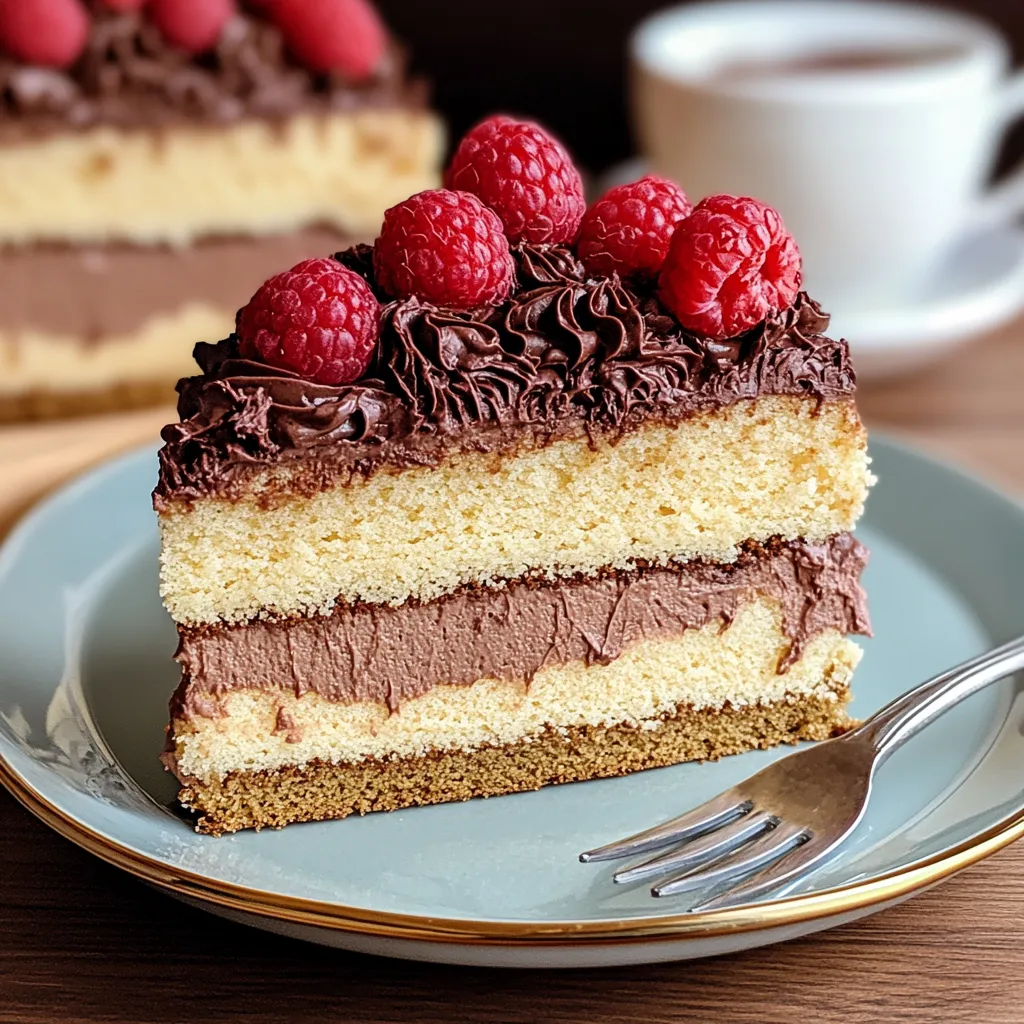
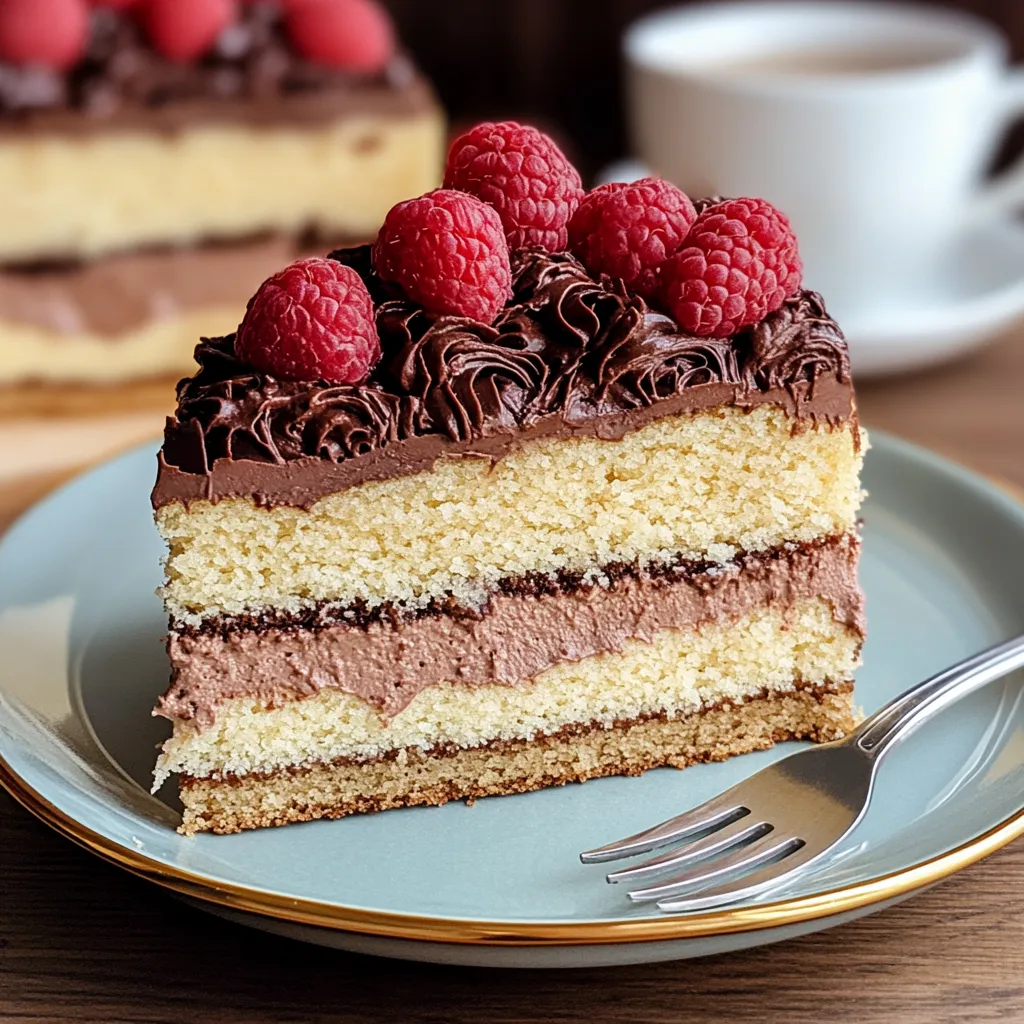
This Italian love cake wows everyone with its fancy look but super easy prep. The magic happens when the layers switch during baking—ricotta sinks down while chocolate rises up, creating perfect layers all by themselves. You'll get a chocolatey base, creamy ricotta middle, and smooth chocolate pudding topping without any fancy techniques. It looks like you spent hours in the kitchen but uses basic stuff from your pantry and barely any special skills. Your guests will think you're a baking pro while you secretly know how little work it actually took.
I first tried this amazing cake at my aunt's Easter party a few years back. I couldn't believe such a fancy-looking dessert came from her kitchen instead of a bakery! When she told me the cake does all the hard work itself, I had to get the recipe. Now I've made it for so many parties, and everyone always asks how I did it after their first bite. There's something about that soft chocolate cake mixed with the smooth ricotta center that hooks people—they can't believe how easy it was to make something that tastes so fancy.
Delightful Blend
- Ricotta cheese: Makes that special creamy middle layer; grab the whole milk kind for extra richness and that real Italian flavor with its gentle sweetness and airy feel.
- Chocolate cake mix: Forms your trusty base with no-fail results; pick devil's food for the best flavor and cut down your work compared to baking from scratch.
- Granulated sugar: Cuts the tang of the ricotta and helps create the right texture that lets the layers swap places during baking.
- Pure vanilla extract: Adds sweet fragrance to the ricotta layer that works with both the cheese and chocolate parts throughout.
- Large eggs: Give everything structure while helping the cool switch that happens when the layers flip around during baking.
- Instant chocolate pudding: Creates a frosting that's just right—not too stiff or runny but sets up perfectly.
- Whipped topping: Makes the frosting fluffy but still firm enough for clean slices; make sure it's totally thawed before you use it.
- Whole milk: Mixes with the pudding for the top layer; use it cold so the pudding thickens up nicely.
Delicious Creation
- Heat Things Up:
- Turn your oven to 350°F and give it enough time to get fully hot before you start baking. While you wait, coat a 9×13 pan completely with cooking spray or butter, getting into all the corners and up the sides. Good pan prep keeps your cake from sticking and helps you get those pretty layered slices out cleanly when serving. Put your rack in the middle of the oven so heat hits your cake evenly while it bakes.
- Cheese Mixture Magic:
- Grab a big bowl and mix whole milk ricotta, sugar, and vanilla until it's totally smooth. Start with stuff that's not cold from the fridge for easier mixing, and use your electric mixer on medium for about two minutes until there's no graininess left. Drop in your eggs one at a time, mixing each one in fully before adding the next, until you get a silky, pourable mix that's still thick enough to make a nice middle layer.
- Chocolate Base:
- In another bowl, mix your chocolate cake mix with oil, water, and eggs following the box directions. Stir it really well until there are no dry spots hiding at the bottom or sides of the bowl. Your finished mix should look shiny and be the same color all the way through, showing everything's mixed in right. This chocolate part will float up through the ricotta while baking, making those cool layers without you doing anything special.
- Building Layers:
- Pour your chocolate cake mix evenly into your greased pan, using a spatula to push it into corners and smooth the top. Then carefully pour the ricotta mix over the chocolate in a steady stream, covering everything while trying not to disturb the chocolate underneath. The ricotta should hide all the chocolate, looking like a plain white cake before baking. Don't mix these layers together—they need to stay separate to work their magic in the oven.
- Baking Magic:
- Put your cake in the hot oven and bake for 60-70 minutes until it's mostly set but still jiggles a tiny bit in the middle. A toothpick stuck near the center should come out mostly clean with maybe a few moist crumbs. The top will turn light golden and pull away from the edges a bit. Let the cake cool completely on a wire rack before you do anything else, giving those layers time to set up so they'll slice cleanly.
 Save
Save
My grandma's twist on this recipe was adding just a tiny bit of almond extract—about a quarter teaspoon—to the ricotta mixture. This small change brings in a mystery flavor that guests love but can't quite name. She always used copper bowls for mixing the ricotta part, swearing they made everything fluffier and better textured. I can't prove if that's really true, but I still do it her way because the cake always turns out amazing, especially at holiday gatherings where people gasp when they see those pretty layers after the first slice.
Topping Touch
The best part of this magical cake might be its super simple but totally yummy frosting. In a medium bowl, mix instant chocolate pudding with cold whole milk, whisking hard for two or three minutes until it starts getting thick. Let it sit for about five minutes to thicken some more while still staying spreadable. Then gently fold in your completely thawed whipped topping using a rubber spatula with careful down-and-over motions to keep it fluffy. Your frosting should be light and mousse-like with even chocolate color throughout. Spread this creamy mixture all over your cooled cake, making some nice swirls and peaks that make people want to dive right in.
Flavor Twists
This flexible dessert welcomes creative changes while keeping its magical layering trick. Coffee lovers can mix two teaspoons of instant espresso powder into the oil before adding it to the cake mix, creating a mocha flavor in the chocolate parts. If you like almonds, try using almond extract instead of vanilla in the ricotta mix and sprinkle toasted sliced almonds on top. Adding fresh orange zest to both the ricotta and frosting brightens everything up. For special events, try placing thin strawberry slices between the cake and frosting for a chocolate-covered strawberry feel in every bite.
Storage Smarts
This awesome cake stays fresh when kept in the fridge after you've frosted it. Wrap the pan tightly with plastic or put cut pieces in a sealed container so they don't pick up fridge smells or dry out. When stored right, this cake stays tasty for up to five days, though many fans say it actually tastes best after 1-2 days in the fridge as everything melds together. Before serving, take it out about 20 minutes ahead of time to take the chill off, which makes the creamy texture and flavors even better. Use a clean, sharp knife and wipe it between cuts to show off those beautiful layers.
I've made this Italian love cake for tons of special events over the years, and it always gets rave reviews for both looks and taste. What I really love about it is how forgiving it is—even when I've left it in the oven a bit too long or rushed through making the frosting, it still turns out great. The difference between the dense, cheesecake-y ricotta part and the soft chocolate cake creates a texture combo that has people sneaking back for "just a tiny piece more." If fancy layer cakes or complicated desserts scare you off, this recipe delivers professional-looking results without needing any expert skills—it's truly a keeper for any home cook.
 Save
Save
Recipe FAQs
- → What makes the layers flip in the oven?
- The lighter cake batter rises while the dense ricotta sinks as it bakes, causing the layers to swap places. It's a fun kitchen surprise!
- → Is it better to make this cake ahead of time?
- Definitely! Let it rest overnight in the fridge. This helps the flavors blend perfectly and allows the cake to set nicely.
- → Can I use different cake mix flavors?
- You sure can! Vanilla or other flavors work, though it may stray from the classic taste everyone loves.
- → Why is the center still jiggly after baking?
- A little wobble is normal because of the ricotta layer. Let it cool—it’ll firm up. If overly jiggly, bake a bit longer, but keep your eye on it.
- → Can I freeze this cake for later?
- Yes! Freeze unfrosted slices or the whole thing for up to two months. Let it thaw in the fridge, then add the pudding topping before serving.