
 Save
Save
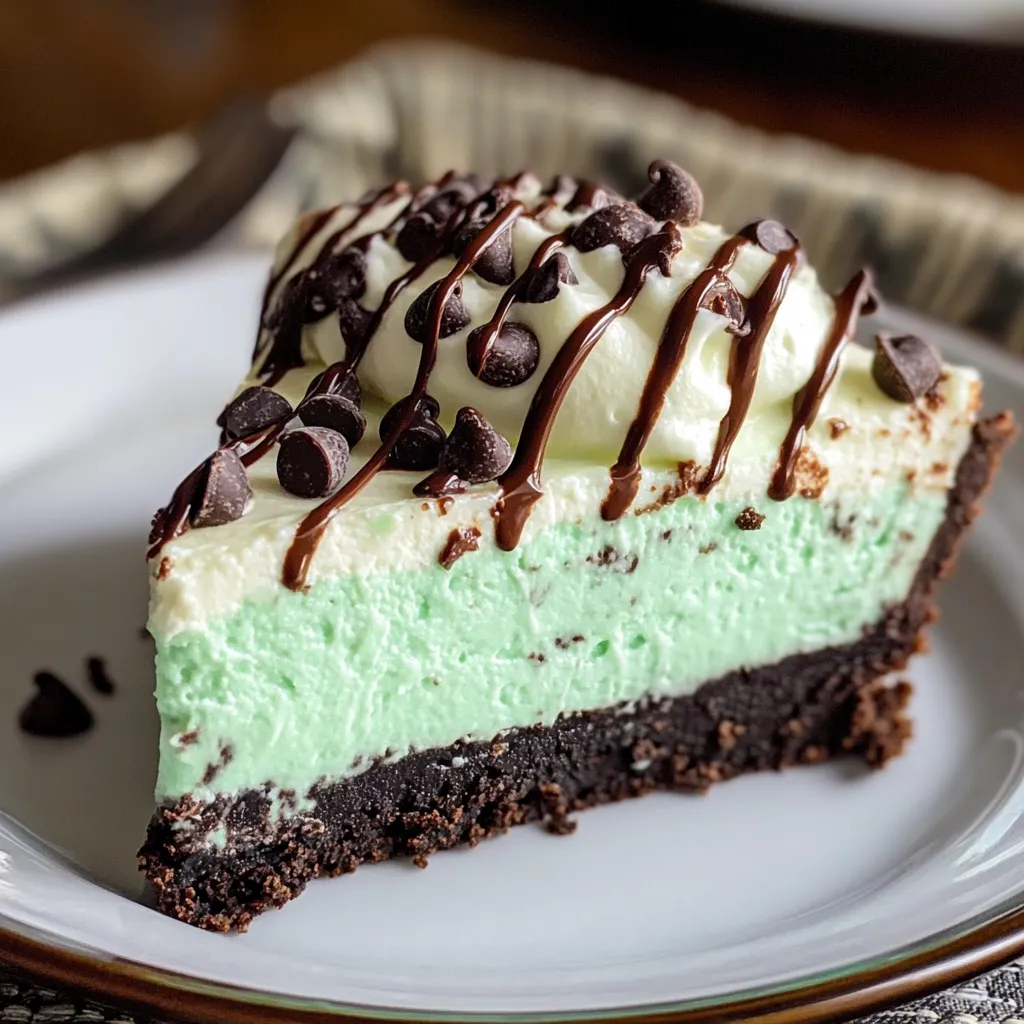
This easy no bake mint chocolate chip cheesecake brings a cool spin to a beloved sweet treat. The mix of refreshing mint and decadent chocolate creates a smooth, luxurious experience that'll make both chocolate fans and mint lovers smile. When you bite in, you'll enjoy three amazing textures – the snap of the Oreo base, the smooth mint filling, and little bursts of chocolate chips that make your taste buds dance.
I took this cheesecake to our block party last summer and watched everyone come back for 'tiny extra slices.' My neighbor pulled me aside and asked for my secret, telling me she'd never enjoyed mint-chocolate until she tried my dessert. Now she makes it whenever she hosts summer parties.
Key Ingredients
- Oreo cookies: They form a tasty chocolate base that works beautifully with the minty topping. The white filling in the cookies helps the crust stick together just right.
- Unsalted butter: This binds the crust while letting you decide how salty your dessert should be. Make sure it's fully melted for the best mix.
- Cream cheese: This gives you that distinctive tangy flavor all good cheesecakes need. Go for full-fat for the creamiest results.
- Granulated sugar: This cuts through the tanginess without adding extra liquid that might stop the cake from setting right.
- Powdered sugar: It blends perfectly into the mix with no grainy bits, adds sweetness, and helps the filling stay firm.
- Peppermint extract: This tiny addition packs the cool mint punch. Be careful when measuring – a little goes a long way!
I've made this with lots of different cream cheese brands, and they all turn out great. What really matters is getting the temperatures just right—your cream cheese should be nice and soft to avoid bumps, but your heavy cream needs to be super cold to whip up nicely. This temperature difference is what gives you that silky-smooth finish.
 Save
Save
Cooking Steps
- Crust foundation
- Toss whole Oreos with their cream centers into a food processor and pulse till they turn into fine crumbs. Drizzle in melted butter while running the processor a bit longer so it spreads evenly. You want it to look like damp sand that sticks when you squeeze it. Dump it into a springform pan and push it firmly across the bottom and about 1.5 inches up the sides, using a measuring cup bottom to pack it down evenly.
- Cream cheese base
- In a big bowl, whip the softened cream cheese until it's completely smooth with no lumps, about 2-3 minutes. Don't forget to scrape the bowl sides and bottom several times. Add your granulated sugar and keep beating until everything gets light and fluffy. The sugar actually helps put air into the cream cheese, making your final cheesecake lighter.
- Flavor infusion
- Mix powdered sugar, vanilla extract, and peppermint extract into your cream cheese blend. Beat until everything's well combined, stopping to scrape the bowl when needed. Take a tiny taste to check if the mint is strong enough—remember that the flavor will calm down a bit as it sits. If you want more mint kick, add just a drop more peppermint extract at a time.
- Whipped cream magic
- In another bowl with clean beaters, whip cold heavy cream until it forms stiff peaks. Watch it carefully—the cream should stand up firmly when you lift the beaters but still look smooth and shiny. If it starts looking grainy, you've gone too far. With a big rubber spatula, fold the whipped cream into your cream cheese mix by scooping down the side of the bowl, then up and over the middle, turning the bowl as you go.
- Color enhancement
- Add just a tiny bit of green gel food coloring to your mixture. Remember you can always add more color, but you can't take it away. Start by dipping a toothpick in the gel and swirling it into a small part of the filling, then fold that colored bit into the bigger mixture. Keep adding tiny amounts until you get a nice mint-green shade, knowing it might get a little darker as it chills.
- Chocolate incorporation
- Gently fold in mini chocolate chips using the same folding method you used for the whipped cream. The tiny chips spread better throughout the filling and give you the perfect chocolate-to-mint ratio in every bite. Save a small handful for the top. When mixing, fold just enough to spread them evenly—too much mixing will make the chips sink to the bottom.
- Setting process
- Get your crust from the freezer and pour the filling into it, being careful not to knock out all the air you've mixed in. Use an offset spatula to smooth the top into an even layer, making a slight dome if you want. Sprinkle your saved chocolate chips around the edge for a pretty finish. Cover with plastic wrap without touching the surface and chill for at least 8 hours, or better yet, overnight, so the flavors can mingle and the filling can set completely.
When I first made this dessert, I used regular chocolate chips but noticed they kept sinking to the bottom while it was setting. Switching to mini chips fixed this problem and gave each slice a more even texture. I've also played around with different amounts of peppermint extract over time. Too little and you can't taste the mint; too much and it's like eating toothpaste. The 1/4 teaspoon in this recipe hits the sweet spot for most people, but I always say you should taste and tweak it to match what you like.
Perfect Pairings
Try serving this mint chocolate chip cheesecake with a bit of warm chocolate sauce drizzled on top that melts into the cold filling. For a coffee shop feel, enjoy each slice with a shot of espresso to bring out the chocolate flavors. During Christmas time, add some crushed candy canes or mint chocolates on top for a festive look. I often bring this to summer parties with some fresh berries on the side—the bright, tangy berry taste goes wonderfully with the rich, creamy cheesecake.
Tasty Twists
You could use chocolate mint Oreos for the crust to boost the mint chocolate taste throughout. Or swap out the mini chocolate chips for chopped Andes mints for a smoother mint chocolate blend in the filling. If you're crazy about chocolate, try adding a layer of chocolate ganache between the crust and filling. My family loves it when I mix in some crushed Oreos with the chocolate chips for extra crunch and more chocolate flavor throughout the cheesecake.
Storage Smarts
This cheesecake stays good in the fridge for up to 5 days when kept in an airtight container. If you want to save it longer, you can freeze single slices wrapped tightly in plastic wrap and foil for up to 3 months. Let frozen slices thaw overnight in the fridge for the best texture. If you see water collecting on top after it's been in the fridge, just dab it gently with a paper towel before serving. I've found it actually tastes better after a day in the fridge as the mint flavor spreads throughout the filling.
 Save
Save
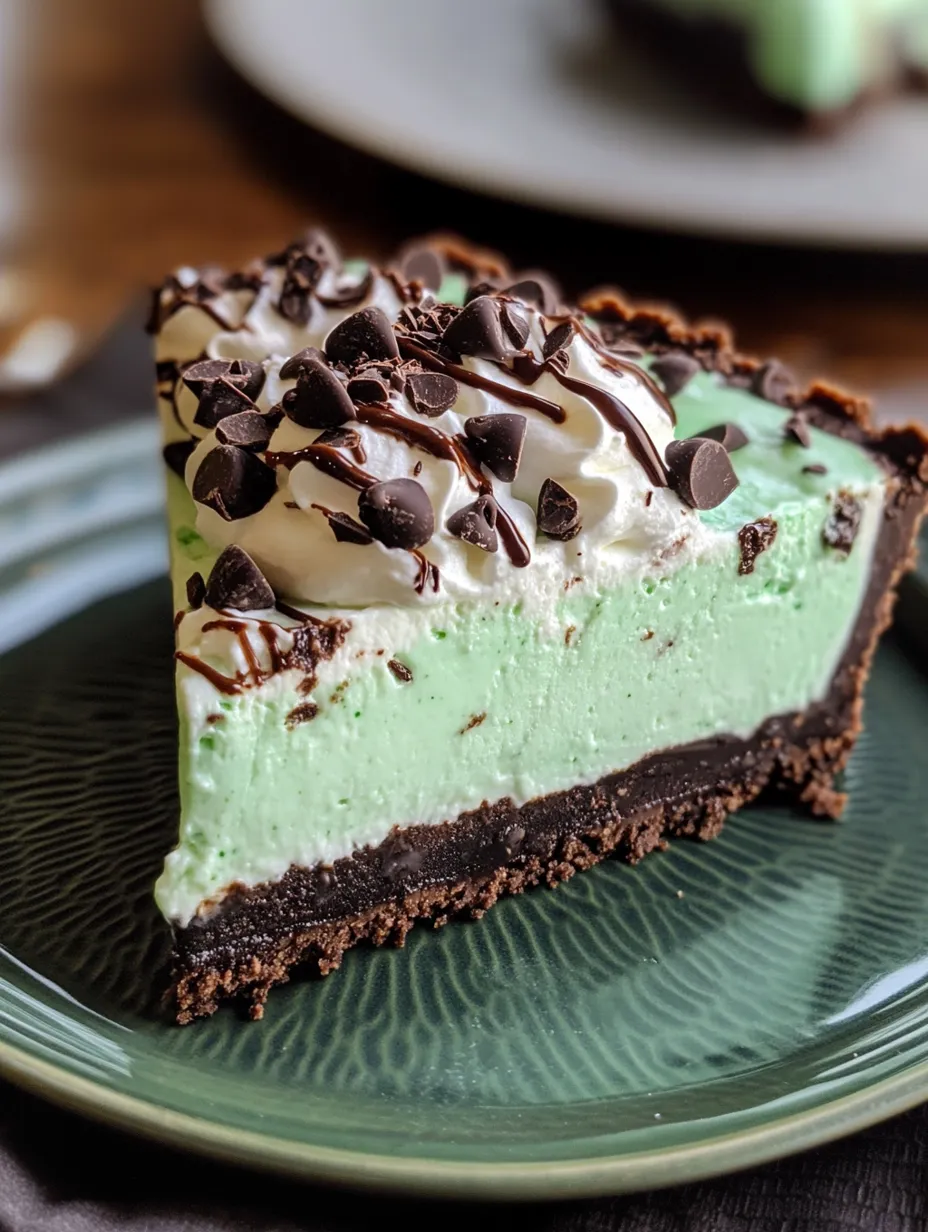
I've whipped up this no bake mint chocolate chip cheesecake for tons of summer parties, holiday dinners, and even as a birthday dessert for a friend who wanted 'something with mint and chocolate.' The pretty green color makes it extra popular around Christmas and St. Patrick's Day. What I really love about this dessert is how it turns simple ingredients into something that looks and tastes like it came from a fancy bakery, but doesn't need any actual baking skills!
Recipe FAQs
- → Can this dessert be prepared early?
- Yep! It’s great for planning ahead since it needs a good 8 hours to firm up in the fridge. You can make it 1-2 days early or even freeze it for about a month.
- → What do stiff peaks look like in whipped cream?
- When you pull the whisk, stiff peaks stand tall without wilting. If they slump, just whip a tad more. But don't overdo it, or it turns into butter.
- → Can I swap mini chips for regular ones?
- Mini chips work best since they mix evenly without sinking. Regular chips are doable but might settle more and give inconsistent bites.
- → What decorations go with this dessert?
- Chocolate ganache, whipped cream, crushed Andes mints, chocolate shavings, or even a drizzle of fudge. Add mint leaves for a fresh pop of color.
- → How can I slice it cleanly?
- Use a sharp knife dipped in hot water, then dry it off before cutting. Rinse and repeat after each cut to avoid sticking or smearing.