
 Save
Save
Crunchy cubes of flavored sushi rice, cooked till golden on the outside while keeping their soft, tasty middle. These small bites turn basic ingredients into a habit-forming treat that connects old-school methods with fresh ideas.
Yesterday evening, I brought these to a friend gathering and watched them vanish in seconds. The way the outer shell breaks to reveal the well-seasoned rice inside - it's a texture experience that has everyone grabbing another.
Key Components
- Sushi Rice: Just short-grain rice gives you that needed sticky quality
- Rice Vinegar: Brings sharp, tangy elements that cut through the heaviness
- Neutral Oil: Builds that amber, crunchy coating
- Sea Salt: Boosts all tastes and adds final snap
 Save
Save
The Making Process
- Rice Preparation:
- Start by washing rice completely until water turns clear. Mix with exact water amount and cook until every grain feels soft.
- Seasoning Magic:
- With rice still warm, mix in your flavored vinegar blend. Every grain should shine with the mixture, making that typical sushi rice flavor.
- Shaping Process:
- Push your seasoned rice into a covered tray with intent - strong enough to keep shape but not so much you crush the airy feel.
- Crispy Transformation:
- Warm oil till it glistens, then slowly fry each block until golden beauty shows up. See them change from white to honey gold.
My granny showed me why it matters to honor the rice - noticing how every grain soaks up the flavor before going to the next part. This waiting turns good rice blocks into amazing ones.
Great Companions
These golden blocks work well with basic toppings like hot mayo or avocado, but they're just as yummy plain with only a bit of furikake sprinkled on top.
New Ideas
Mix up the flavorings in your rice - try adding wasabi dust or curry spices. Use leftovers as tiny rice sandwiches or crispy bases for your favorite spreads.
Keeping Fresh
Store uncooked blocks in the fridge for up to two days. Once fried, eat right away for best crunch. If needed, reheat in a hot skillet for a moment.
 Save
Save
After many tries, I've found these blocks aren't just a cool snack - they show how simple foods, handled with love, can become something special.
Common Questions
- Can I use normal rice?
- Just short-grain types will work right. Long-grain rice won't stick properly.
- Why did my blocks break apart?
- Make sure rice cools and gets packed well. Too hot rice or loose pressing causes breaking.
- How long do they stay crunchy?
- Best when fresh, but can be re-crisped in a pan. Don't use the microwave as it makes them tough.
- Why isn't my rice sticking together?
- Be sure you're using short-grain rice and pressing hard when forming. The rice should be warm when adding vinegar mix.
- Can I make these beforehand?
- Yes, form and chill for up to 48 hours before cooking. This actually helps them stay together better.
- What's the best oil temperature?
- Medium-high heat, around 350°F. Try with a bit of rice - it should bubble softly, not strongly.
- How do I stop oil from spattering?
- Put blocks into oil carefully and don't fill the pan. Dry rice blocks before frying.
- Can I cook in the oven instead?
- Yes, coat with oil and cook at 425°F for 15-20 minutes, turning halfway. Though they won't be quite as crunchy.
These crunchy rice blocks perfectly mix comfort and class - easy enough for weeknight munching yet fancy enough for company. The difference between the crunchy outside and soft inside makes an addictive texture that has everyone coming back for seconds. Whether eaten plain or dressed up with extras, they show how basic ingredients can turn into something amazing. Each batch I cook reminds me why these have become a must in my cooking, and I bet they'll become one in yours too.
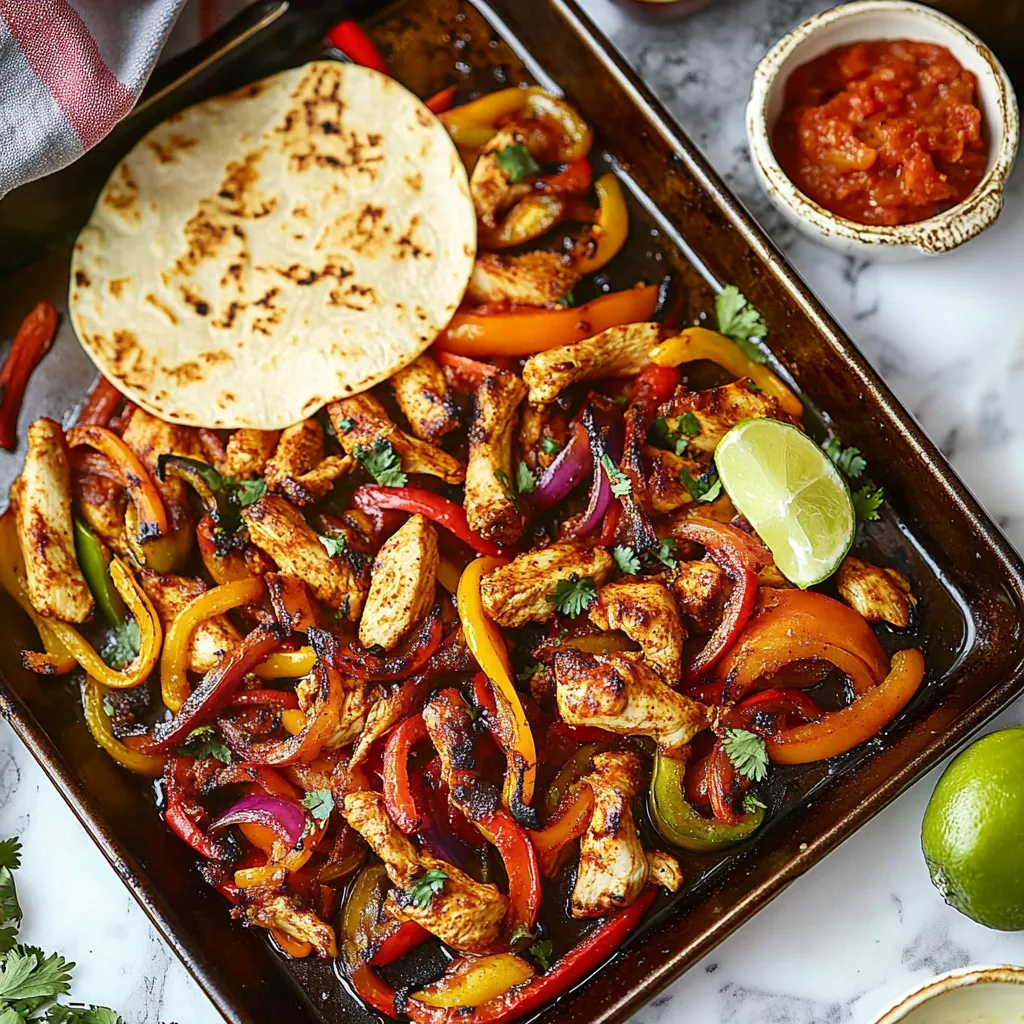
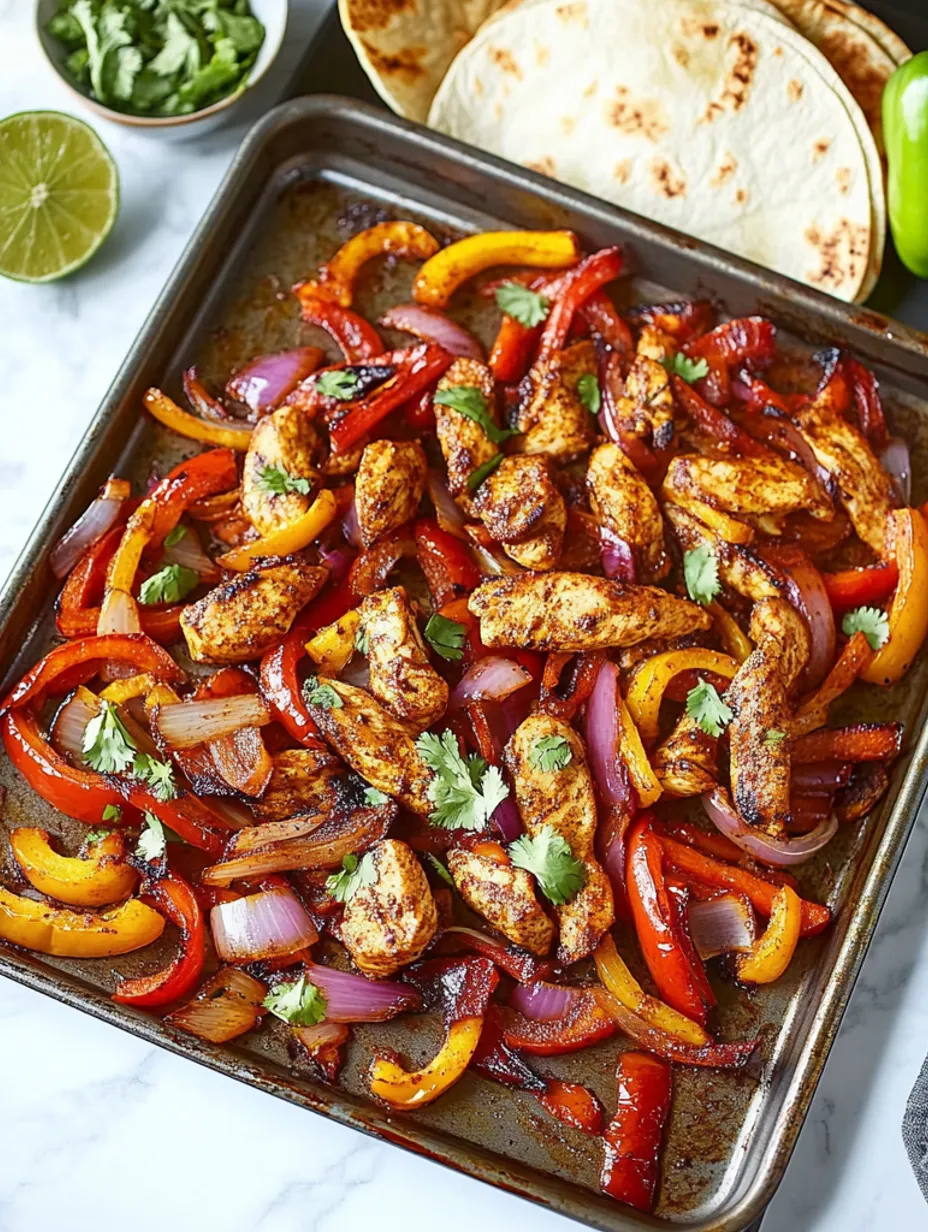
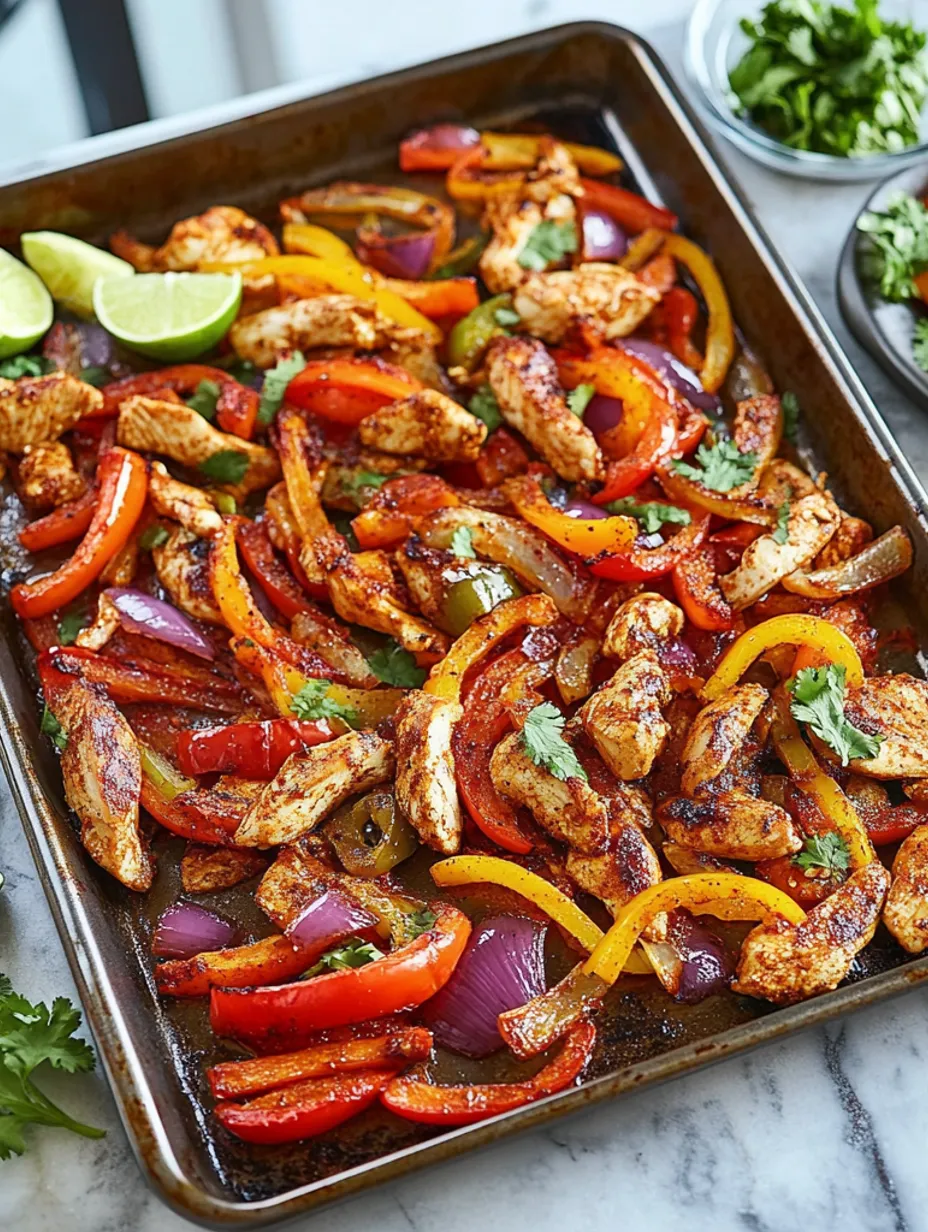
Easy Chicken Fajitas
Tender chicken slices and crunchy veggies with a zesty Mexican flavor, baked in one pan for a hassle-free meal.
Ingredients
→ Spice Mix
→ Main Ingredients
→ For Serving
Steps
Preheat the oven to 425°F (220°C). Lightly grease a big baking pan or use a nonstick spray.
In a small bowl, stir together cumin, chili powder, paprika, oregano, and around 1¼ teaspoons of both salt and pepper.
Toss peppers, onion, garlic, and chicken strips on the baking pan. Drizzle with olive oil and sprinkle with the mixed spices, then toss everything evenly on the pan.
Cook in the oven for 25 minutes or until the chicken is done and the vegetables still have a bit of crunch.
Pull the pan from the oven, stir in lime juice and cilantro while it's still warm. Serve with warmed tortillas right away.
Notes
- Make things easier by prepping vegetables and chicken the day before.
- Leftovers can stay good in the fridge for up to three days.
Required Tools
- A large baking pan
- Small bowl for mixing spices
- Set of measuring spoons
Allergy Information
Check each ingredient for potential allergens and consult a healthcare professional if needed.
- Wheat (if you're using flour tortillas)
- Might contain garlic for those allergic