
 Save
Save
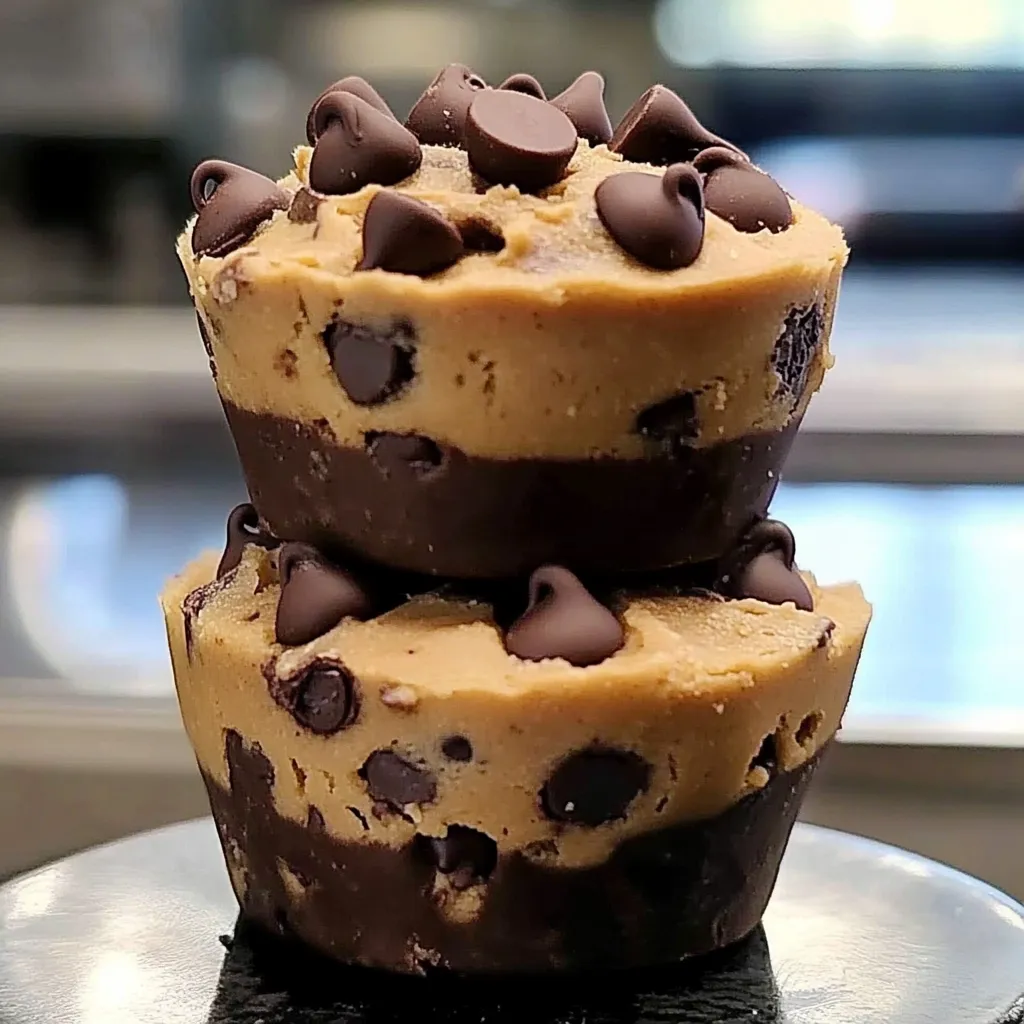
I discovered this cookie cup creation combining peanut butter and chocolate chips last year while searching for a unique treat to bring to a neighborhood cookie swap. Baking them in a muffin tin makes these delightful little cups that look fancy but are actually simpler than traditional cookies. They've now become my favorite quick fix when I need something that wows without taking up my whole day.
Just last week, my teen surprised me by bringing friends home without warning, and I quickly threw these together while they were deep into their gaming session. The moment I carried in the warm batch, their conversation completely stopped as everyone grabbed one. I couldn't help but smile when one kid asked if I'd teach his mother how to make them—that's the ultimate compliment from a teenager!
Basic Pantry Staples
- Peanut butter: Pick whatever type you like, smooth or chunky based on what texture you want
- Brown sugar: This gives you that wonderful chewiness and hint of caramel flavor
- Butter: Don't rush this—make sure it's properly softened for the best mixing results
- Chocolate chips: Try using half semi-sweet and half milk chocolate for more interesting flavor
- Vanilla extract: This brings everything together and makes both the peanut butter and chocolate taste even better
 Save
Save
Tasty Cup Assembly
- Getting Your Tin Ready
- Spending a minute to properly coat your muffin tin pays off big time when it comes to removing the cups. I've learned that a quick spray of cooking oil works way better than butter for this. While paper liners are easy, you'll miss out on those amazing crispy edges that happen when the dough touches the metal. My first batch used liners and tasted good, but baking directly in the tin made them truly special with that perfect mix of soft middle and crisp edges.
- Mixing Your Base
- Take your time with this part—beating for those full 2-3 minutes builds the foundation for your treats. Your mixture should get lighter and fluffier before moving forward. I use my stand mixer but a hand mixer does the job just fine too. Make sure your butter is just right—soft enough to dent when you press it, but not melting or too firm.
- Adding The Peanut Butter
- Mix your peanut butter completely into the butter-sugar combo before the egg goes in. This makes sure the fat spreads evenly through your dough. Regular peanut butter brands like Jif work more reliably than natural ones since they don't separate. If you do use natural peanut butter, stir it really well before measuring it out.
- Handling The Flour Mix
- Put your flour in gradually, not all at once, and stop mixing as soon as it's combined. Too much mixing makes tough cookies instead of tender ones. I usually add my dry stuff in three batches, mixing slowly just until I can't see the flour anymore. Small lumps are totally fine and will work themselves out during baking. One time I rushed and dumped all the flour in at once, and the texture wasn't nearly as good.
- Filling Each Cup
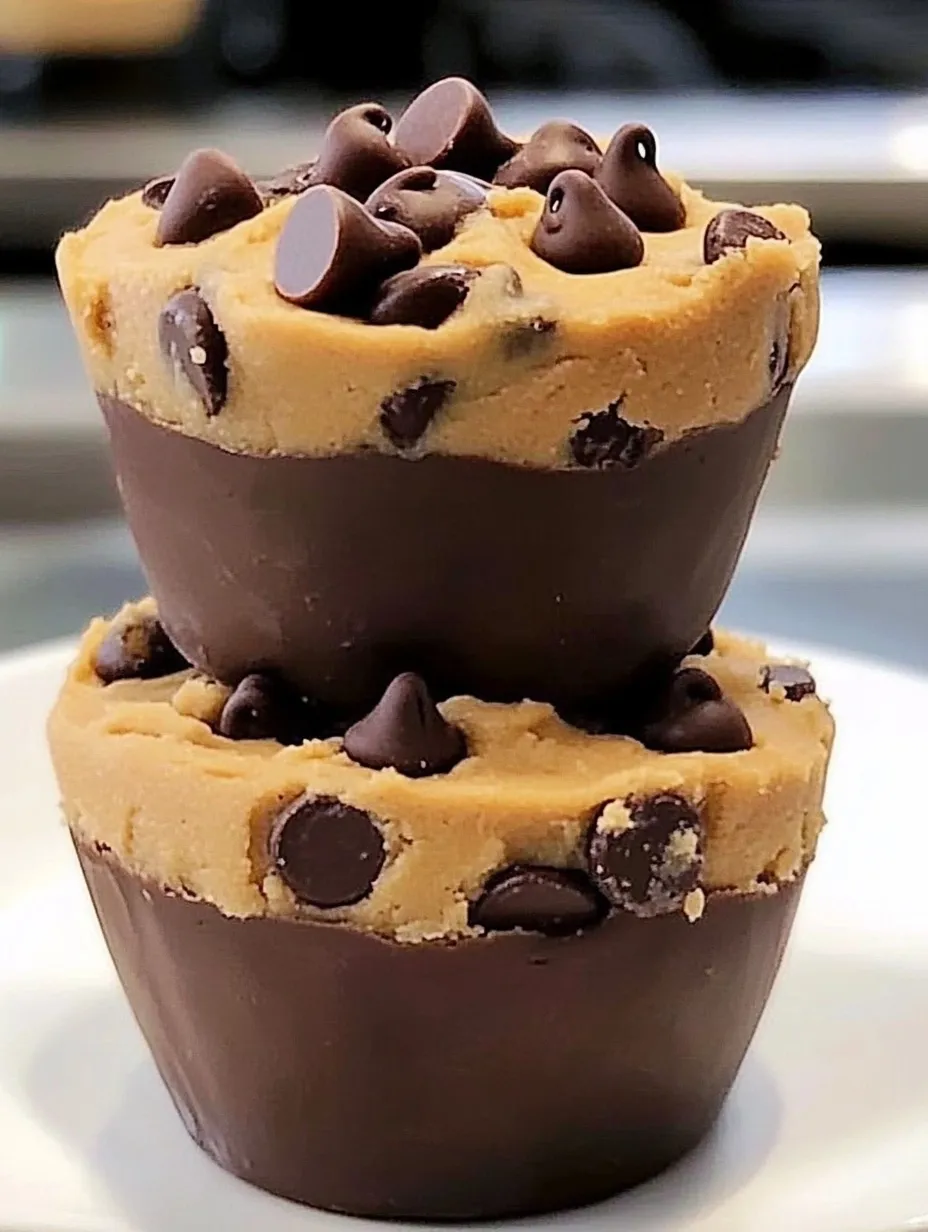
- That 3/4 full rule really matters—it lets your cookie cups rise without making a mess. I use a cookie scoop so each cup gets the same amount, helping them all bake evenly. Making a small dent in each ball of dough helps create that cup shape we want. Putting some extra chocolate chips on top makes them look prettier and guarantees chocolate in every bite.
- Getting The Bake Right
- Keep a close eye on these—they can go from perfect to overdone really fast. They're done when the edges look set and golden but the middles still seem slightly soft. They'll finish cooking from the leftover heat after you take them out. I start checking at 10 minutes in my oven, though they usually take 12-15. If you stick a toothpick near the edge (not the middle), it should come out with a few moist crumbs but not wet batter.
My husband usually turns down desserts claiming he's "not into sweets," but he devoured three of these in one sitting and has asked for them several times since. There's just something about how the peanut butter and chocolate balance each other in that unique cup form that hooks even folks who don't normally go for sweet treats.
Delightful Serving Ideas
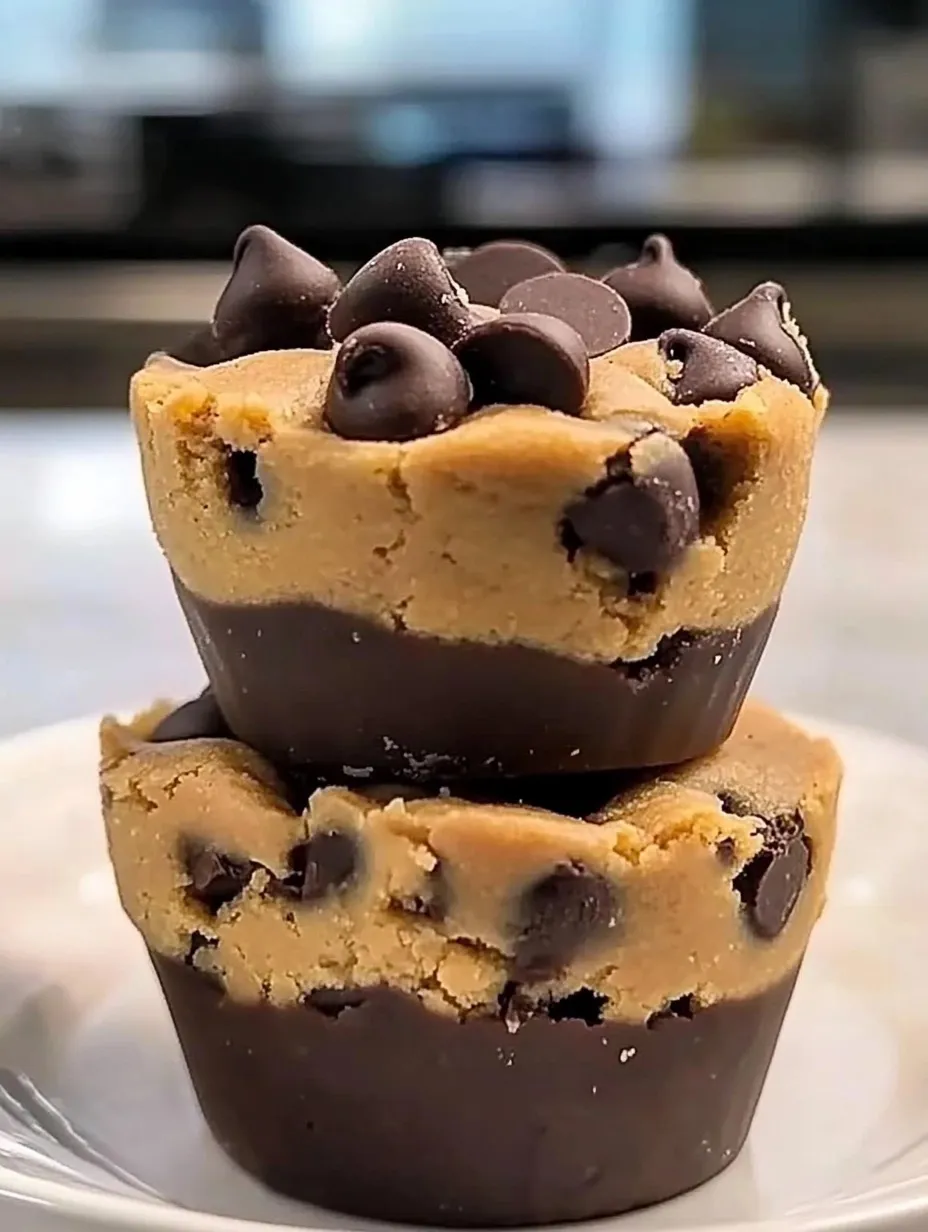
These cookie cups taste amazing slightly warm with a scoop of vanilla ice cream on top for a fancy dessert. They pair perfectly with a strong cup of coffee or hot cocoa for morning gatherings. During holidays, I mix them on platters with other cookies for variety, though these always disappear first. My kids find them perfect for lunchboxes since they travel better than regular cookies without breaking.
Fun Twist Options
Try pushing a mini peanut butter cup into each cookie right after baking. Throw in some chopped peanuts for extra crunch and nutty taste. Make them extra special by adding melted chocolate drizzle and a pinch of sea salt flakes after they cool. Last holiday season, I tried adding a teaspoon of cinnamon to the dry mix, which gave them a wonderful warm flavor that worked really well with both the peanut butter and chocolate.
 Save
Save
I've brought these peanut butter chocolate chip cups to everything from casual snack time to fancy dinner parties, and they always get rave reviews. There's something truly special about how peanut butter and chocolate come together in that cute little cup shape that makes them more exciting than plain cookies. My daughter now makes them for her friends at college and says they make her look like she's got serious baking skills, even though they're so easy. It's funny how sometimes the best treats aren't about complicated recipes but just presenting familiar flavors in a slightly different way that makes them feel new and exciting.
Recipe FAQs
- → Can I use natural peanut butter for these?
- You can, but the cookies might feel a bit different. Regular creamy or chunky peanut butter works better here. If you pick natural, mix it well so it’s not too oily.
- → When are the cookie cups fully baked?
- Look for golden edges and centers that are soft but not raw-looking. Don’t let them bake too long if you want them chewy—they'll finish setting as they cool.
- → Can I prep these cookie cups early?
- Yes! Keep them in a sealed container at room temp for 5 days or freeze up to 3 months. Just thaw and enjoy, or warm them slightly in the microwave.
- → What can I use instead of chocolate chips?
- Try peanut butter chips, white chocolate, butterscotch chips, or even chopped-up candy like Reese’s or M&Ms. Mixing a few options is great too!
- → Can I make these smaller?
- Sure thing! Use a mini muffin pan and bake for 8-10 minutes. You'll get about 24-30 tiny cookie cups—perfect for sharing.