
 Save
Save
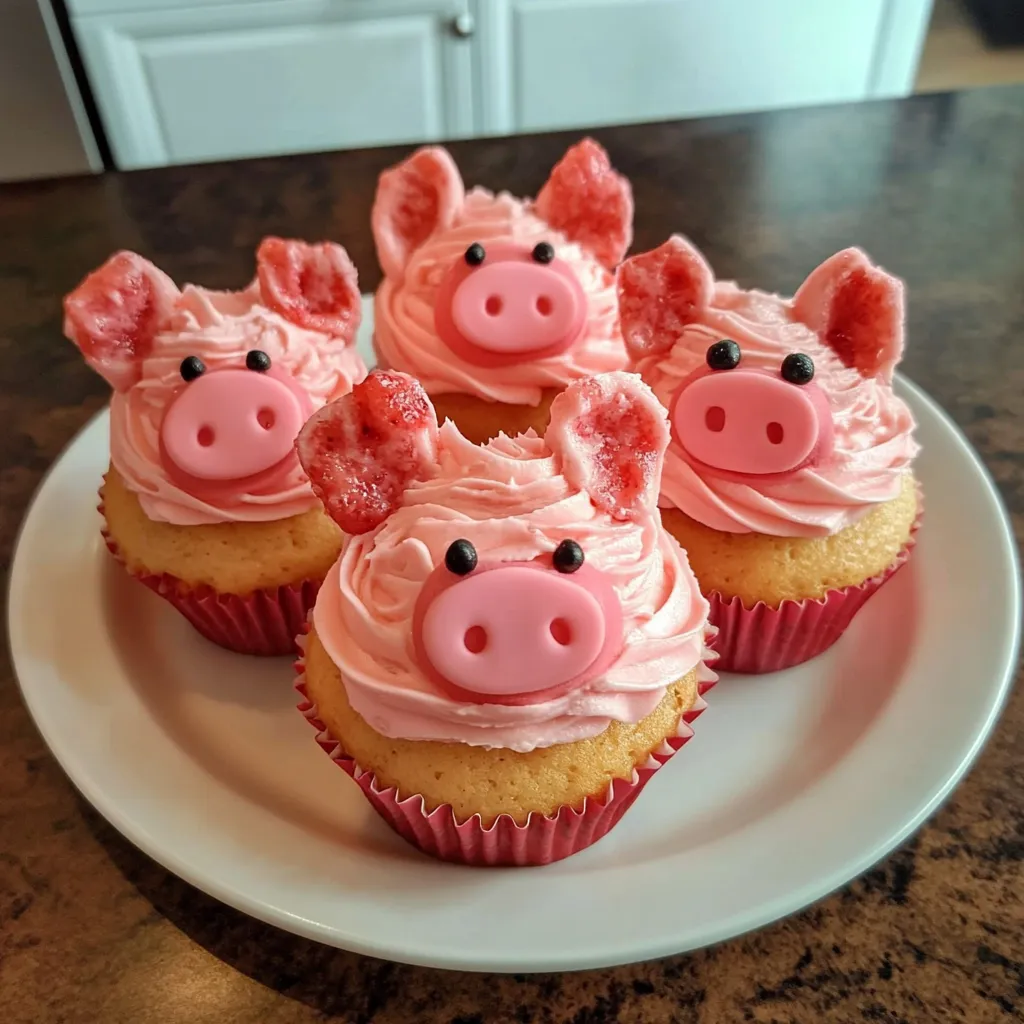
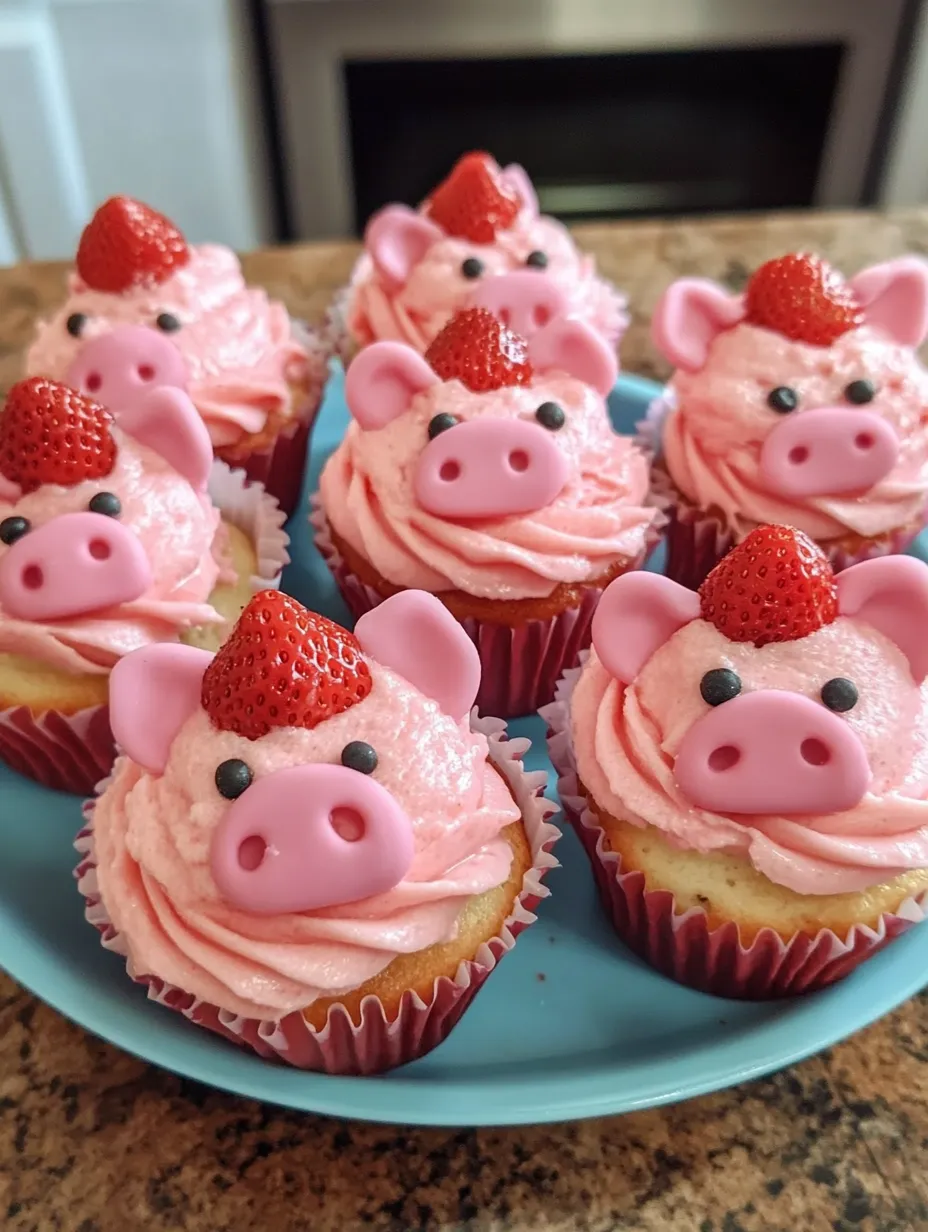
These Strawberry Piggy Cupcakes started as a fun treat for my kid's farm-themed birthday bash, but they've now become our family favorite for any event needing a little cheer. There's something wonderfully uplifting about munching on a soft, fruity cupcake that's been turned into a cute piggy face using fresh berries and chocolate details. I love how the fruity base pairs with smooth vanilla frosting - it's just the right mix of flavors, while the decorations add cuteness and extra berry taste. The best part? They're actually pretty easy to make, though they look like you bought them from a fancy shop!
When I took these to my niece's fundraiser last spring, they were gone in just a few minutes. I'll never forget when another parent actually chased me to my car asking how to make them because her daughter would "absolutely lose it" if she couldn't have them again. That's what makes these cupcakes so great – they're just as fun to look at as they are to eat!
Basic Building Blocks
- Fresh strawberries – These berries pull double duty in this recipe, going into both the cake mix and forming the cute faces. The chopped berries inside create juicy pockets of sweetness, while the sliced ones transform into snouts and ears. Go for bright, juicy ones to get the most pop of color and taste.
- Butter – This gives you that wonderful richness and keeps everything nice and moist. The flavor works so well with the berries too. Just make sure it's nice and soft before you start – I usually pull mine out about an hour ahead.
- Vanilla extract – This stuff quietly boosts all the other flavors without taking over. It adds a warm note that really works with the fresh berries. Try to use the real stuff if you can grab it.
- Pink food coloring – This turns your plain frosting into the perfect piggy shade. The gel kind gives you brighter colors with less product, but the regular liquid works too if you add a bit extra.
- Chocolate accents – The tiny chocolate chips and sprinkles make the perfect eyes, nose and mouth for your little piggies. The slight bitterness from the chocolate balances out the sweet frosting and fruit.
 Save
Save
Baking Brilliance
- Getting strawberries just right:
- When you mix those diced berries into your batter, go easy with just a few gentle folds. This keeps the berry chunks intact and stops you from overworking the batter, which can make tough cupcakes. As they bake, those berries release juice that makes everything super moist.
- Nailing the frosting:
- Get your butter really soft and fluffy before you start adding sugar. Then go slow – maybe half a cup at a time – so you don't end up wearing it and to make sure it mixes in properly. That splash of heavy cream makes everything silky and way easier to pipe.
- Finding the right pink:
- Start with tiny drops of coloring and build up slowly until you like what you see. Keep in mind the color gets a bit stronger as it sits, so aim for slightly lighter than your goal – you can always darken it up if needed!
- Decoration tricks:
- Put the strawberry slice nose a little below the middle of the cupcake so there's room for eyes above it. Press it in gently so it sticks. For ears, cut small triangle shapes from berries and stick them at the top. Using tweezers for placing those chocolate sprinkles makes getting the right spot much easier.
- Giving them personality:
- How you place the chocolate bits for eyes and brows totally changes each piggy's look! Angling them differently can make your piggies look happy, sleepy, or even a bit mischievous. This is where you can really have fun!
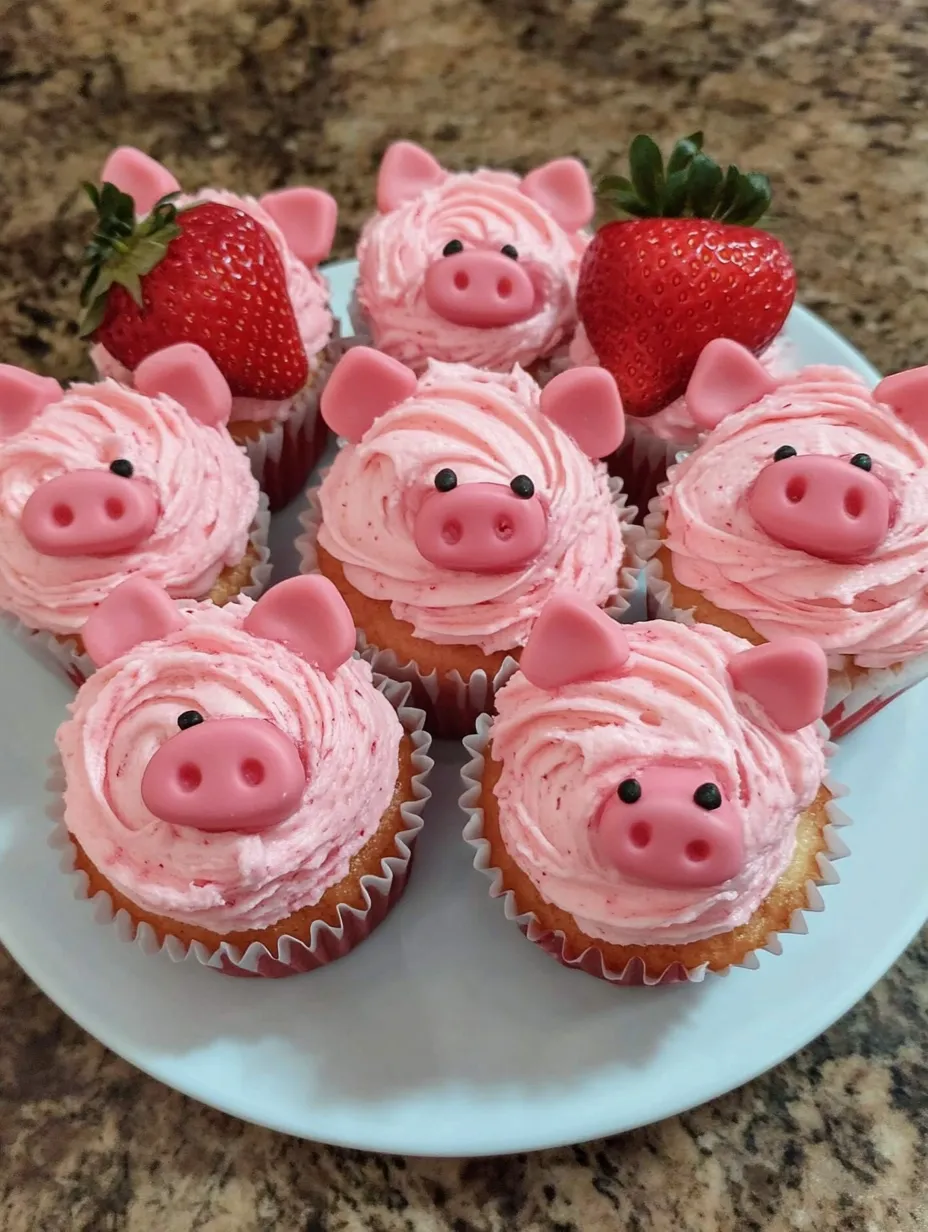
My first try making these taught me a few things. I originally used strawberry frosting too, which made them look more like pink blobs than cute animals! Using pink frosting with red strawberry features creates much better definition. I've also found that smaller berry pieces work way better for the ears – my first batch had some pretty droopy-eared piggies that couldn't stand up straight!
Display Ideas
Make your Strawberry Piggy Cupcakes stand out even more by setting them on a tray covered with green tissue paper to look like grass for a farm scene. For birthday parties, try arranging them in a circle around a bigger "mommy pig" cake. They also look super cute at Easter or spring parties when placed in a basket with green paper shreds or raffia as bedding.
Fun Twists
After you get the hang of the basic piggy look, branch out with these fun changes:
- Dark Side Piggies: Switch to chocolate cake and brown frosting but keep the strawberry face parts for a totally different look.
- Berry Blue Version: Swap out strawberries for blueberries in the batter and use blueberry slices to make unique blue-tinted piggies.
- Holiday Helpers: Add themed sprinkles that match the occasion – hearts for Valentine's, stars for summer holidays, and so on.
- Cookie Crossover: Try blue frosting with cookie ears for a funny monster-pig mashup.
- Piggy Families: Make some regular sized and some mini cupcakes to create mama pigs with their little babies!
Keeping Fresh
These cupcakes taste best on the day you decorate them because of the fresh strawberry parts. If you have any left (which rarely happens!), put them in a sealed container in the fridge for up to two days. Let them sit out for about 20 minutes before eating so they can warm up a bit. If you're planning ahead, you can make the cupcakes and frosting a day early and keep them separate. Store cupcakes in a sealed container on the counter and put the frosting in the fridge. Just bring the frosting to room temp and give it a quick whip before you put your piggies together.
 Save
Save
I've baked these Strawberry Piggy Cupcakes for tons of birthdays, school events, and random Tuesday afternoons when we just needed something to smile about. There's something magical about turning a plain cupcake into a grinning little piggy that makes everyone happy, no matter how old they are. The combo of moist, berry-filled cake, smooth frosting, and fresh fruit isn't just adorable – it's super tasty too. They're the perfect way to add a little fun to any day!
Recipe FAQs
- → Can I swap fresh strawberries for frozen ones?
- Sure, just make sure they're completely thawed and drained to avoid extra moisture messing up the batter.
- → How far in advance can I make these?
- Try baking them a day or two earlier and store in a sealed container. Frost and decorate on the serving day for best results.
- → What other toppings can I use instead of strawberries?
- Pink fondant, marzipan, or even marshmallows cut up work great for pig ears and snouts if strawberries aren't handy.
- → Are these adaptable for non-dairy eaters?
- Totally! Swap dairy butter for a plant-based option, regular milk for almond/oat, and find vegan heavy cream for the frosting.
- → How do I stop strawberries from ruining the frosting?
- Use a paper towel to dry the strawberries before decorating. Add them right before serving to keep everything fresh.