
 Save
Save
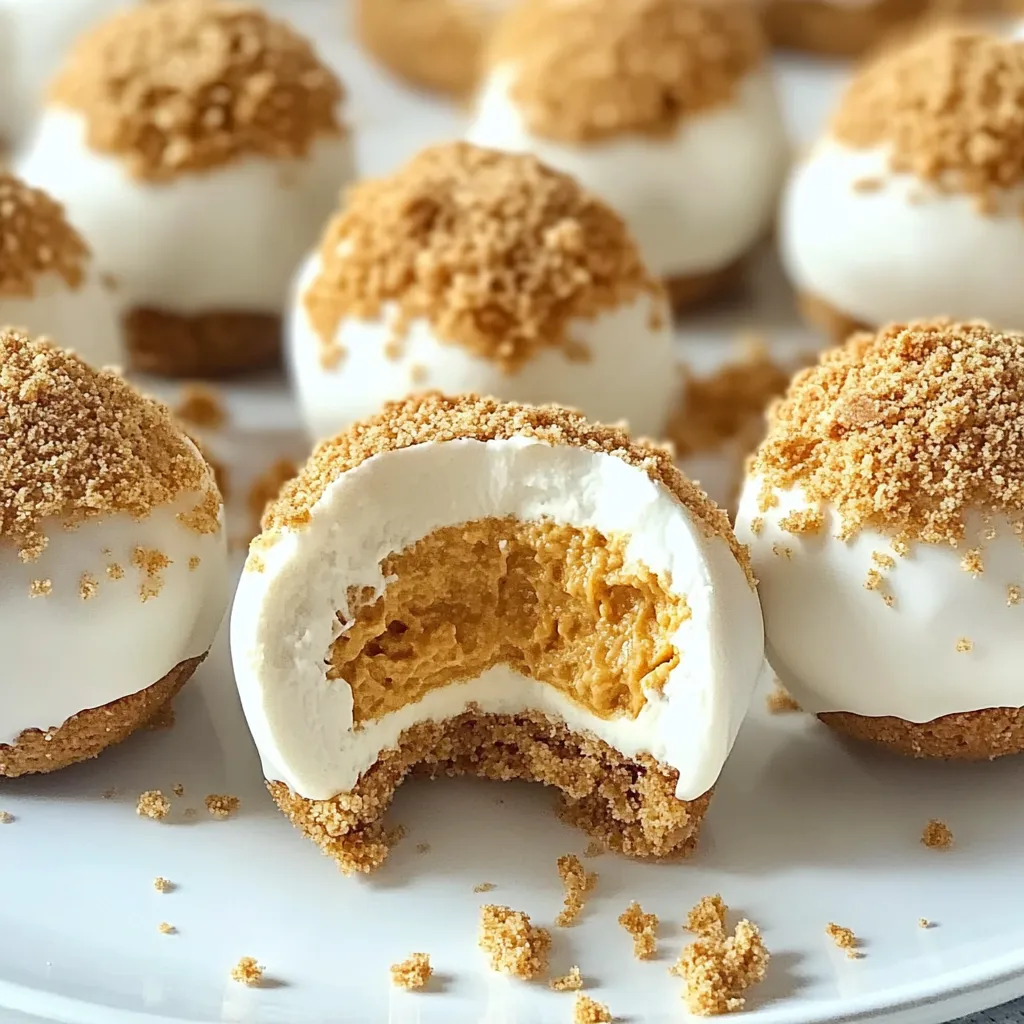
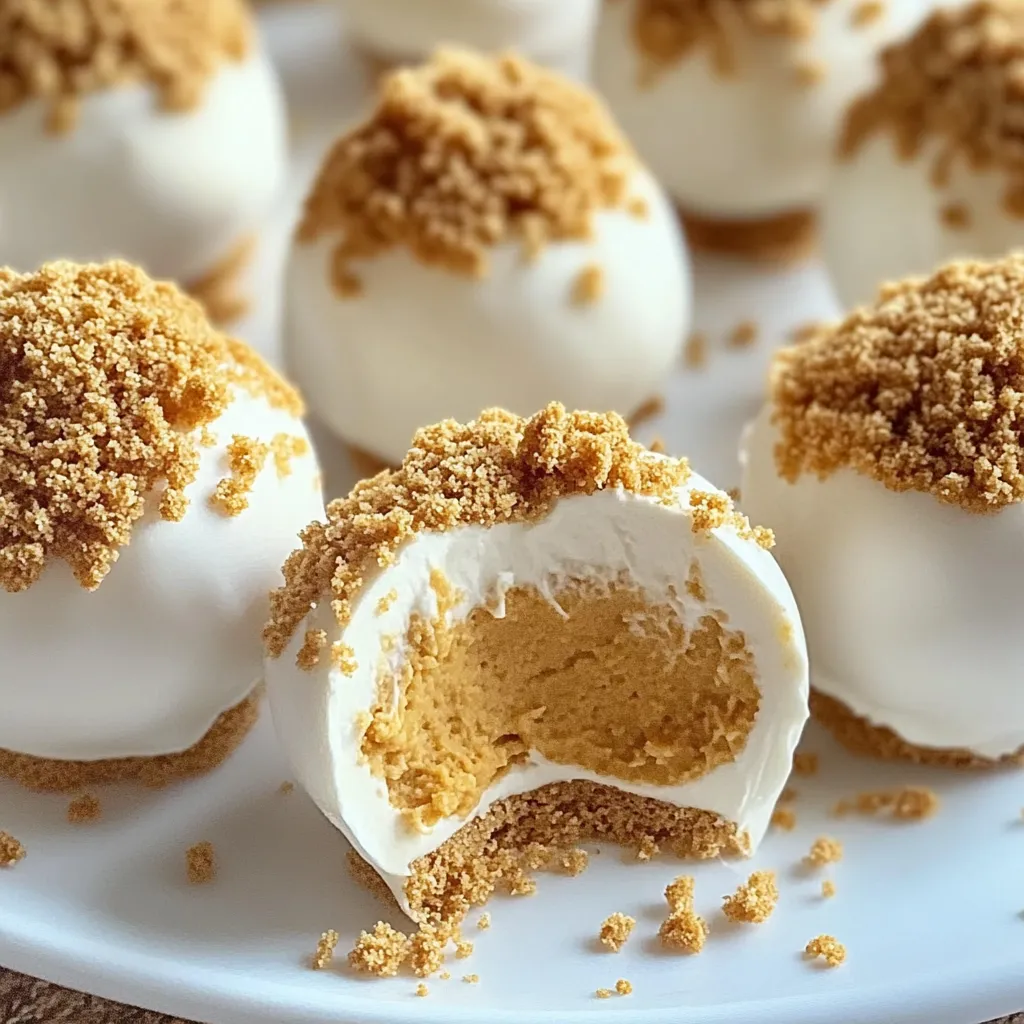
Fall-flavored cheesecake bites take the classic dessert and turn it into easy, grab-and-go delights packed with autumn flavors. These tasty morsels blend smooth cream cheese with pumpkin and cozy spices into tempting little balls that don't need any baking at all.
I brought these to our family get-together last Sunday as a surprise. Everyone fell in love with how the silky filling paired with the bit of graham cracker crunch. My little niece couldn't get enough and told me they were "way better than regular cheesecake!"
Essential Components & Shopping Advice
- Full-fat cream cheese: Stick with brands like Philadelphia for the smoothest results and to stop any unwanted separation
- Real pumpkin puree: Go for the stuff with rich orange color and thick texture, staying away from the runny kinds
- Graham crackers: The honey variety works best to add extra sweetness that works with the other flavors
- Pumpkin pie spice: A newly opened container will give you the boldest flavor kick
- Real vanilla extract: Skip the fake stuff and use genuine vanilla for truly deep flavor
Step-By-Step Process
- Whip the cream cheese well:
- Make sure it's completely soft and beat it for 3+ minutes until it's fluffy and smooth. Don't forget to scrape the bowl often to get rid of any lumps
- Mix in wet stuff:
- Slowly add pumpkin while mixing constantly to keep everything smooth. Drop in vanilla and spices, then mix until everything's blended together
- Add dry ingredients:
- Carefully mix in the crushed graham crackers bit by bit, watching how thick it gets. You'll want a mixture that holds its shape when you scoop it
- Cool it down:
- Put the covered bowl in your fridge for at least 2 hours so flavors can mingle and the mixture firms up
- Form balls and coat:
- Use a small cookie scoop for even sizes, then quickly roll between your hands for round shapes. Work with small amounts so the mixture stays cold
- Chill again:
- Put your finished balls on a parchment-covered tray and stick them in the fridge for at least an hour before serving
 Save
Save
My grandma always said pumpkin treats taste better the day after you make them. That's definitely true with these cheesecake balls - leave them overnight and you'll notice how beautifully the spices blend into the cream cheese.
Keeping Fresh & Presentation
Take these treats up a notch by creating a beautiful display. Try arranging them on different levels with fresh sage leaves and cinnamon sticks scattered around for a fall feel. Thanks to the cream cheese, they'll keep their shape nicely at room temp for about 2 hours.
Getting The Right Feel
The key to perfect texture is keeping everything cold. Always keep the mixture chilled during the whole rolling process. I've learned that working with just a bit of the mixture at a time and putting the rest back in the fridge between batches gives you the smoothest, most professional-looking balls.
Prep Ahead Perks
These no-bake goodies are great for when you're busy. You can mix everything up to 2 days before you need them, and the finished balls can even be frozen for a month. Just move them to the fridge the night before you want to serve them.
Changing With The Seasons
You can do so much with this basic recipe. During Christmas, I like to add crushed candy canes and cover them in dark chocolate. For springtime parties, rolling them in toasted coconut makes them a hit with everyone.
Pro Tricks For Success
- Roll your balls in finely crushed gingersnaps with a dash of cinnamon for more fall flavor
- Pop shaped balls in the freezer for 15 minutes before adding chocolate coating so it won't melt
- Use a fork to make pretty patterns in wet chocolate coating
 Save
Save
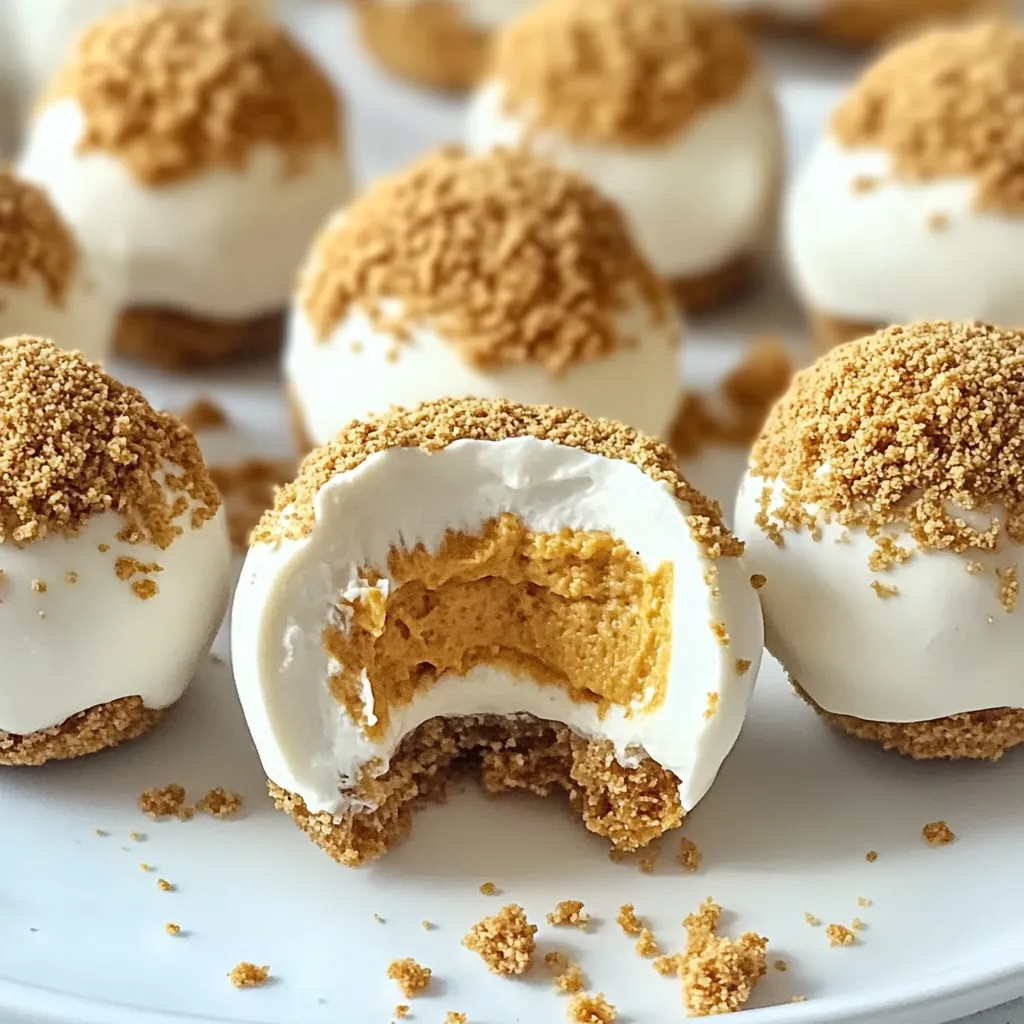
I've spent years tweaking these no bake pumpkin cheesecake balls, and they've become one of my go-to fall treats. The way the creamy cheesecake, warm spices, and pumpkin come together makes something that works just as well for casual snacking as it does for fancy get-togethers.
Recipe FAQs
- → Can I prepare these days before?
- Totally! You can refrigerate them for a few days or freeze up to a month.
- → What if the mixture's too soft?
- Let it chill for a couple of hours to stiffen up. If it’s still soft, toss in more crumbs or chill longer.
- → Is canned pumpkin pie filling okay?
- Nope, stick with pure pumpkin puree because the filling has extra sugar and spices that’ll mess with the texture.
- → How do I coat them easily?
- Dip the chilled balls in melted almond bark using a fork, tap off the excess, and leave them to set on parchment.
- → What’s the best way to store these?
- Pop them into an airtight container in the fridge for a few days, or freeze for up to a month.
No Bake Pumpkin Balls
Rich and creamy pumpkin balls blended with cream cheese, graham cracker crumbs, and warm spices, all dipped in silky white chocolate.
Ingredients
→ Cheesecake Layer
→ Crumble & Coating
Steps
Combine the powdered sugar with the softened cream cheese, whipping it smooth. Stir in the pumpkin puree and pumpkin spice until it's evenly blended.
Stir both the gingersnap and graham cracker crumbs into the filling until the mixture holds together. Chill it in the fridge for at least two hours.
Take a small scoop of the chilled filling and roll into 1-inch balls. Put them on a parchment-lined tray and let them chill again for 30 minutes.
Microwave the almond bark in a bowl for 30 seconds at a time, stirring after each burst, until melted. Coat each ball by dipping it in the bark and set them back on a lined tray to harden.
Notes
- If the mix feels too soft to roll, try adding extra graham crumbs. If it's too stiff, let it sit at room temp for a bit.
- You can prep this 2 or 3 days ahead. Store it in the fridge until you're ready to serve.
- These freeze well for up to a month. Defrost in the fridge before enjoying.
Required Tools
- Handheld or stand mixer
- Tray for baking
- Non-stick parchment sheet
- Microwave-safe bowl
Allergy Information
Check each ingredient for potential allergens and consult a healthcare professional if needed.
- Contains dairy (cream cheese).
- Wheat is in the graham crackers.
- Almond bark may include traces of tree nuts.
Nutritional Facts (per serving)
These details are provided for informational purposes and aren't a substitute for medical advice.
- Calories: ~
- Fats: ~
- Carbohydrates: ~
- Proteins: ~