
 Save
Save
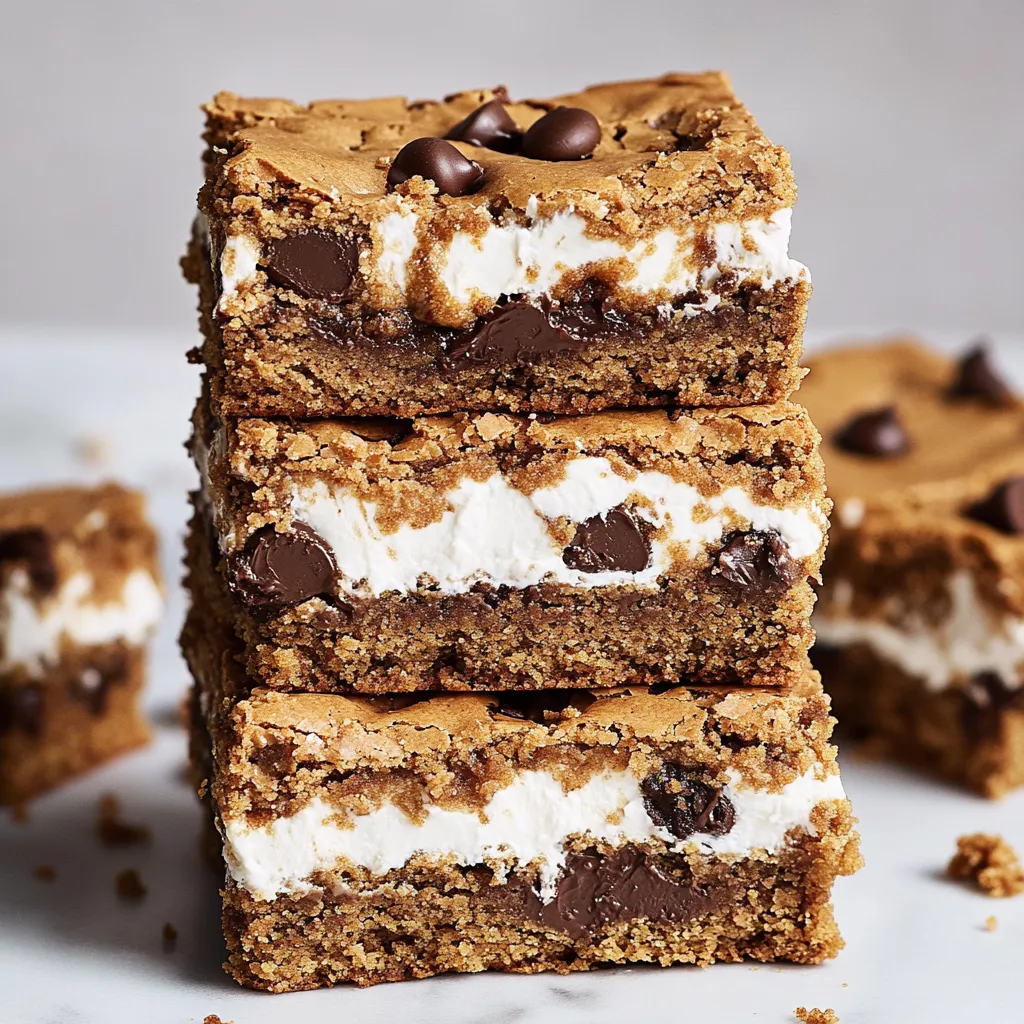
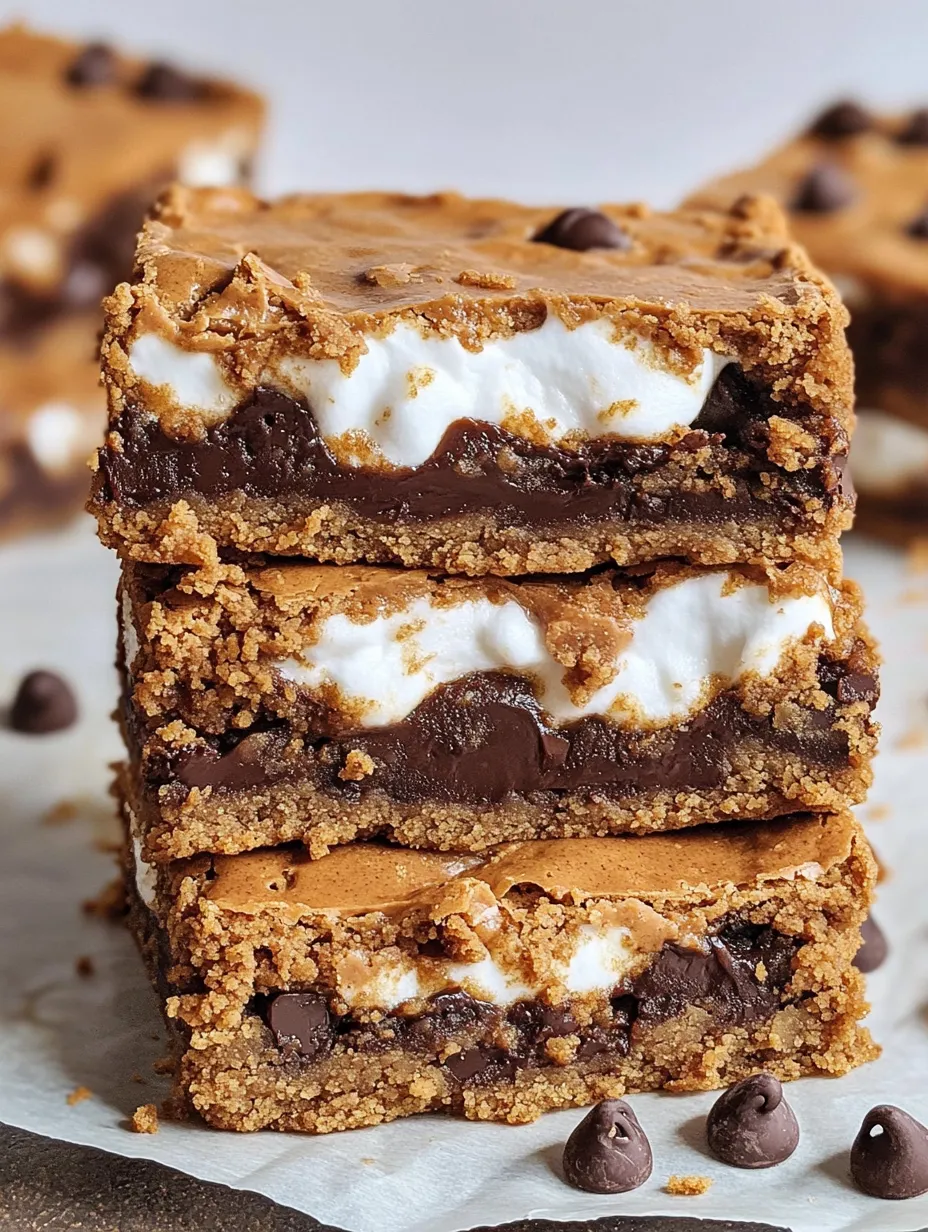
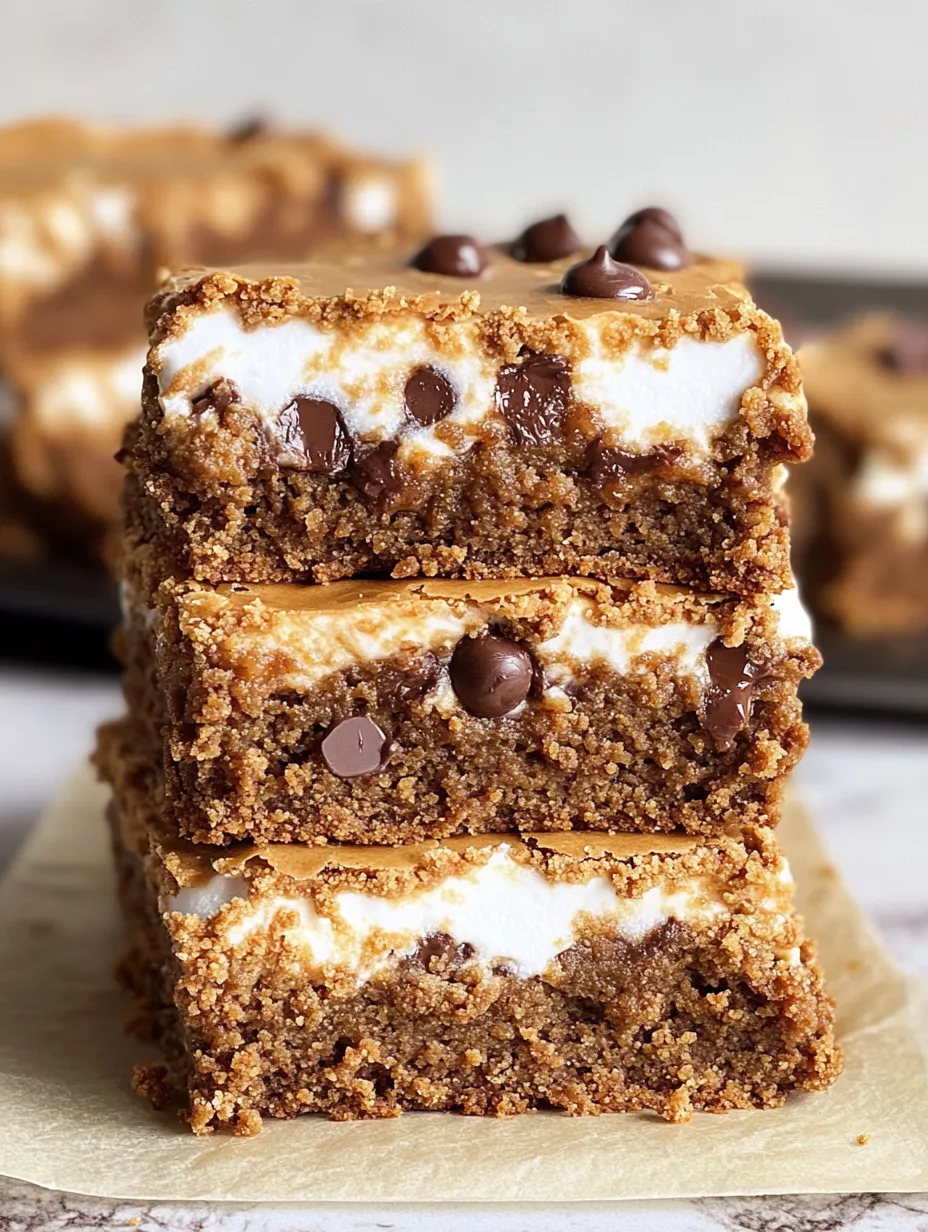
I whipped up these Peanut Butter S'mores Blondies during that funny time between summer and fall when I wasn't ready to say goodbye to summer campfires but was totally wanting something heartier than a simple s'more. What came out of my oven was this amazing combo that's now the treat everyone begs me to bring to parties all year long. These squares pack everything we adore about s'mores – the graham foundation, sticky marshmallow middle, and gooey chocolate – but they go further with luscious, dense peanut butter blondie parts that bring a completely fresh flavor angle. They're basically summer memories wrapped in a snuggly blanket.
I took these to a dinner at my friend's place last autumn, and her guy – who usually skips sweet stuff – gobbled up three pieces before others finished their first. When caught going for number four, he just smiled and said, "I've been searching for exactly this sweet treat my whole life without even realizing it." That's what makes these blondies special – they feel innovative yet comfortingly familiar at once.
Key Ingredients
- Dark brown sugar – This makes all the difference for that perfect chewy blondie feel and rich, almost toffee-like taste. The higher molasses makes them way better, though you can use light brown sugar if needed. Just don't swap in regular white sugar, as your blondies would turn out lighter and miss that depth of flavor.
- Natural peanut butter – The runny, all-natural kind that needs mixing gives a much bolder peanut flavor than regular brands. Make sure it's totally mixed before measuring, or you'll wind up with too much oil or solids. Store brands like Jif work too – your blondies will just have a gentler peanut taste.
- Graham cracker crumbs – These aren't just a throwback to classic s'mores; they add a light honey sweetness and feel that boosts the whole bar. The tiny crumbs mix smoothly into the blondie base without any grittiness.
- Marshmallow creme – This gives you all the stretchy marshmallow goodness of s'mores but works much better than whole marshmallows. It creates that perfect pull when you bite into a square without the hassle of melting actual marshmallows in the oven.
- Extra egg yolk – Don't leave out this tiny but mighty addition! That bonus yolk turns good blondies into fantastic ones. It adds depth and helps make that irresistibly chewy, fudgy texture that keeps everyone coming back for more.
 Save
Save
Baking Secrets
- Nailing the foundation:
- When you melt the butter, don't let it get too hot – you want it barely melted, not bubbling. This way your brown sugar won't completely dissolve, which helps create those wonderful crispy edges that play so well against the soft middle.
- Handling the marshmallow part:
- Don't worry about getting the marshmallow creme perfectly even – it's nearly impossible with how sticky it is. Just drop spoonfuls around, and any uneven spots actually create awesome pockets of extra gooeyness throughout. Using a lightly greased spatula really helps with this step.
- Managing the top layer:
- Flattening bits of dough in your hands before placing them on top makes a beautiful, uneven look while letting some marshmallow and chocolate peek through. This not only looks great but creates different textures in every bite.
- Timing it right:
- Watch how it looks more than the clock. You want edges that are firm and slightly golden, a middle that still jiggles a bit, and spots of marshmallow that have puffed and turned light gold. Don't bake until fully set – that's how you end up with dry, sad blondies.
- Cooling matters:
- These squares need to cool fully in the pan before cutting. I know you'll want to dig in while they're warm, but the texture gets so much better as they cool, and you'll get much cleaner slices once everything sets up.
My first try at these was tasty but really messy. I tried using regular marshmallows instead of the creme, which made air pockets as they melted and then sank. I've also played with different amounts of peanut butter to butter, and found this version hits the sweet spot – enough peanut flavor to stand out but not so much that it takes over the s'mores elements.
Tasty Presentation Ideas
Make these Peanut Butter S'mores Blondies even fancier by warming single squares for 10-15 seconds in the microwave and adding a scoop of vanilla ice cream on top. For summer parties, put them next to fresh berries for a pop of color that also balances the richness. They're perfect on a dessert snack board alongside other small treats. For a simple dinner party ending, stack the blondies on a wooden board with a jug of cold milk nearby.
Creative Twists
After you've got the basic version down, try some fun changes. Switch to almond butter for a lighter nutty taste, or go for cookie butter for a spiced flavor. Add some thin banana slices between the base and marshmallow for a twist inspired by campfire banana boats. For chocolate fans, mix milk and dark chocolate chips instead of just semisweet. During winter holidays, sprinkle some crushed candy canes on top for a festive look.
Keeping Them Fresh
These Peanut Butter S'mores Blondies stay at their best for about 3 days when kept in a sealed container at room temp. They'll get a bit firmer over time, but a quick 10-second zap in the microwave brings back their gooey goodness. If you need to store them longer, they freeze really well for up to 3 months – just wrap each square in plastic, then put them in a freezer bag. Let them sit at room temp for about an hour to thaw, or unwrap and microwave for 20-30 seconds to make them taste freshly baked.
 Save
Save
I've baked these Peanut Butter S'mores Blondies for so many get-togethers, from laid-back cookouts to fancier dinner parties. There's just something about mixing nostalgic campfire flavors with rich peanut butter and brown sugar that folks of all ages can't resist. While they look impressive, the simple steps make them doable even for beginners. Just be ready to hand out the recipe – you'll definitely get asked!
Recipe FAQs
- → Can crunchy peanut butter work here?
- Of course! Crunchy peanut butter adds extra texture. If it's natural, stir it up before using to keep everything smooth. Expect a slightly nutty crunch in the blondies.
- → Why use a light-colored baking pan?
- These pans heat more evenly and stop edges from burning. Dark pans bake faster and can overdo it, while glass pans might create crispy edges before the middle is done.
- → What if I don't have marshmallow crème?
- Swap it out with regular marshmallows! Use 2 cups of minis or 16 large marshmallows. Bigger ones can be chopped to spread better, though they won’t give the exact gooeyness of crème.
- → When are the blondies fully baked?
- They're ready when the edges turn light brown, with the center still a bit wobbly but no longer wet. Marshmallows on the surface should puff and just start to brown. A toothpick should come out with crumbs, not wet batter.
- → Can I keep these blondies in the freezer?
- Yes! Slice them, wrap each in plastic, then pop them into a freezer-safe container. Thaw on the counter for a couple of hours, or zap them in the microwave to enjoy warm.
- → What’s a good substitute for graham crumbs?
- If graham crackers are a no-go, try digestives, vanilla wafers, or crushed gingersnaps for a spicy kick. Last resort? Swap with more flour, but you’ll miss the classic flavor.