
 Save
Save
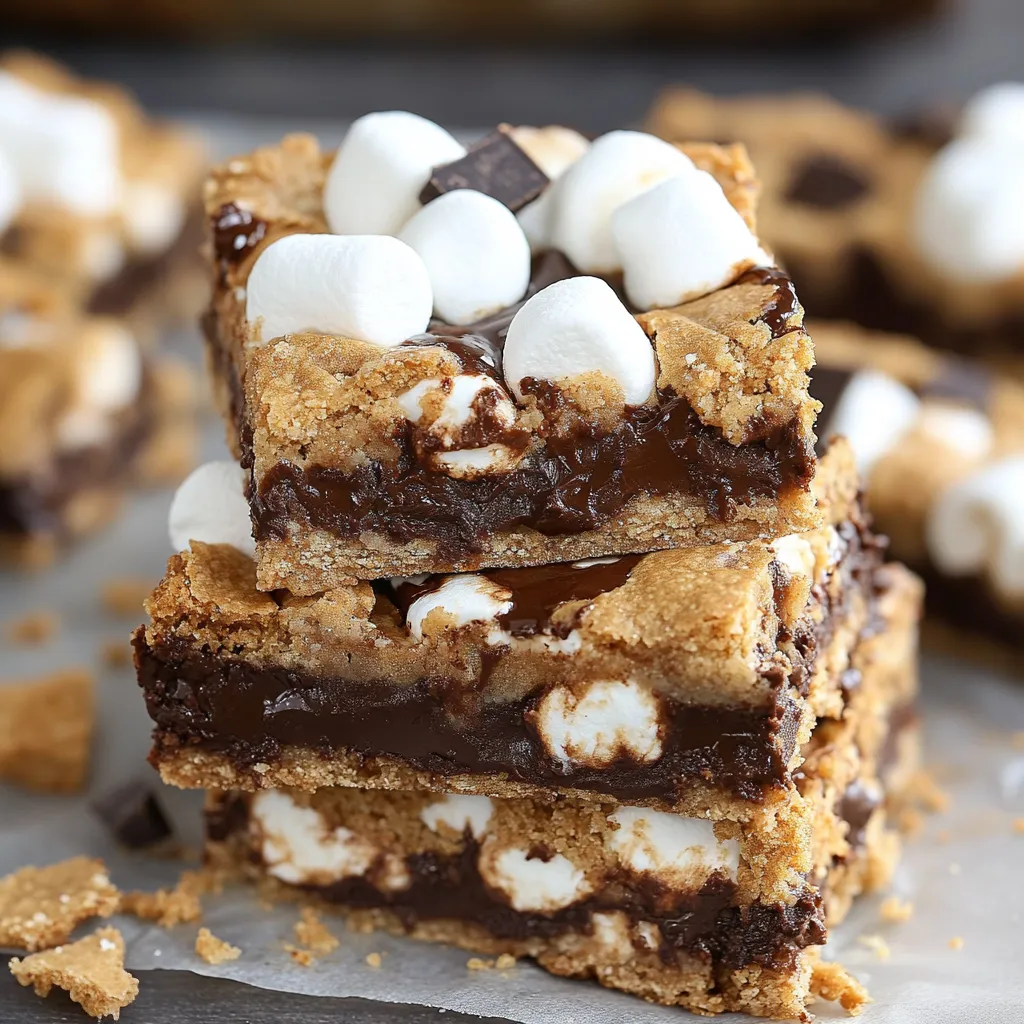
Put backyard bonfire magic into a baking dish – that's what you'll get with these S'mores Seven Layer Bars in every sticky, decadent bite. I whipped up this creation during a stormy weekend when my little ones were begging for s'mores but couldn't go outside. These squares pack all the wonderful things about classic s'mores – puffy toasted marshmallows, gooey chocolate, and crisp graham crackers – without needing a campfire or getting marshmallow stuck in your hair. They've turned into our favorite treat for family get-togethers, summer parties, or whenever we want a crowd-pleasing sweet that comes together with barely any work.
At a cookout last summer, I watched the plate of these bars empty in seconds flat. My buddy's husband, who kept saying he was "cutting back on sweets," snuck back to the table three different times. When I caught him grabbing his fourth piece, he just smiled and said, "These don't count as dessert – they're camping food." I couldn't really disagree.
Backyard Bonfire Basics
- Graham cracker crumbs: The bottom layer of any true s'more. I like buying whole crackers and smashing them myself to get both powdery bits and chunky pieces for better texture. A blender works great, but you can also toss them in a plastic bag and pound away with a rolling pin if you need to let off some steam.
- Butter: This binds the graham crumbs into a solid base that supports everything else. I think salted butter gives a nice contrast to all the sweetness, though unsalted is fine too. Just be sure it's fully melted so it mixes in completely.
- Sweetened condensed milk: The miracle ingredient that glues everything together and creates that sticky, caramel-like consistency. Don't swap in evaporated milk – they're totally different things and your bars will fall apart.
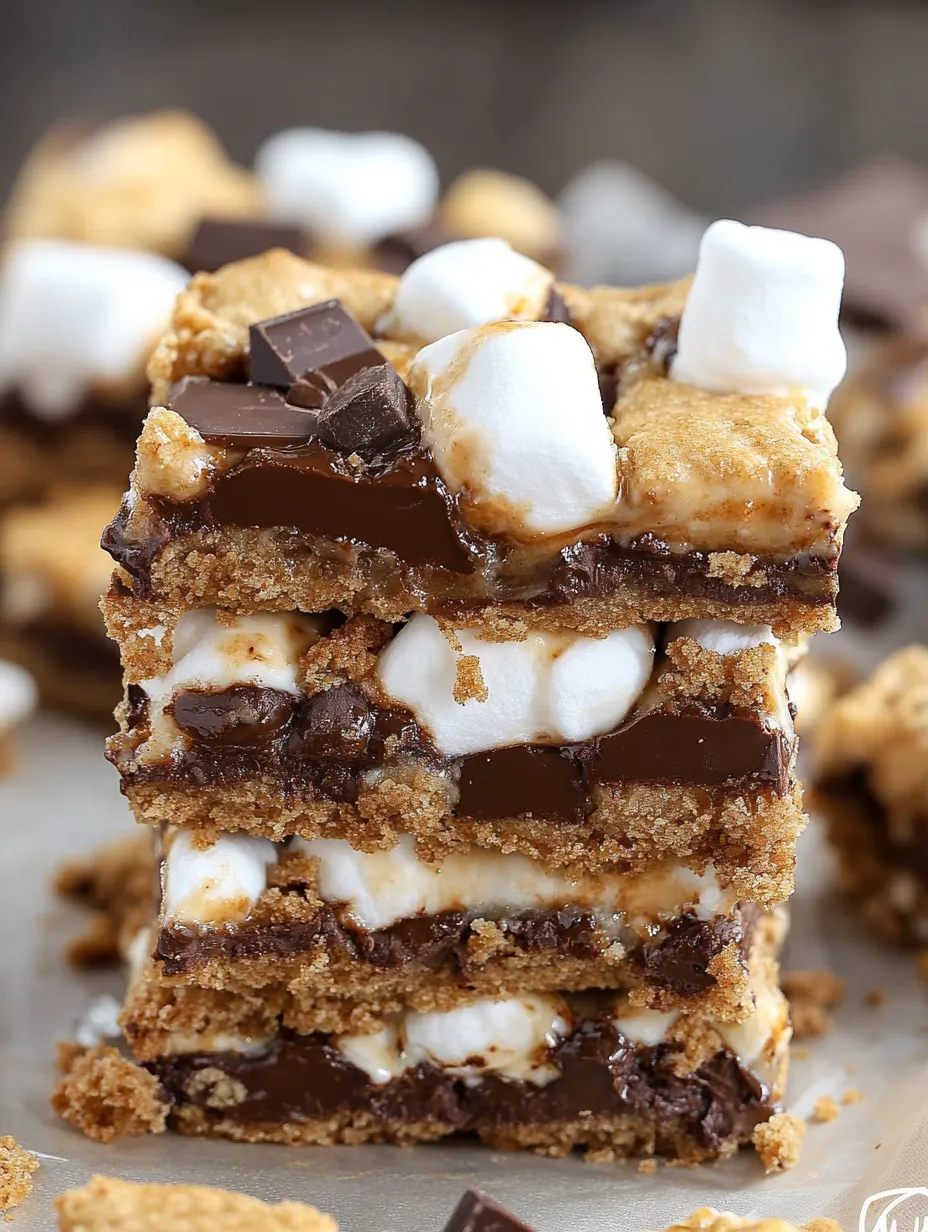
- Mini marshmallows: These brown more uniformly than big marshmallows and spread better throughout. Adding them in two batches is key – some get super melty inside while the top ones get that beautiful golden campfire look.
- Chocolate chips and chocolate bars: Yep, both kinds! The chips melt into gooey pockets while baking, and the bar chunks on top give you that traditional s'more look plus an extra layer of melty goodness.
 Save
Save
Simple Assembly Steps
- Making your foundation:
- When you mix the graham cracker bits with butter, it should look like damp sand that sticks when squeezed. Pack this mix firmly into your pan – I push it down with a measuring cup to make it flat and solid. Any loose spots will make your bars crumble later.
- Getting that gooey layer:
- Drizzle the sweetened condensed milk slowly across the whole crust. Try to reach all areas – this stuff works like glue to hold your toppings in place. If needed, gently tip the pan to help it reach the edges.
- Adding with care:
- Scatter your first batch of marshmallows, chocolate chips, and graham pieces evenly across the top. Don't go overboard – too many toppings means the bars won't set right. Keep the graham chunks about the size of a quarter for the best bite.
- Getting that toasty top:
- The second round of baking after adding more marshmallows creates that real s'more feeling. Keep an eye on them toward the end – you want them golden, not black. Every oven runs differently, so start checking after 8 minutes.
- The perfect finish:
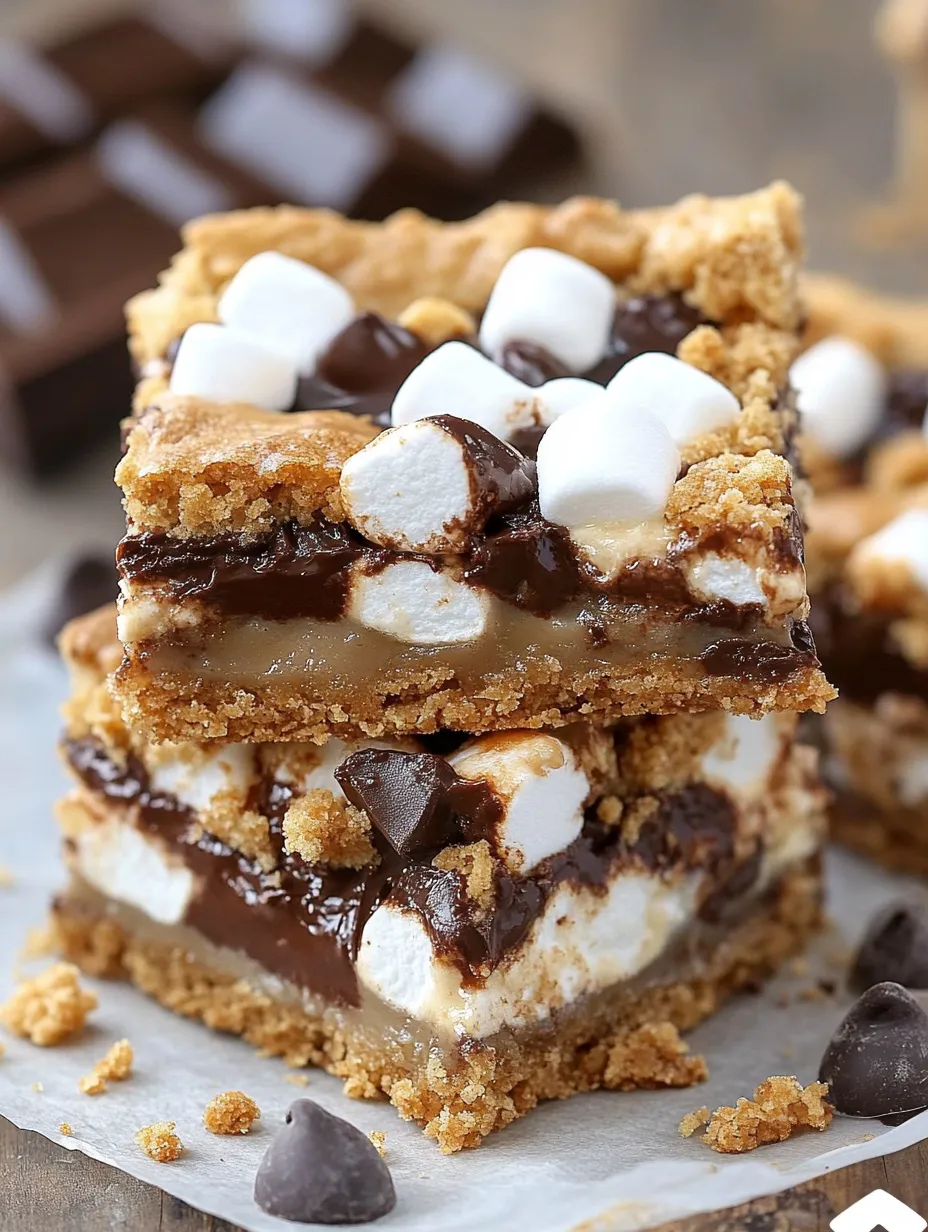
- Putting chocolate bar pieces on while everything's hot lets them soften just enough to stick without completely melting away. Space them out so each bar gets some of that classic chocolate square on top.
My first try making these taught me all about waiting. I tried cutting them right out of the oven and ended up with a tasty but totally messy pile. Now I make myself wait at least 15 minutes before slicing (usually by walking out of the kitchen completely). I've also played around with different amounts of marshmallows and chocolate through many batches and found this mix hits the sweet spot – too many marshmallows makes them impossible to cut without making a huge mess.
Fancy Serving Ideas
Make these bars extra special by serving them slightly warm with a dollop of vanilla ice cream on the side. For summer parties, I arrange them on a wooden serving board with fresh strawberries and blueberries scattered around for a patriotic look. They also look super cute when cut small and placed in paper cupcake wrappers on a pretty tiered stand.
Fun Flavor Twists
After you've got the hang of the basic recipe, try switching things up a bit. Throw in a layer of chopped peanut butter cups for a Reese's twist. Try using cinnamon graham crackers for a warm spicy note. During Christmas, I toss crushed candy canes on top for holiday-themed s'more bars. If you're crazy about chocolate, mix dark chocolate chips with milk chocolate bars for more depth.
Keeping Them Fresh
These goodies stay yummy for 3-4 days when kept in a sealed container at room temp. Put wax paper between layers if you need to stack them up. You can also stick them in the fridge, which makes them firmer – great if you don't want super gooey treats. For longer keeping, they freeze really well for up to 3 months. Just let them sit out about an hour before you want to eat them.
 Save
Save
I've brought these S'mores Seven Layer Bars to everything from neighborhood cookouts to school parties. Something about that mix of golden marshmallows and melty chocolate brings back childhood memories and makes folks happy. While regular s'mores will always belong around a campfire, these bars have become our year-round fix when we want those amazing flavors together. The biggest plus? No sticky roasting sticks to scrub, no smoke blowing in your face, and everyone gets the exact right mix of goodies in each and every bite.
Recipe FAQs
- → Can regular marshmallows be swapped with minis?
- Of course! Just chop regular ones into smaller pieces. Minis are recommended for smoother melting and texture.
- → What’s the proper way to store these treats?
- Keep them airtight at room temperature for 3 days. Refrigeration works if you prefer less stickiness; let them warm up before eating.
- → Is freezing an option for these bars?
- Yes, freeze individually in plastic wrap and a sturdy container for 3 months. Thaw them on the counter before serving.
- → How do I slice these bars neatly?
- After cooling, use a hot, clean knife for smooth cuts. Refrigerating first makes slicing even easier.
- → Can I mix in extra ingredients or toppings?
- Definitely! Add nuts, caramel drizzle, white chocolate, or toffee bits to make them fancier and more exciting.