
 Save
Save
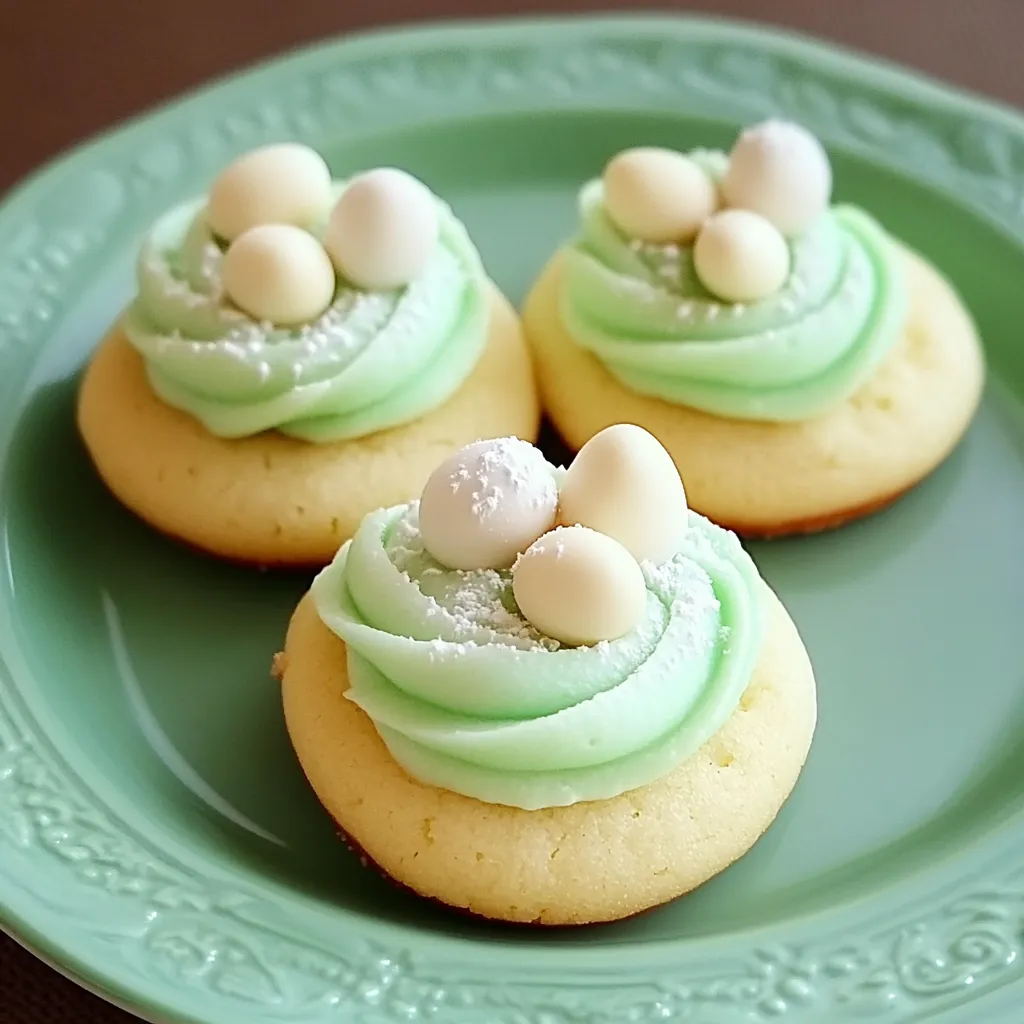
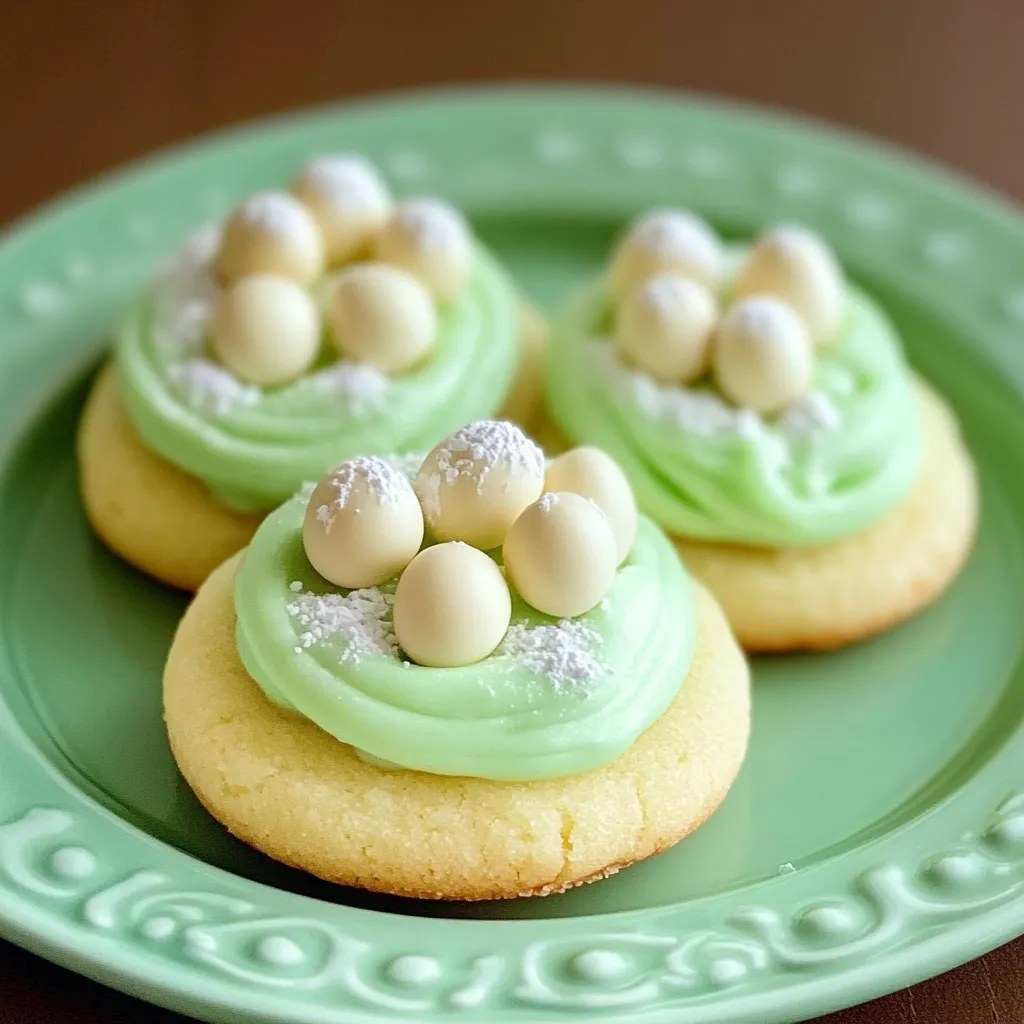
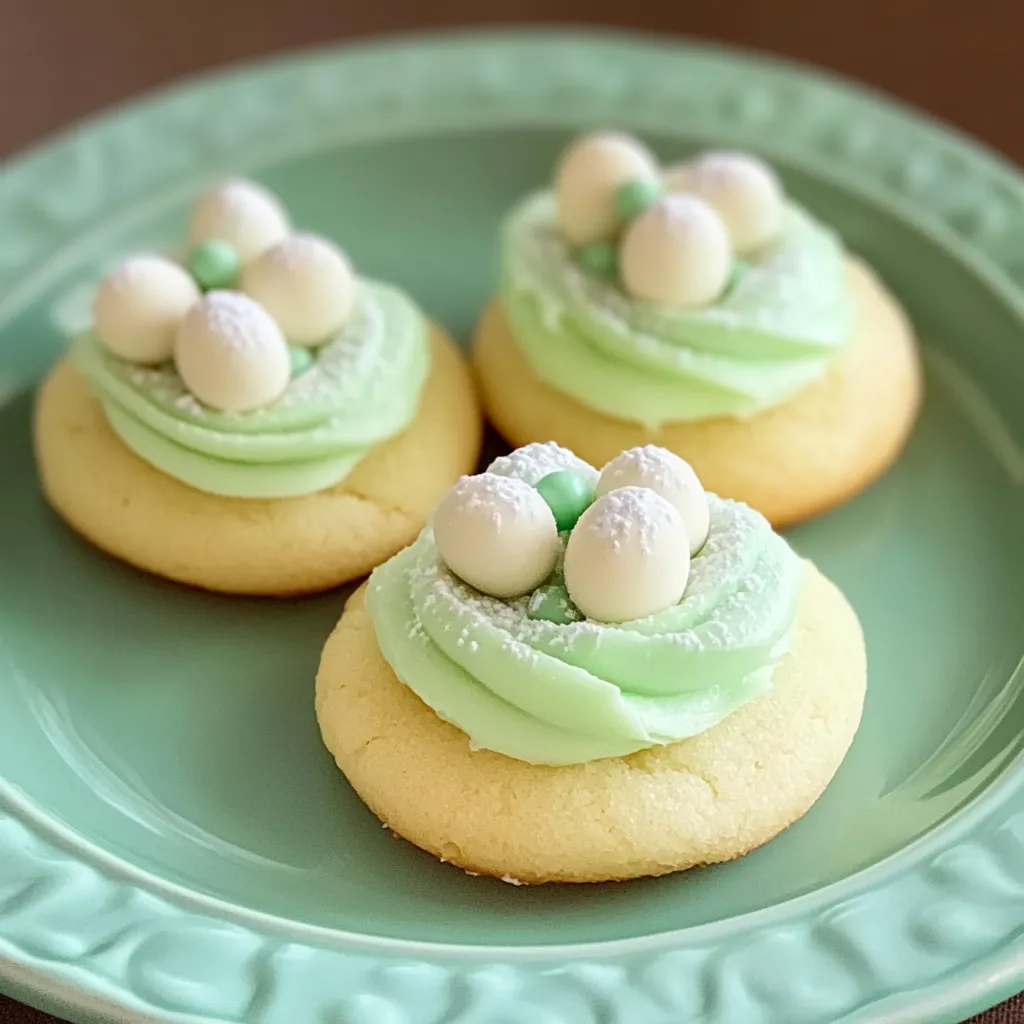
Buttery and melt-in-your-mouth Easter sugar cookies blend rich sweetness with subtle vanilla and almond notes in a treat that brings spring celebrations to life. These cookies with pastel decorations hit all the right notes—slightly crispy around the edges while staying soft in the middle with every delicious bite. They're not just tasty treats; they're memory-makers that bring families together to cut, shape, and decorate, turning simple baking into lasting traditions that everyone treasures.
The first time I made these cookies was in my grandma's kitchen, where sunlight would filter through flour-covered windows as we turned basic ingredients into little masterpieces. She always knew by touch when the dough was chilled 'just right.' Now when I bake with my kids, we get that same feeling of excitement waiting for the oven timer to ding. Seeing their eager faces watching the cooling cookies reminds me we're not just baking—we're creating moments they'll carry forward someday into their own families.
Key Components
- All-Purpose Flour: Gives these cookies their ideal foundation—strong enough to hold decorations but soft enough to enjoy. The protein in it makes for the perfect balance between structure and tenderness.
- Unsalted Butter: Adds incredible taste and luxury. When it's at room temp, it mixes perfectly with sugar to create tiny air bubbles for the best texture.
- Granulated Sugar: Brings sweetness and helps create those crispy edges everyone loves. The tiny crystals fully dissolve when creamed for smooth cookie dough.
- Vanilla Extract: Adds cozy flavor throughout. Go for real extract instead of the fake stuff for much better taste that works great with the almond.
- Almond Extract: Takes the flavor up several notches with its unique character. You only need a tiny bit to turn ordinary cookies into something really special.
- Egg: Holds everything together while adding moisture and richness. Let eggs come to room temperature for better mixing than using them cold.
- Baking Powder: Gives a tiny lift without making cookies spread too much. It works gently to keep your cookie shapes looking sharp while baking.
Cookie Success Tips
- Getting Ready Right:
- Let your butter and egg sit out for at least half an hour before starting. This key step makes sure everything mixes properly. While you wait, mix your flour, baking powder, and salt together so the rising agent spreads evenly.
- Mix With Care:
- Beat your softened butter and sugar until it's truly fluffy and light, about 3-4 minutes with your mixer. This longer mixing time makes air pockets that create amazing texture when baked. You'll notice the mixture getting lighter in both color and feel.
- Flavor Secrets:
- Put your vanilla and almond extracts into the butter mix before adding the egg. This way, the flavors blend into the fat, which carries taste better than watery ingredients. That hint of almond is what makes these stand out from regular sugar cookies.
- Easy Does It:
- Add the dry ingredients bit by bit, mixing just until they're combined. If you mix too much, the gluten develops and makes tough cookies instead of tender ones. Stop as soon as you don't see any dry spots for the best texture.
- Don't Skip Chilling:
- Wrap your dough tightly and put it in the fridge for at least an hour. This rest lets the flour soak up moisture while firming the butter to prevent spreading. Properly chilled dough is also much easier to roll and cut.
- Rolling Right:
- Roll your chilled dough on a slightly floured surface to exactly ¼-inch thick for the perfect mix of softness and structure. Use guides on your rolling pin if you have them to make sure the thickness is the same everywhere for even baking.
- Cutting Correctly:
- Press cookie cutters straight down through the dough without twisting. Twisting messes up the edges and can affect how they rise. Put cut cookies on parchment-lined sheets with at least an inch between them for good air flow.
- Baking Perfectly:
- Bake in a 375°F preheated oven for exactly 8-10 minutes until the edges just start to turn golden while the middles stay pale. This timing creates that signature soft center with slightly crisp edges that makes a perfect sugar cookie.
- Cooling Care:
- Let cookies sit on the baking sheet for 2-3 minutes before moving them to a cooling rack. This short rest lets them firm up enough to move without breaking, while the rack keeps bottoms from getting soggy.
 Save
Save
My grandma always told me that taking your time matters most with sugar cookies—time when beating the butter, time when chilling the dough, and time letting cookies cool before adding decorations. Whenever I start rushing these steps with my kids, I think about what she always said: 'The minutes you try to save now will show up as problems in your finished cookies.' Following her advice always gives me perfect results that are worth those extra minutes.
Decorating Ideas
Turn your cookies into Easter showpieces using different decorating methods for any skill level. If you're just starting out, spread cookies with simple buttercream in pastel colors and top with sprinkles. Those with some experience might enjoy outlining bunny shapes with icing bags and filling them in using thinned royal icing. For the artists among us, try detailed designs using multiple colors to create fancy patterns like flowers, dots, or marble effects. Want to make it fun for everyone? Set up a cookie station with plain cookies, different icings, and toppings so everyone can make their own special treat.
Tasty Twists
Switch up this flexible recipe to create different flavors while keeping that perfect texture. Swap out the almond extract for lemon and throw in a tablespoon of lemon zest for bright spring-like cookies. Make chocolate ones by using ¼ cup less flour and adding cocoa powder instead, and leave out the almond extract. If you love coconut, add ½ teaspoon coconut extract and mix in ½ cup of toasted coconut. For cinnamon-sugar cookies, mix a teaspoon of cinnamon into the dough and sprinkle the tops with cinnamon sugar before they go in the oven. All these changes work with the same baking time and temperature but give you totally new flavor experiences.
Keeping Them Fresh
Keep your cookies tasting great by storing plain ones in airtight containers at room temperature with parchment paper between layers to stop sticking. They'll stay fresh up to a week this way. For cookies with royal icing, let the icing harden completely (usually overnight) before stacking with parchment between each layer. These decorated ones stay good for 3-5 days. Both plain and decorated cookies freeze really well—just wrap each one in plastic, then put them in freezer bags for up to three months. Thaw them while still wrapped at room temperature so moisture doesn't mess up your decorations.
These Easter sugar cookies mean so much more than just something sweet to eat—they bring together tradition, creativity, and the happiness that comes from sharing treats made with love. The simple joy of rolling dough, cutting shapes, and adding decorations builds connections that last longer than the cookies themselves. Whether they're part of your family history or a new tradition you're starting now, these cookies bring both amazing taste and meaningful moments. They're flexible enough to be artistic creations, the center of an activity, or heartfelt gifts that capture the brightness of spring for any Easter celebration.
 Save
Save
Recipe FAQs
- → Can I prep the dough early?
- Sure can! The dough keeps in the fridge for up to 3 days. Freeze it for longer—up to 3 months. Just let frozen dough fully defrost in the fridge overnight before rolling.
- → How do I tell when the cookies are ready?
- Look for edges that are just starting to turn golden while the centers stay soft. They'll firm up as they cool, so don't overbake if you want chewy cookies.
- → Is almond extract necessary?
- Not at all! It's there for a hint of flavor but feel free to leave it out or swap for more vanilla if nut allergies are a concern.
- → Any tips for decorating with kids?
- Make icing in colors and thicker textures. Use squeeze bottles to make it easier than piping bags. Set up a fun station with sprinkles and candies for them to add after icing.
- → How long does icing take to dry?
- Depending on how thick it is, royal icing needs 2-4 hours to set. If you want it completely dry and smudge-proof for stacking, leave it out for 6-8 hours or overnight.