
 Save
Save
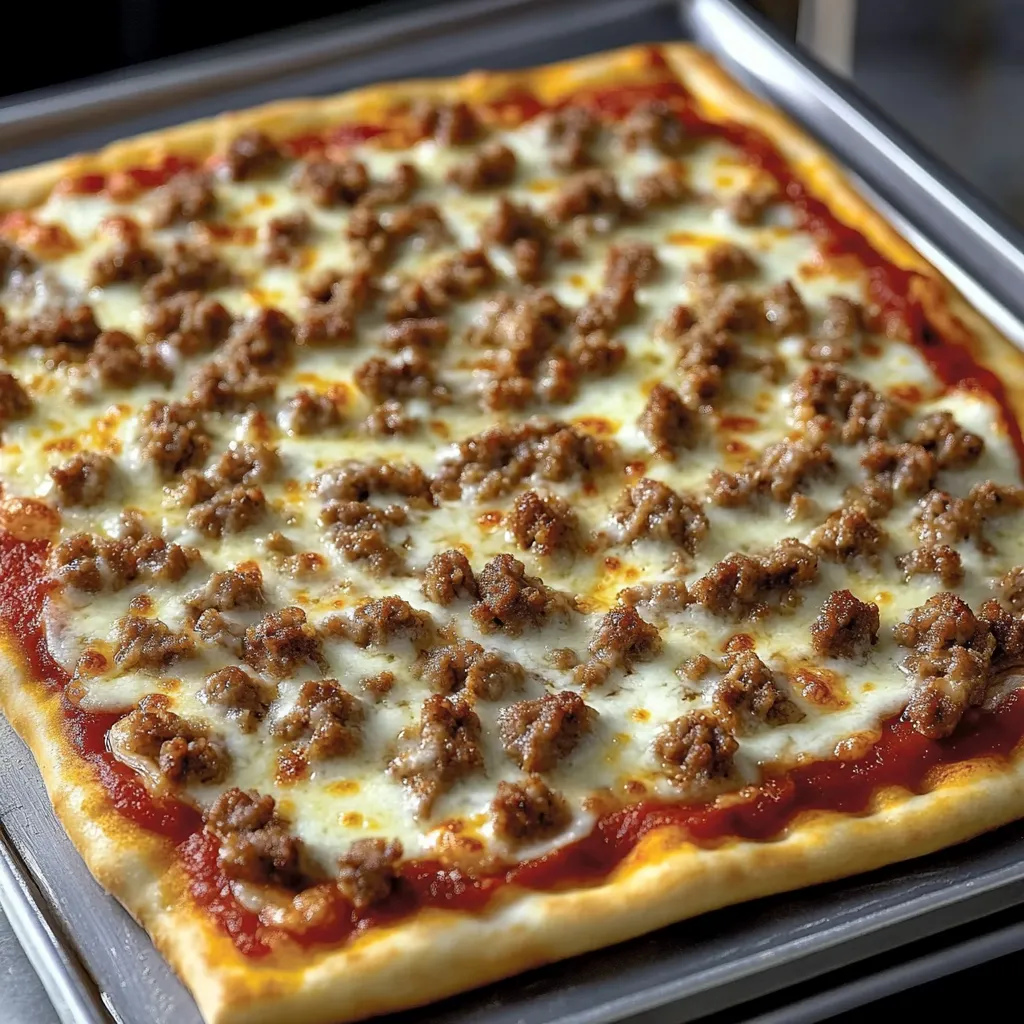
I found this old-school pizza trick while my kids were talking about what they missed from their lunch days. The mix of that special crust that's soft in the middle but crispy on the edges, with basic sauce and loads of cheese, brings back so many memories of waiting in those lunch lines as a kid. We've started making it every Friday, and between us, I think it's way tastier than what they served back then!
My teen's buddies dropped by the first time I tried making this, and one kid actually told me, "This tastes just like our school pizza!" then grabbed another slice... and another. When teens actually praise your cooking by comparing it to school food, you've definitely hit the nostalgia bullseye.
Basic Components
- Powdered milk: This hidden hero gives school pizza that flavor you can't quite place but always remember
- Quick-rise yeast: Helps make that slightly puffy crust without waiting forever
- Block mozzarella: Grating it yourself works so much better than the bagged stuff
- Tomato paste: Creates a deeper, thicker sauce than normal pizza sauce
- Dried herbs: Just a few basics nail that cafeteria pizza sauce taste
 Save
Save
Assembly Steps
- Crust Tricks
- Adding powdered milk to the dough creates that special texture and slightly sweet taste. When you mix everything, your dough will seem really wet compared to normal pizza dough. It'll look more like cake batter. Don't worry about it. Just grab a spatula and spread it across your pan since rolling won't work here. You need to bake the crust first before adding toppings. I skipped this step once and ended up with raw dough in the middle. Not good.
- Tray Choice
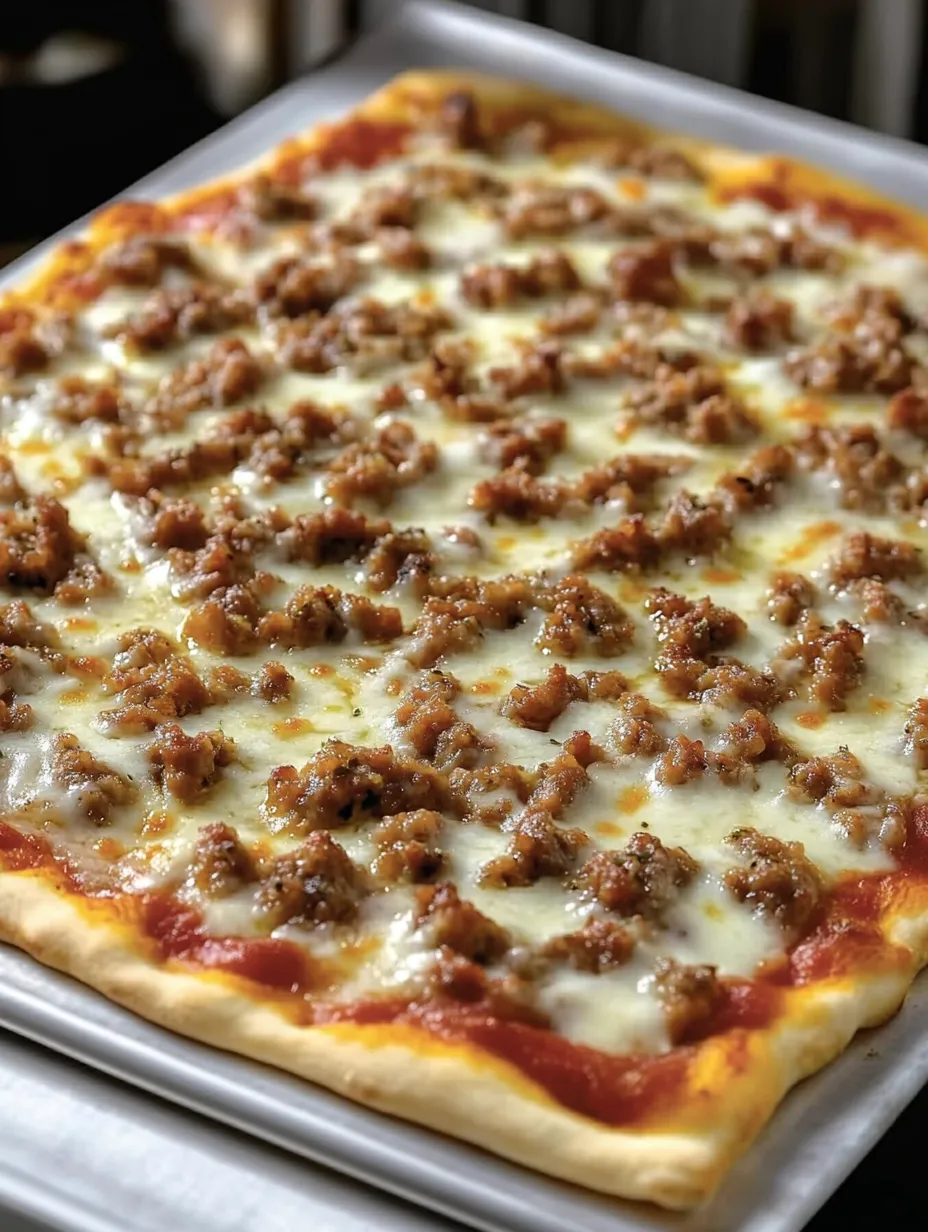
- You need that big 18x13 inch tray for the real school pizza feel. It makes the pizza just the right thickness. Make sure you grease it really well. I spray it first then wipe on a bit more oil. This helps the crust come off clean and gets those crispy edges everyone fights over. Metal pans work best here. Glass or ceramic dishes won't give you that classic bottom texture that's firm but still soft inside.
- Sauce Tips
- Let your sauce bubble away for a bit so all the flavors mix together and it gets nice and thick. If you can make it the day before, even better. The taste gets stronger overnight in the fridge. I've tried both ways and next-day sauce wins every time. You might think there's too much olive oil in there, but it gives the sauce that shiny look that school pizza always had. Use all the tomato paste called for. It gives that strong tomato punch we all remember.
- Handling Meat
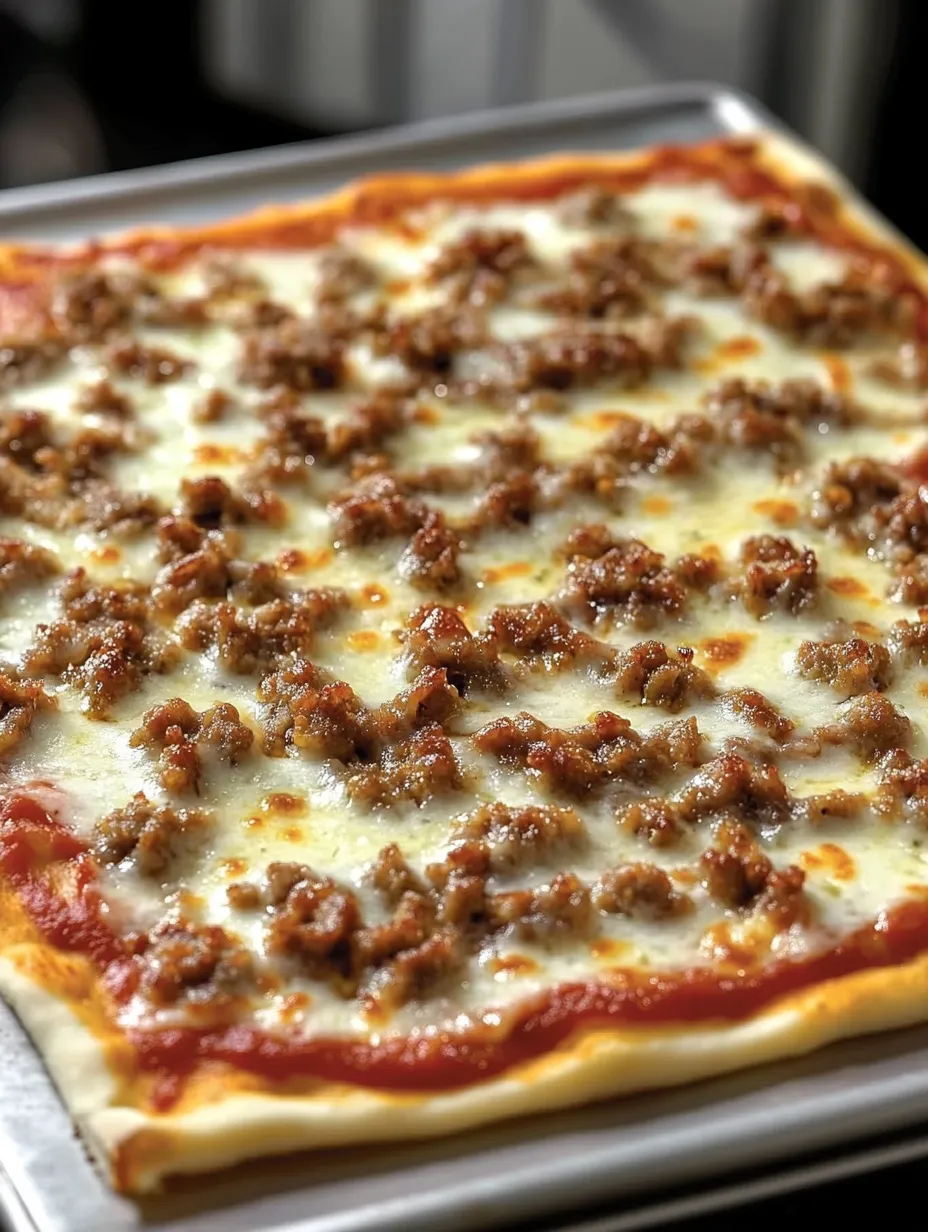
- Get all the grease out of your cooked meat or your pizza will turn into a soggy mess. I even pat mine with paper towels after draining. Using both Italian sausage and beef together works best. All beef gets boring, but only sausage can be too much. Break the meat into tiny pieces while it cooks so it spreads evenly across your pizza, just like those perfectly scattered bits on school lunch pizza.
- Cheese Method
- Trust me, grate your own cheese. The stuff in bags has coatings that mess with how it melts. Spread cheese right to the edges. Remember how school pizza never skimped on coverage? Bake it just until melted but not too brown. Real school pizza had gooey cheese but wasn't all browned and bubbly like restaurant pizza.
- Rest Time
- You absolutely must wait 5 minutes before cutting. This lets the cheese set up so it doesn't slide off with your first bite. The crust also firms up a bit for cleaner slices. I cut mine into squares not triangles to keep that cafeteria feel. Making slightly bigger rectangles instead of tiny squares seems closest to what I remember from my school days.
My hubby usually wants delivery pizza, but he actually asked for this school-style pizza for his birthday dinner a few weeks ago. He told me it took him back to "when pizza day was something you looked forward to all week." It's funny how these simple foods can bring back such strong memories.
Tasty Companions
Drink some chocolate milk with this pizza for the full cafeteria experience. Grown-ups might prefer adding a green salad with ranch on the side. When we have friends over, I cut it into tiny squares as finger food alongside other throwback snacks like mini corn dogs or tater tots. The kids go crazy for our "school lunch nights" when we make all their cafeteria favorites at home.
Fun Twists
You can make the morning version with scrambled eggs, bacon bits, and cheddar on top. For your veggie friends, skip the meat and pile on bell peppers, onions, and mushrooms like the veggie option many schools had. Throw some parmesan on with the mozzarella for extra flavor kick. Just last week I tried making half regular and half with taco meat, which was another school lunch favorite we all loved.
 Save
Save
I've brought this old-school pizza to everything from family movie nights to throwback dinner parties, and it always gets people talking about their school days. There's something special about remaking that unique cafeteria pizza that takes everyone back in time. My daughter's friends now beg for it during sleepovers, which shows that even with all the fancy pizza options kids have these days, that simple square school pizza still has a special place in our hearts across every generation.
Recipe FAQs
- → What’s the reason for powdered milk in this crust?
- Powdered milk makes the crust both soft and slightly crisp, with a hint of sweetness. It’s key to recreating that unforgettable cafeteria pizza flavor and aroma from childhood.
- → Can I prep this pizza in advance?
- Of course! The sauce is even better after sitting in the fridge overnight. You can also chill the raw crust. Then bake and serve it fresh. Or freeze baked slices to reheat later.
- → Can I switch up the toppings?
- Totally! Stick to the classic cheese and meat, or try adding some pepperoni, veggies, or mushrooms. Just layer the toppings under the cheese for that authentic school look.
- → Why is this pizza shaped like a rectangle?
- School cafeterias needed to serve lots of students fast, so they used big rectangular pans. Cutting it into squares made it easy to plate—just what lunch ladies needed.
- → How do I sub quick-rise yeast if I don’t have it?
- Use active dry yeast instead. Mix it with warm water and a pinch of sugar, wait for it to bubble (about 5-10 minutes), then add it to your dry ingredients. You’ll need a little extra rise time.