
 Save
Save
I whipped up these Pineapple Bliss Bars one gloomy day when I needed a mental trip to the beach. The kitchen filled with tropical scents as I mixed juicy pineapple into the smoothest filling and plopped it on a homemade buttery base. Just one taste will transport you straight to vacation mode.
A Delightful Sweet Getaway
They work magic year-round, bringing island vibes to any occasion. I can't count how fast they vanish at family cookouts. When I bite into one, I'm instantly taken back to my beach holiday, turning regular days into mini celebrations.
What You'll Need
- Grab 1½ cups of top-notch flour for the best results.
- You'll want ¾ cup of butter left out to soften.
- Don't forget 1 cup of granulated sugar for balanced sweetness.
- One 20 oz can of crushed pineapple, drained thoroughly.
- The secret weapon: 1 cup of full-fat sour cream for that luxurious texture.
- Add 1 teaspoon of real vanilla extract for depth.
- Set aside some powdered sugar for the final touch.
Creating The Foundation
It all begins with an amazing crust. In my big bowl, I combine sugar and flour, then work the cold butter in until it looks like damp sand. Then I gently press it into my pan. My kids always wander into the kitchen when that heavenly smell starts wafting through our home.
Adding The Final Touches
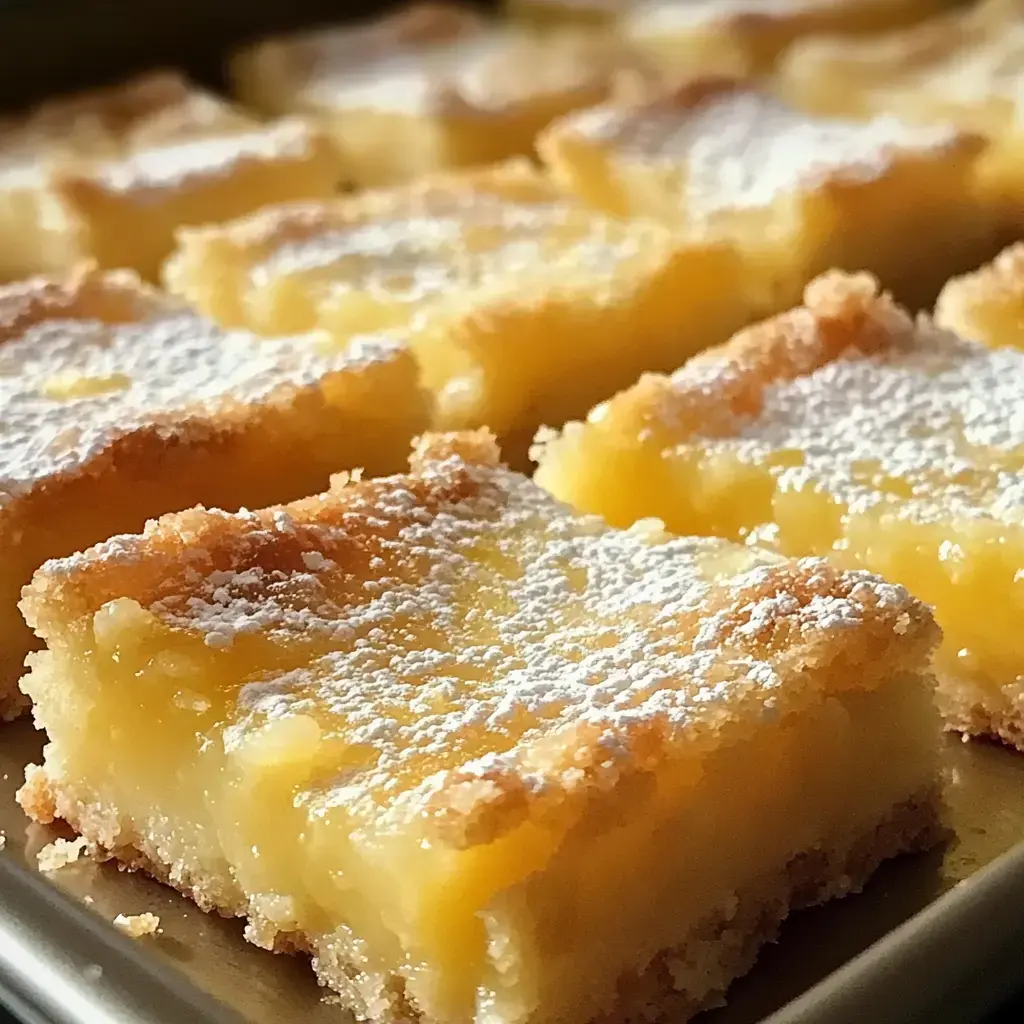
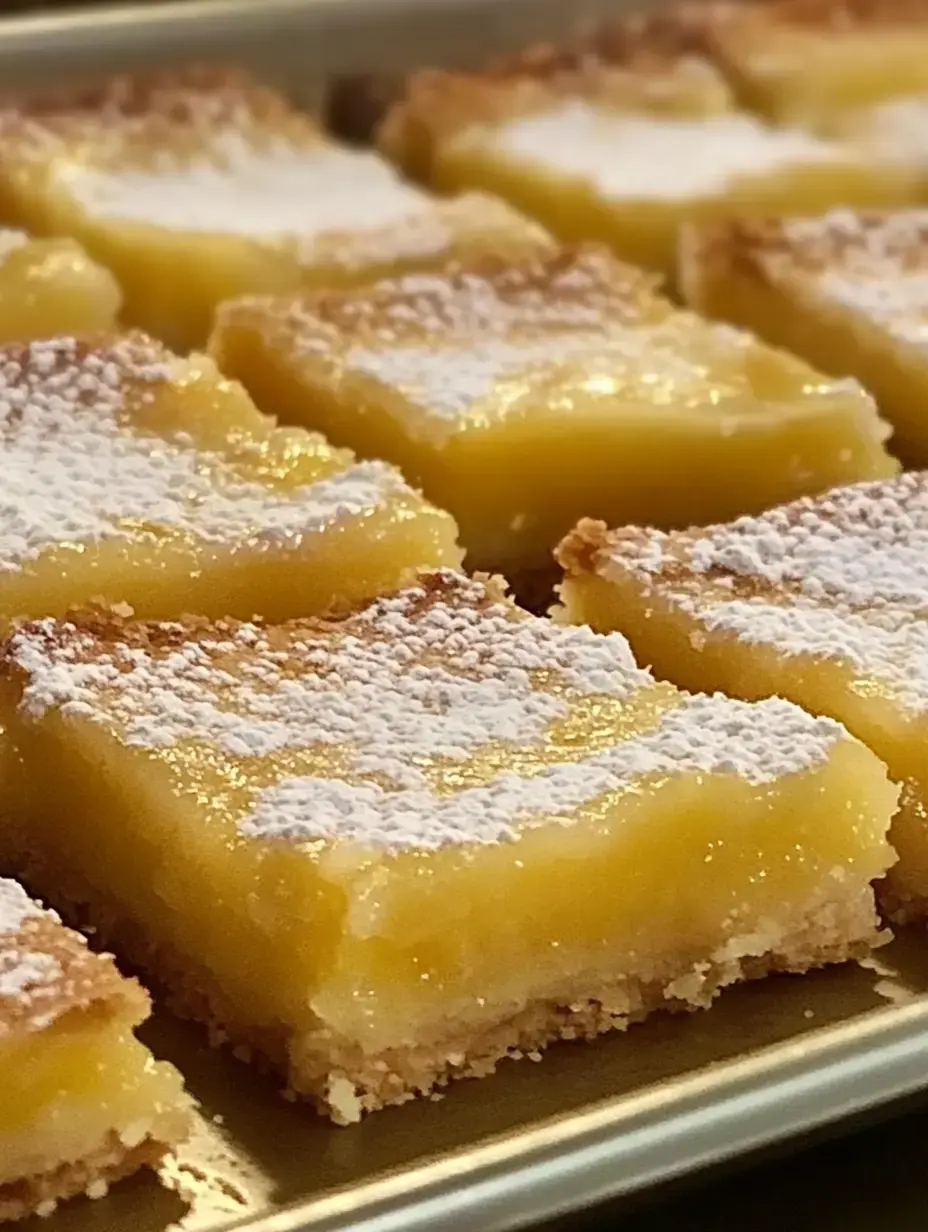
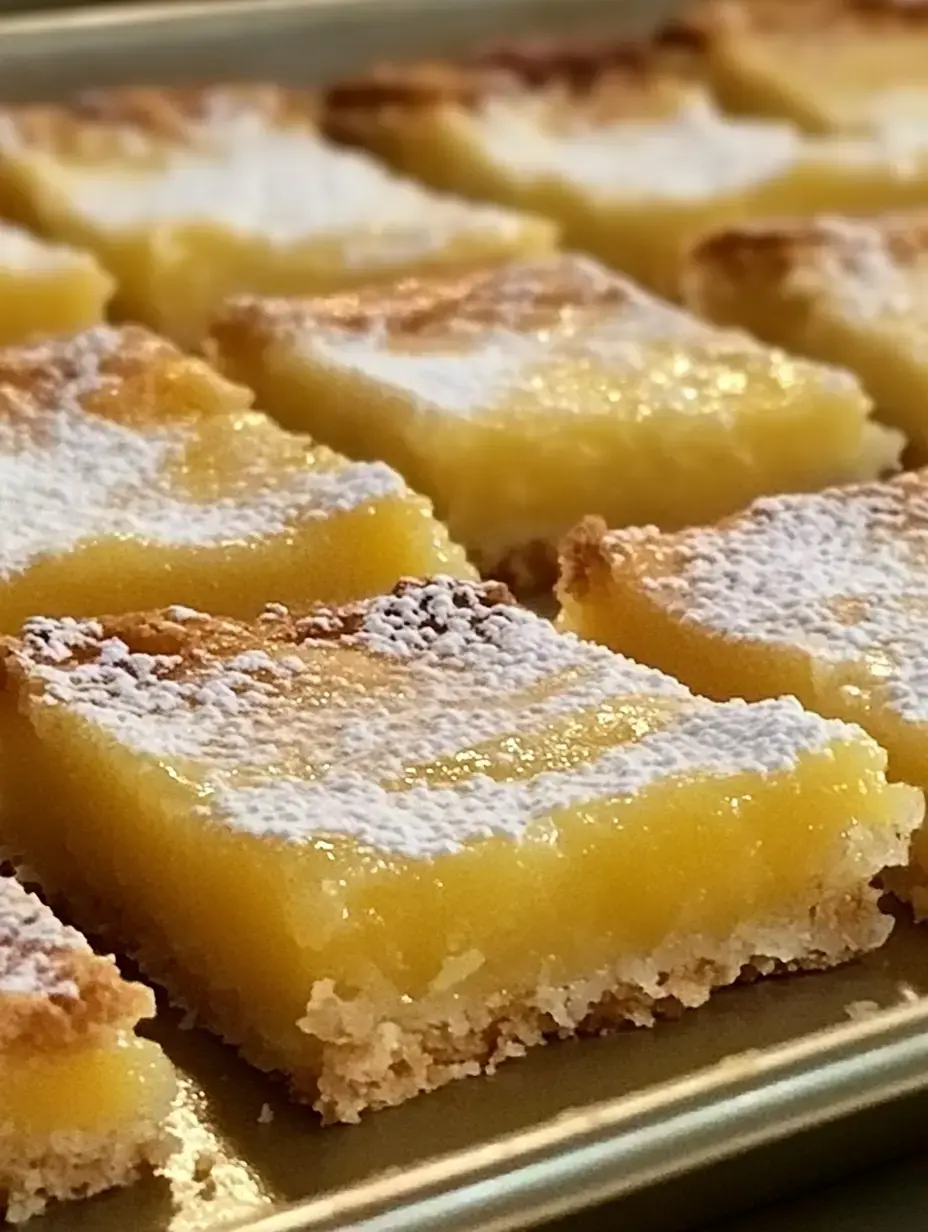
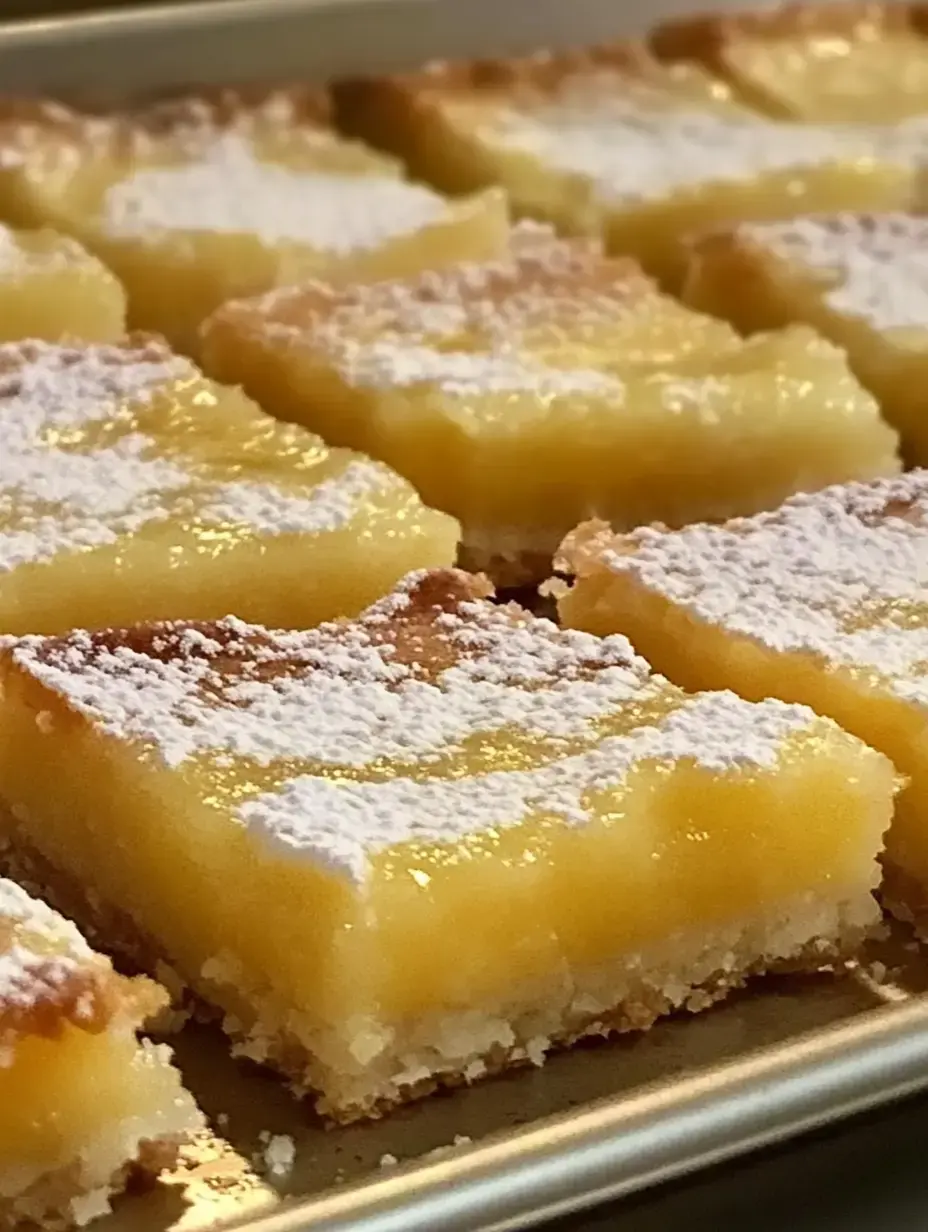
A light shower of powdered sugar transforms these treats into bakery-worthy desserts. For special guests, I'll scatter fresh mint on top sometimes. I always smile seeing that snowy white sugar against the golden treats.
 Save
Save
Taste of Vacation
These bars always remind me of my first trip to Hawaii. There's something magical about the tangy pineapple blending with that creamy filling. I've got neighbors who won't stop asking for my secret whenever I bring them to community dinners.
Personal Twists
Sometimes I throw in coconut flakes or chunks of mango. My daughter prefers when I swap the sour cream for Greek yogurt to give it more zing. Feel free to add your own special ingredients.
Storage Tips
They actually taste better on day two after all the flavors have mingled. Just store them in a sealed container in your fridge and they'll stay good for up to a week. Though in my house, they rarely last past day three!
Base Layer Tips
I've learned through countless batches that using cold butter gives you the flakiest crust. Push it down firmly but don't overdo it. I often use a flat-bottomed glass to get an even layer. These small steps really boost the quality.
The Case For Canned Fruit
Fresh pineapple tastes amazing but the canned crushed stuff gives you the same great results every time you bake. Just make sure you drain it completely. I usually let mine sit in a strainer while I work on the base.
 Save
Save
No-Gluten Option
When my bestie found out she couldn't eat gluten, I tweaked the recipe using a gluten-free flour mix. They came out just as tasty. Now everyone gets to enjoy a tropical treat regardless of dietary needs.
Freezer Friendly
You can freeze these beauties with no problem. I like to wrap each piece separately for easy snacking later on. They're so handy when unexpected visitors drop by or when I need a midnight sweet fix.
Plant-Based Alternatives
My vegan niece got me trying these with coconut cream instead of dairy. The tropical flavor fits right in, and now our whole family can munch on them together at gatherings.
Fun Variations
Try adding diced mangoes or sprinkled toasted coconut flakes. Each version brings something new to love. Your kitchen can be a playground for all sorts of island-inspired tweaks.
Baking Success Tricks
Look for a slight wobble in the middle when you check them. You want golden edges, not brown ones. Let them cool fully before cutting. Taking your time means you'll get picture-perfect squares every time.
 Save
Save
Ways To Serve
They're fantastic on their own but try them with a dollop of vanilla ice cream for an out-of-this-world treat. Pair with hot coffee or a fruity iced tea. They'll make your Sunday morning breakfast feel extra fancy.
Kid-Friendly Cooking
My grandchildren love joining me in the kitchen. They take turns stirring the mixture and sneaking bits of pineapple when they think I'm not looking. These sweet family moments make each batch extra meaningful.
Delightful Contrasts
Every mouthful offers waves of flavor and texture. The crunchy bottom supports that smooth filling perfectly while the pineapple chunks add bursts of sunshine in each bite.
Answers To Your Questions
You can definitely use fresh pineapple if you dice it small and drain it well. Make them the day before your party for even better flavor. They actually taste richer after sitting overnight in the fridge.
Tropical Joy Anytime
These Pineapple Bliss Bars can brighten even the darkest winter day. They're my favorite way to create a mini vacation at home. Watch how quickly smiles appear when you share them with friends and family.
Recipe FAQs
- → Why is draining pineapple important?
- It keeps the crust from getting soggy and the filling from being watery.
- → Is it possible to make these gluten-free?
- Absolutely! Swap regular flour for a gluten-free alternative in the crust.
- → How can I tell when they’re ready?
- Once the middle sets and stops wobbling, usually after 25-30 minutes, they’re good to go.
- → What’s the best way to store them?
- Since there’s dairy in the filling, keep them in the fridge inside a sealed container.
- → Can fresh pineapple be used instead?
- Canned pineapple works better for this because of its consistent texture and moisture.
Blissful Pineapple Bars
Buttery crust topped with sweet, tangy pineapple-filled cream. Perfect little tropical bites.
Ingredients
Steps
Combine the flour and sugar, then mix in the butter until the texture is crumbly. Spread it in a 9x13 pan and bake at 350°F for 15 minutes.
Whisk together the pineapple, sour cream, eggs, vanilla, and sugar until the mixture is smooth.
Carefully pour the filling over the crust and bake it for 25 to 30 minutes until firm.
Let everything cool down first. Then, sprinkle powdered sugar on it and slice into pieces.
Notes
- Make sure the pineapple is drained properly so the crust stays crisp.
- A gluten-free flour mix works just as well.
Required Tools
- A 9x13 pan for baking.
- Any mixing bowls you have.
Allergy Information
Check each ingredient for potential allergens and consult a healthcare professional if needed.
- Contains dairy.
- Has eggs.
- Includes wheat.
Nutritional Facts (per serving)
These details are provided for informational purposes and aren't a substitute for medical advice.
- Calories: 150
- Fats: 7 g
- Carbohydrates: 21 g
- Proteins: 2 g