
 Save
Save
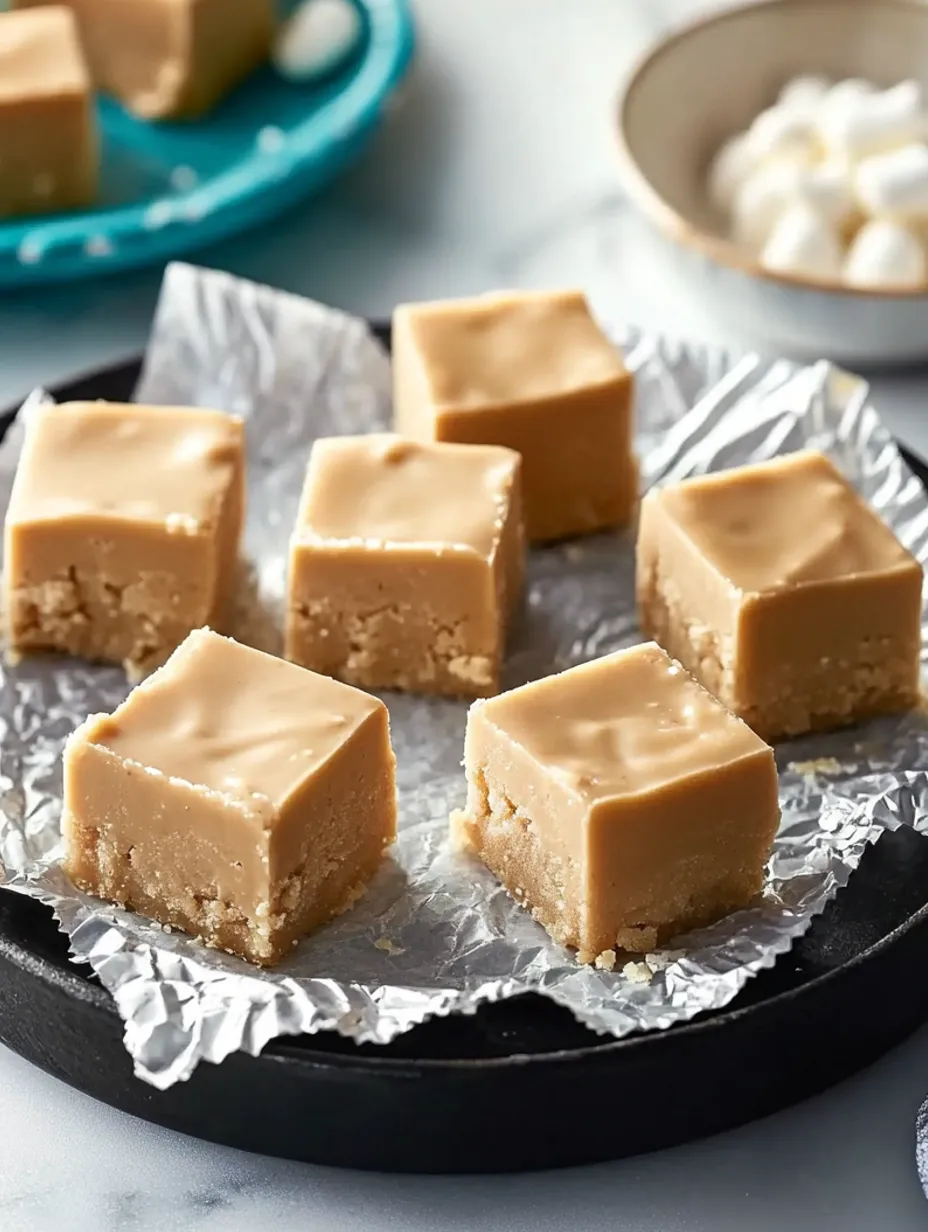
Mixing a sweet concoction of bubbling sugar and milk in my home brings me back to my younger days visiting coastal fudge stores. The sweet smell that fills my home shows why this simple five-ingredient delight has turned into my favorite holiday present and family snack. There's something wonderful about turning basic items into smooth, nutty squares of deliciousness.
When I showed my niece how to whip up this fudge last Christmas, her expression after trying that first piece was nothing but happiness. That's what happens with easy recipes done properly.
Key Components
- Rich Peanut Butter: Avoid natural kinds for better results
- New Marshmallow Creme: Different from fluff - trust me
- Full-fat Milk: The richness counts in this recipe
- Quality Butter: For coating pans and adding flavor
- Waiting Time: The toughest part of the process
 Save
Save
Sweet Creation
Begin with a well-prepared pan - butter and foil make all the difference. I found out through mistakes that cutting corners on pan prep means your fudge will stick and you'll end up frustrated. Spending extra time here saves trouble afterward.
Crafting The Sweetness
- Sugar Starter:
- First mix sugar and milk in a thick-bottomed pot. Don't try using a thin pan - you need even heating. I once made the mistake of using my thin pot and got grainy results. Never happening again.
- Three-Minute Wait:
- Here's where waiting becomes vital. Keep moving that spoon nonstop for exactly three minutes after boiling starts. Too quick and it won't firm up. Too long and you'll get crumbly bits. I always set my phone timer - no guessing allowed.
- Final Blend:
- Take it off the heat, then add peanut butter and marshmallow creme. This step creates the real transformation. Watch everything mix into a smooth, shiny blend. Move quickly though - it starts hardening fast.
- Quick Transfer:
- Put it in your ready pan right away. Work fast but stay calm. I use a flat spatula for that smooth top finish. Sometimes I gently tap the pan on the counter to get rid of bubbles - a trick from my grandma.
I made three batches for a local sale just days ago. Each batch taught me something new about when to finish that last stir.
Custom Touches
Through the years, I've tried some great changes:
- Broken pretzels added for extra crunch
- Melted chocolate mixed in for patterns
- Mixed-in nuts at the final stage
- A dash of sea salt while still warm
- Crushed graham crackers on the bottom
When I first added that pinch of sea salt, my husband who loves chocolate finally admitted this peanut butter treat could match his favorite dessert.
Keeping It Fresh
- Room temperature in sealed container: 14 days
- Layers separated by wax paper
- Stored far from heat sources or light
- Can be frozen up to 3 months
- Thaw frozen pieces in your fridge
 Save
Save
Common Questions
- Why did my fudge turn grainy?
- That usually means you didn't dissolve the sugar fully. Don't stop stirring during that crucial three-minute boil.
- It's still soft - what went wrong?
- You probably didn't boil it long enough. Try using a timer next time and keep the heat steady.
- Can I swap in natural peanut butter?
- I wouldn't - store brands work better since natural ones often separate.
- Why is mine too mushy?
- Double-check how much you used - extra marshmallow creme can make it too soft.
This sweet treat has become what I'm known for during holidays, what neighbors ask for by name, and what I bring when I need something impressive for gatherings. It shows that often the easiest recipes become the most loved.
If you're making it just for yourself or sharing with friends, remember that good fudge, like many worthwhile things, can't be hurried. Take your time, follow the steps, and soon everyone will think you're the fudge expert too.
And don't forget to lick the spoon - that's your cook's reward.
Peanut Butter Fudge
Soft fudge made with peanut butter, sweet marshmallow fluff, and optional extras.
Ingredients
→ Main Layer
→ Extra Add-ons
Steps
Cover an 8-inch dish with foil and butter it lightly.
In a pot, mix sugar with milk and let it bubble for 3 minutes while stirring.
Take the pot off the stove. Add peanut butter and marshmallow cream. Mix till smooth.
Pour into the dish, let it cool for a bit, then put it in the fridge to firm up.
Notes
- Toppings are optional
- Keeps well for a while
- Can be chilled
Required Tools
- Small square dish (8-inch)
- Sturdy cooking pot
- Aluminum foil
Allergy Information
Check each ingredient for potential allergens and consult a healthcare professional if needed.
- Contains butter and milk (dairy)
- Contains peanuts
Nutritional Facts (per serving)
These details are provided for informational purposes and aren't a substitute for medical advice.
- Calories: 67
- Fats: 3 g
- Carbohydrates: 10 g
- Proteins: 1 g