
 Save
Save
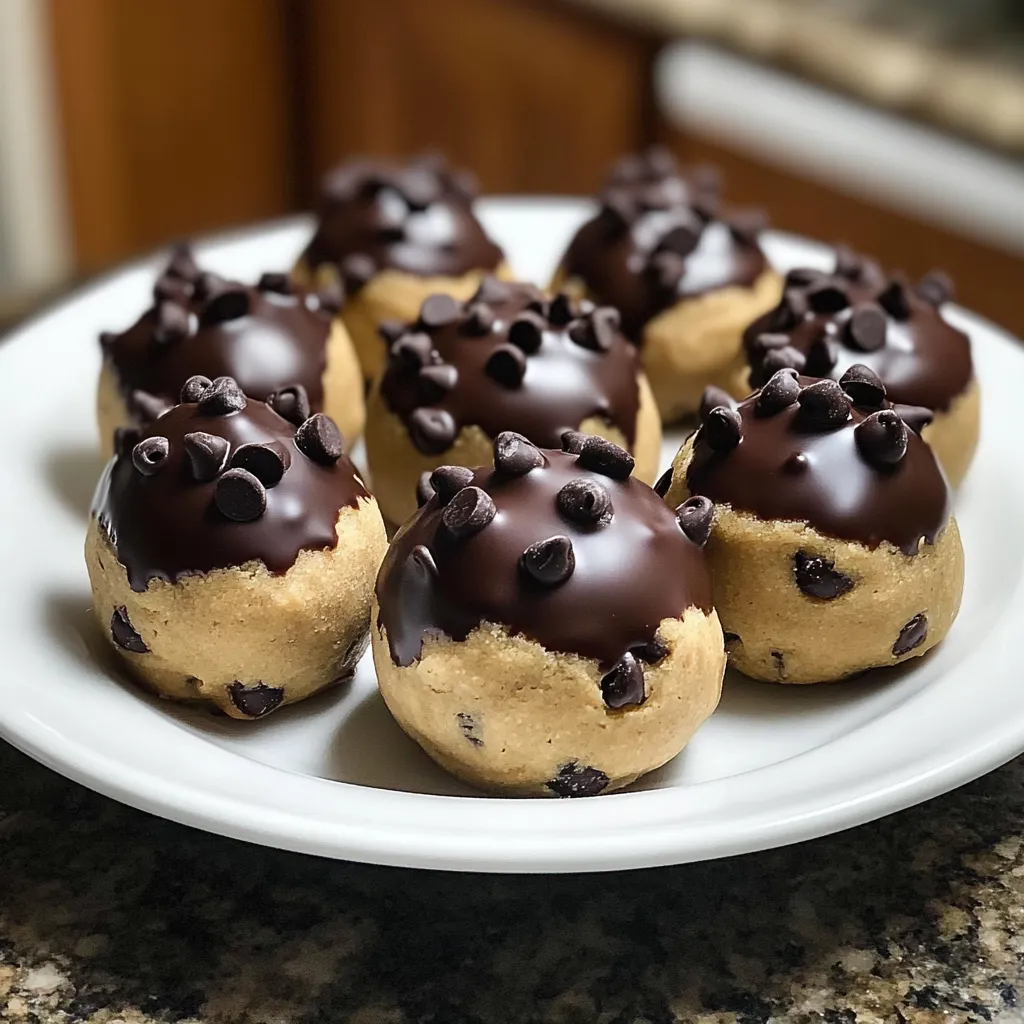
Grabbing cookie dough from the mixing bowl was always my secret indulgence. These bite-sized chocolate-coated treats give you that same naughty pleasure without worrying about uncooked eggs. I came up with these after being caught too many times sneaking dough while baking with my little ones. The rich, chip-filled centers wrapped in that crisp chocolate layer have now become what I'm known for at every get-together.
I took these to my sister's new place celebration last year and her neighbor who said he was "cutting back on sweets" gobbled up seven before we even had dinner. Later I spotted him quietly asking my sister if any were still around. These small treats just have that pull on folks.
Must-Have Ingredients
- Unsalted butter: Get it soft but not melty or runny. Your dough's feel totally depends on butter at just the right softness.
- Brown sugar: This gives that amazing caramel taste that makes people crave cookie dough. Press it down tight when you measure.
- Heat-treated flour: Plain flour might have germs, so we bake it quickly at 350°F for 5 minutes to make it safe. Let it cool all the way before you mix it in.
- Chocolate chips: You'll need two types: some mixed into your dough for texture and taste, and better ones for melting and coating the outside.
- Coconut oil: Just add a tiny bit to your melting chocolate for that shiny finish that breaks with a crack.
 Save
Save
Baking Instructions
- Blend your basics:
- Whip butter and brown sugar till it's super fluffy – keep going for about 3 minutes with your mixer. Don't cut this part short; it's what makes these so yummy. Toss in vanilla and salt, mixing till everything's combined.
- Get the right texture:
- Slowly add your cooled, safe flour while mixing on low. It'll look all crumbly at first. Pour in milk one spoonful at a time until it all sticks together but isn't sticky. Stir in chocolate chips using a spatula.
- Form your bites:
- Roll small balls about an inch across between your hands. If it's sticking to your fingers, cool it in the fridge for 15 minutes first. Put them on a paper-lined tray and chill for 30 minutes until they're firm.
- Handle the chocolate:
- Melt your coating chocolate carefully in short 20-second bursts in the microwave, stirring each time. Add your coconut oil so it gets really smooth. Stop heating when chips are nearly melted and let the warmth finish the job.
- Coat them nicely:
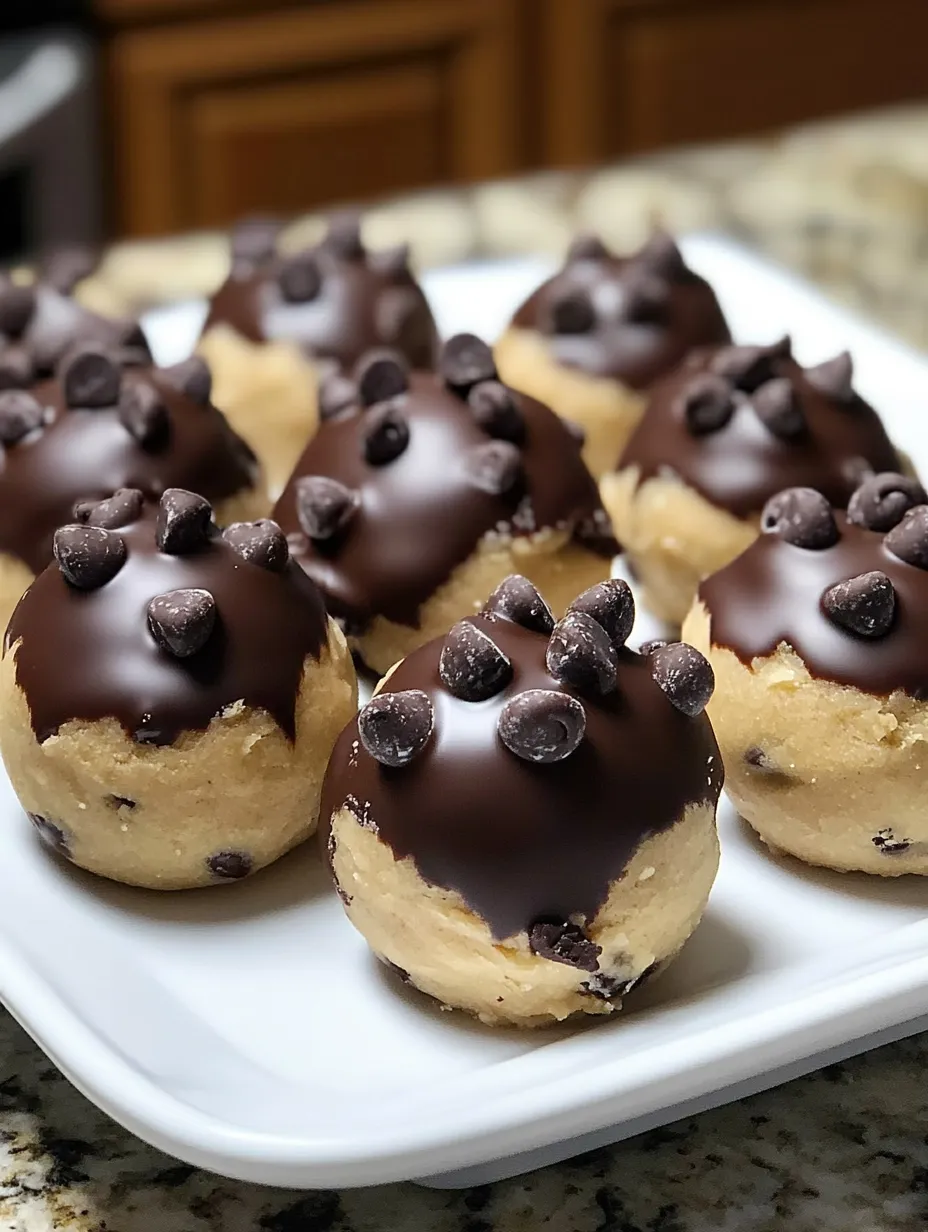
- Working with just a few balls at once (keep the rest cold), dip each halfway into the chocolate. Let extra chocolate drip off, then put back on your lined tray. Add any decorations right away before the chocolate hardens.
My first try making these turned into a sticky mess. I tried to dip warm dough and ended up with chocolate all over my hands and weird-shaped lumps. Now I keep most of them in the fridge while I work with just a few, and they look good enough to post online.
Tasty Combinations
For casual parties, I put these in bright paper liners on a wooden serving board. They're amazing chopped up on top of ice cream – try them over vanilla with some caramel drizzled on top. For kids' parties, I've put them on small sticks to make cookie dough pops that vanish quickly.
Fun Variations
This simple recipe works with tons of changes. Try using peanut butter or butterscotch chips instead of chocolate. Throw in some mini M&Ms for bright colors and extra crunch. White chocolate coating with colorful sprinkles makes a birthday cake version kids absolutely love. My favorite adds toffee pieces to the dough with a tiny sprinkle of sea salt on the chocolate.
Storage Tips
These goodies stay fresh in a sealed container in your fridge for about a week. Put parchment paper between layers so they don't stick together. To keep them longer, freeze them on a baking sheet until solid, then move to a container. Thaw them in the fridge before you serve them.
 Save
Save
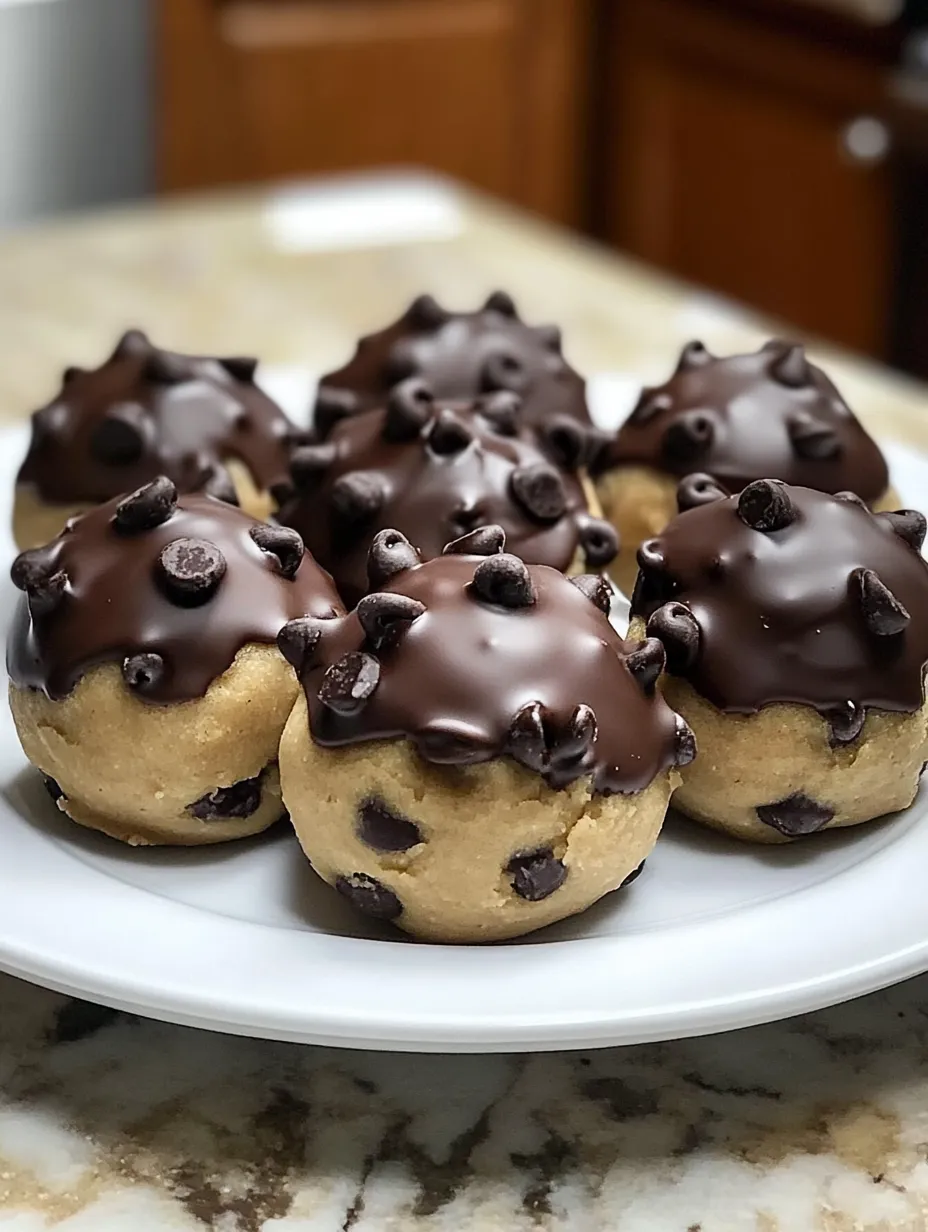
I've brought these cookie dough bites to everything from school fundraisers to Christmas gatherings. There's just something about that mix of smooth dough and crisp chocolate that nobody can turn down. While I enjoy tackling big baking projects sometimes, there's real joy in making something this tasty with so little effort. Just don't tell your friends how easy they were – let them think you slaved away for hours.
Recipe FAQs
- → Why is heat-treating flour important?
- It kills harmful bacteria so you can safely enjoy no-bake goodies. Just bake the flour at 350°F for 5 minutes and cool it completely.
- → Can I make this treat vegan?
- Definitely! Swap in plant-based butter, non-dairy milk, and vegan chocolate chips to make this vegan.
- → How long do these snacks stay fresh?
- Keep them in the fridge in a sealed container, and they’ll last up to a week.
- → Is it okay to freeze these bites?
- Of course! You can freeze them for up to 3 months. Thaw them in the fridge before enjoying.
- → What other options can replace coconut oil?
- You can use shortening or leave it out completely. Coconut oil makes the melted chocolate smoother and shinier, though.