
 Save
Save
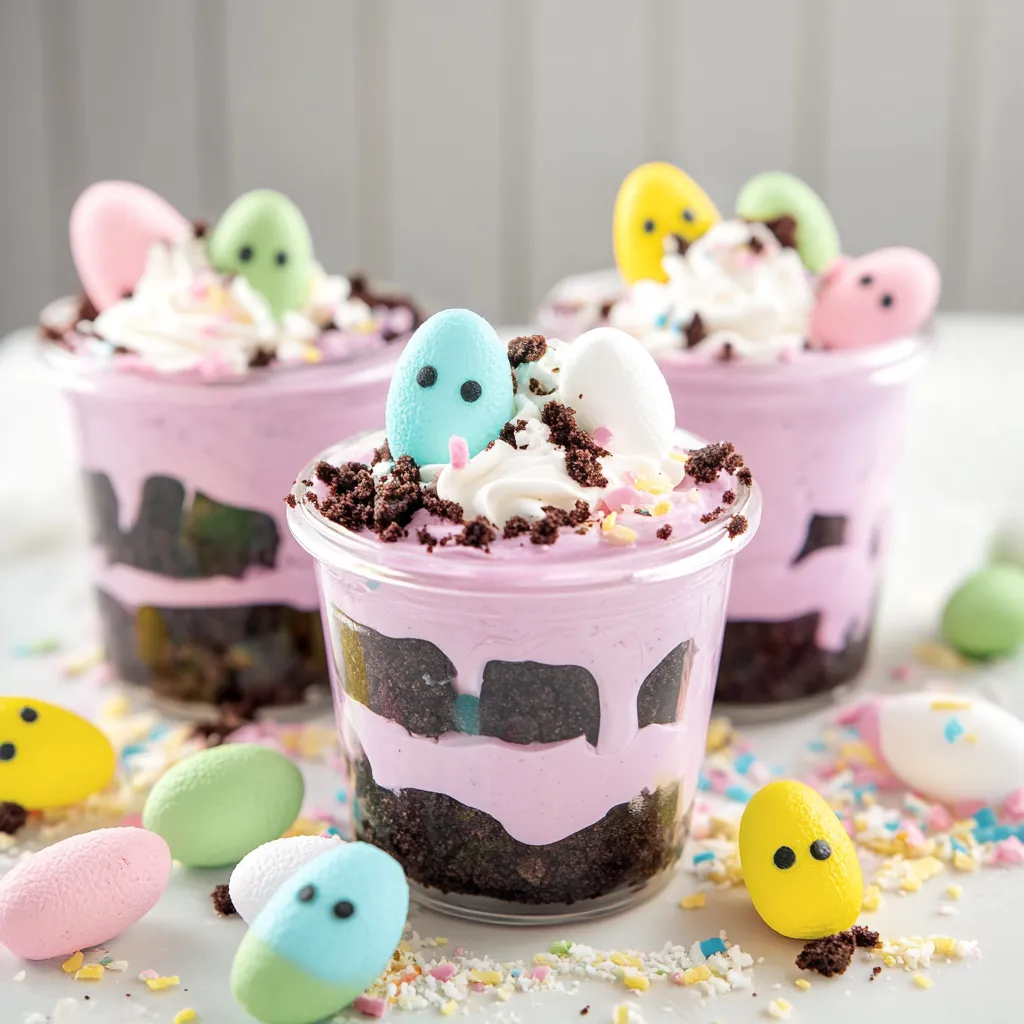
I whipped up these cute Easter cups a while ago when I was tired of just dumping candy in baskets. I wanted something tasty that folks would actually eat at our family get-together instead of adding to the mountain of sweets. They're just gussied-up pudding cups with a spring twist, but wow - everyone goes nuts for them. Something about those smooth pudding layers with cookie bits and those fluffy Peeps on top just feels so Easter-y without being a pain to make.
When I brought these to my sister's big annual egg hunt last Easter, my seven-year-old niece (who's suddenly picky about absolutely everything) called them "the most gorgeous treat ever" and made everybody wait while she snapped photos. My brother-in-law, who normally skips sweet stuff, finished his completely and hung around the extras I'd brought for the kids to take with them.
Essential Ingredients
- Instant vanilla pudding forms your base - don't grab the cooking kind by mistake
- Milk needs to be straight from the fridge or your pudding won't firm up properly
- Cool Whip creates that airy, soft texture you won't get from pudding on its own
- Scraped Oreos make the perfect "dirt" - I've tested with filling left in and it just looks wrong
 Save
Save
Assembly Steps
- Combine your pudding and milk thoroughly. Whisk it properly for two full minutes - I set my phone timer because I tend to rush it.
- Give it about 5 minutes to rest. The mixture thickens during this time.
- Divide between two containers and add whatever colors you fancy. I typically choose purple and pink for that spring feel, though my kids sometimes ask for green and blue.
- Mix in the Cool Whip with a light touch. Don't beat it vigorously or you'll lose all the fluffiness and end up with sad, flat pudding.
- For the cookies, toss them in a plastic bag and smash them with a rolling pin. A food processor works great too if you've got one.
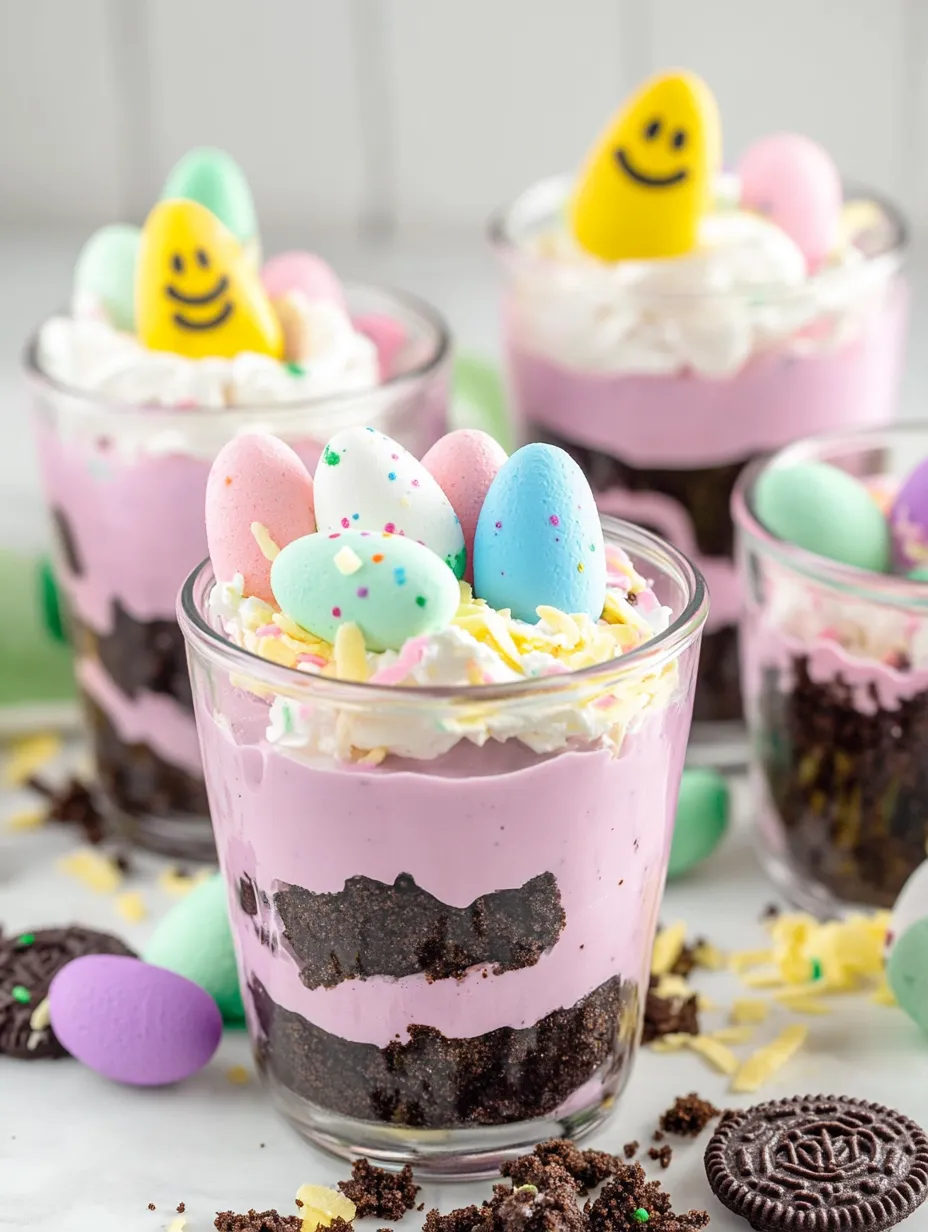
- Start creating layers in your containers - first some cookie bits, then purple pudding, more cookie pieces, pink pudding, and so on.
- Finish with a final sprinkle of cookie crumbs on top.
- Pop them in the fridge at least an hour, but overnight turns out fantastic too.
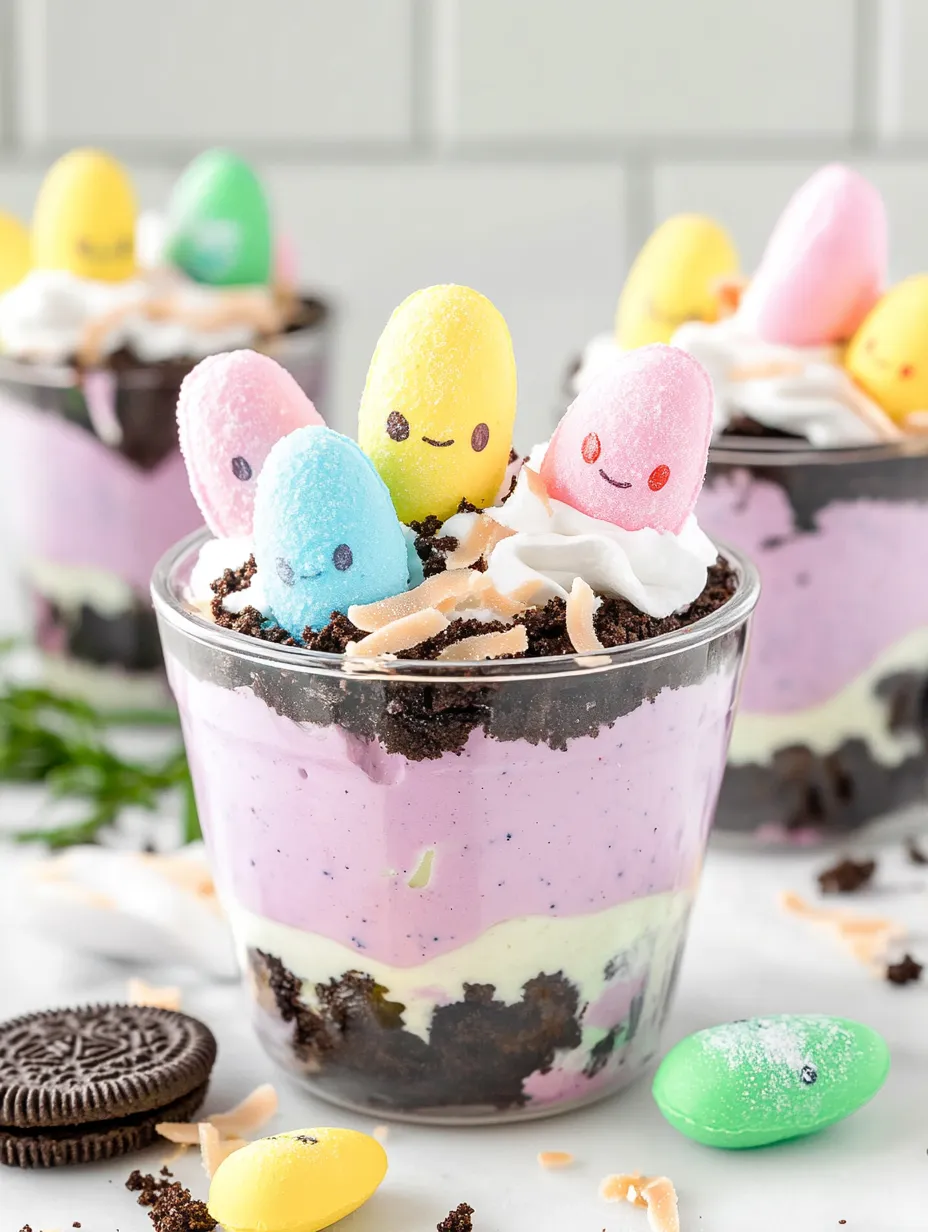
- For the green coconut "grass," put shredded coconut in a container that seals well, add green food coloring with a tiny bit of water, then shake it hard until it's completely green.
- Just before serving, sprinkle on your coconut grass, arrange some candy eggs, and stick a Peep on the top.
My first attempt used chocolate pudding because I thought it'd look more like dirt. Bad move - you couldn't spot any pretty layers, and everything looked like mud. Switching to colored vanilla pudding changed everything. I also found out that keeping the Oreo filling makes the crumbs stick together strangely. My daughter thought up the coconut "grass" during our second year making these, and now they don't seem complete without it.
Display Options
They look adorable lined up on a platter with actual Easter grass or fresh blooms tucked between them. For my niece's birthday (which happens around Easter), I made them part of a "garden theme" and stuck flags with each kid's name into their cup. For school events, I've created a small "garden" display with the cups nestled among potted spring flowers and scattered plastic eggs.
Tasty Variations
I'll sometimes throw in a chocolate pudding layer between the colored ones for better contrast. Golden Oreos also make a nice lighter "sand" look that's pretty cool. My boy gets excited when I switch up the candy toppings - try jelly beans, tiny chocolate bunnies, or those small crunchy-shell chocolate eggs.
 Save
Save
These Easter dirt cups have become my family's expected contribution every spring. They're so basic but everyone acts like I slaved over them for hours. Kids love the bright colors and candy, and grown-ups actually eat them because they aren't too sweet like most Easter treats. It's pretty awesome when something looks cute AND tastes good, right?
Recipe FAQs
- → Can these cups be made in advance?
- You bet! Prep these cups the day before, keeping them chilled. Save the Peeps, coconut, and eggs for garnish just before serving.
- → What works instead of Cool Whip?
- Homemade whipped cream is a great swap. Just beat heavy cream with powdered sugar, stiffen it, and fold into pudding as usual!
- → Should I remove Oreo filling?
- It's optional! Without the filling, the 'dirt' looks more realistic. Crushed whole cookies give a sweeter, lighter twist, and save time.
- → What size cups are best?
- Small mason jars (4-8 oz) are awesome, but any clear plastic or glass cups work. The see-through effect shows off the fun layers!
- → Can I swap vanilla for chocolate pudding?
- Of course! Chocolate pudding is fantastic too. Skip food coloring or combine flavors for layered contrast.
- → How do I crush Oreos finely?
- A food processor does wonders! If unavailable, seal the cookies in a bag and crush them with a rolling pin or flat pan bottom for fine crumbs.