
 Save
Save
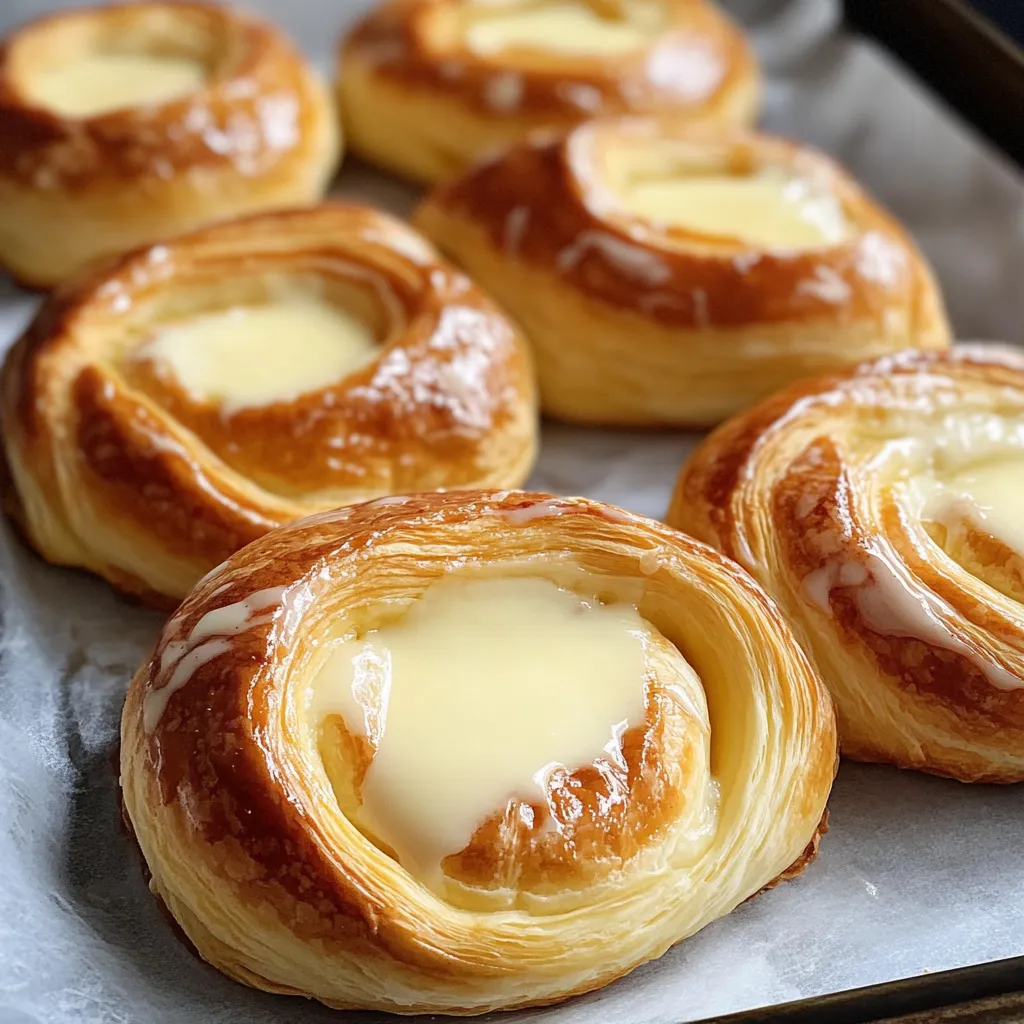
I stumbled upon this quick cheese danish trick one weekend when I wanted to wow my family with something fancy but didn't have the time (or talent) for traditional pastry making. These quick homemade danishes have now turned into our weekly ritual – they're just like bakery treats but come together in about 20 minutes using stuff I typically keep around. The puffy, crisp crescent base mixed with that smooth, vanilla-rich filling makes something that seems like a major project, when honestly, you'll be spending way more time eating them than cooking them.
Just weeks ago, my sister dropped by unannounced for a coffee chat, and I threw these together while we talked. She couldn't believe how basic they were to make. She thought I'd run to a fancy bakery or spent the whole morning cooking before she came. She's made them for her reading group since then and told me everyone begged for the instructions – that's when you know you've got something special!
Basic Components
- Crescent rolls – This clever shortcut is what makes everything so easy! Those tubes from the refrigerator section create a wonderfully flaky, buttery foundation without all the folding and waiting that old-school danish needs. The cheap brands work just as nicely as the expensive ones for this recipe.
- Cream cheese – The main player in your filling needs to be good and soft for smooth results. Set it out about half an hour before mixing, or give it a quick 20-second zap in the microwave if you're rushing. The full-fat kind gives the tastiest result, but the lighter version works okay too if that's all you've got.
- Brown sugar – This gives a rich, almost caramel-like sweetness that plain white sugar just can't match. It melts a bit during cooking, spreading gentle sweetness throughout your pastry. The light brown kind is milder, while dark brown adds stronger molasses flavor.
- Vanilla extract – Never skip this or go with the fake stuff! Real vanilla extract brings that authentic bakery taste that makes these danishes extra special. The depth it adds to both filling and topping is worth spending a few extra bucks on.
- Butter – A quick swipe of melted butter helps the brown sugar stick to the dough and brings in another layer of richness. The salted kind creates a nice balance with the sweet filling, but unsalted is perfectly fine too.
 Save
Save
Crafting Delightful Pastries
- Smooth cream cheese mixture:
- Mix the cream cheese combo until it's totally smooth with no bumps. Any chunks now will still be there after baking. Your filling should be firm enough to stay put but soft enough to spread over your rolled dough.
- Dough handling tricks:
- When you open the crescent dough, push those dotted lines together firmly so they don't come apart. This stops the filling from leaking while baking. Sprinkle a bit of flour on your counter if the dough keeps sticking.
- Best rolling method:
- After putting on butter and brown sugar, roll from the long edge to get more layers in your finished pastry. Roll firmly enough that layers stick together, but not so tight that the dough breaks or gets squished flat.
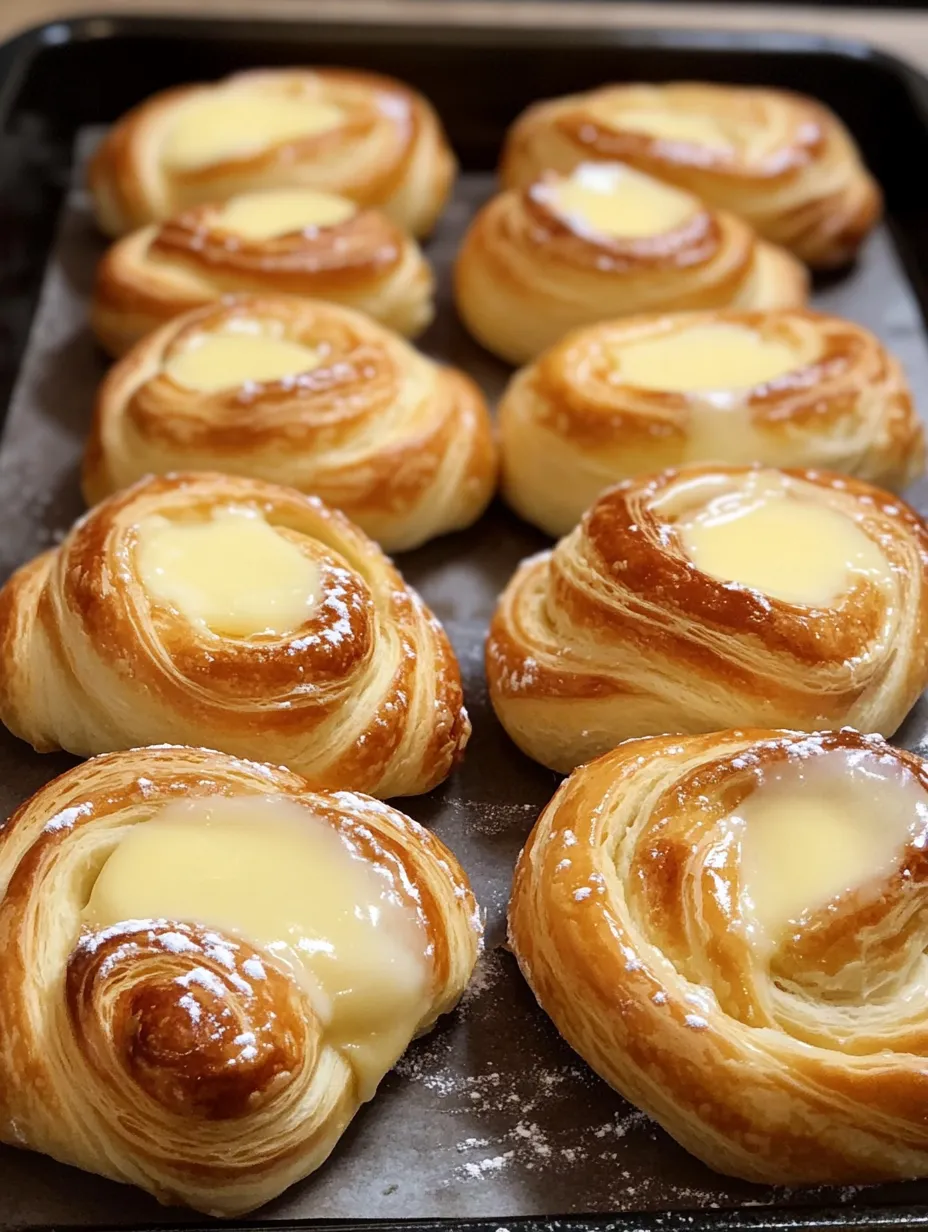
- Making the spiral shape:
- Grab one end of your rolled dough and gently twist it into a spiral, leaving a small dent in the middle for the filling. Don't stress if they look a bit messy – they'll puff up nicely in the oven anyway.
- Adding the filling:
- Put the cream cheese mix right in the middle of each spiral using a spoon. You don't need to spread it around – it'll settle and blend with the dough as it heats up.
- Getting the topping right:
- Your glaze should pour easily but not be runny. If it's too thick, add a tiny bit more milk; if too thin, mix in more powdered sugar. Pouring the glaze while the danishes are still warm lets it partly soak into the pastry for the yummiest result.
The first time I tried making these, I learned my lesson – I used cream cheese straight from the fridge and got a lumpy mess. I've also played around with different filling amounts, finding that roughly 2 tablespoons per danish hits the sweet spot between dough and cream cheese. Not enough disappears as it bakes, while too much spills out all over the pan.
Gorgeous Presentation Ideas
Make these simple cheese danishes look even fancier for breakfast or brunch by pairing them with fresh fruit and a pot of good coffee. For special gatherings, set up a topping station with fresh berries, slivered almonds, or cinnamon sugar so folks can dress up their own. They make a beautiful display on a breakfast table when arranged on a pretty plate or cake stand.
Tasty Twists
Once you've got the hang of the basic version, try these fun changes:
- Fruit Fantasy: Drop a spoonful of jam on top of the cream cheese before baking for a fruity kick. Raspberry, blueberry, or apricot all taste amazing.
- Zesty Burst: Mix some lemon or orange zest into the cream cheese for a fresh, bright flavor. You can also add citrus zest to the glaze.
- Nutty Delight: Toss some sliced almonds over the filling before baking and add a few drops of almond extract to the glaze for a nutty version.
- Cinnamon Swirl: Mix a spoonful of cinnamon with the brown sugar before sprinkling it on the dough for a cinnamon roll taste.
- Chocolate Dream: Scatter a few chocolate chips over the cream cheese before baking for a melty chocolate surprise inside.
Keeping Them Fresh
These cheese danishes taste best right after baking, but if you have extras, keep them in a sealed container at room temperature for a day or two. For keeping them longer, stick them in the fridge for up to 4 days, though the dough texture will change a bit. To warm them up, pop them in the microwave for about 10 seconds or in a 300°F oven for a few minutes. If you want to prep ahead, you can make them up to the baking step, wrap them up, and chill overnight. Just add a couple more minutes to the baking time when cooking them cold.
 Save
Save
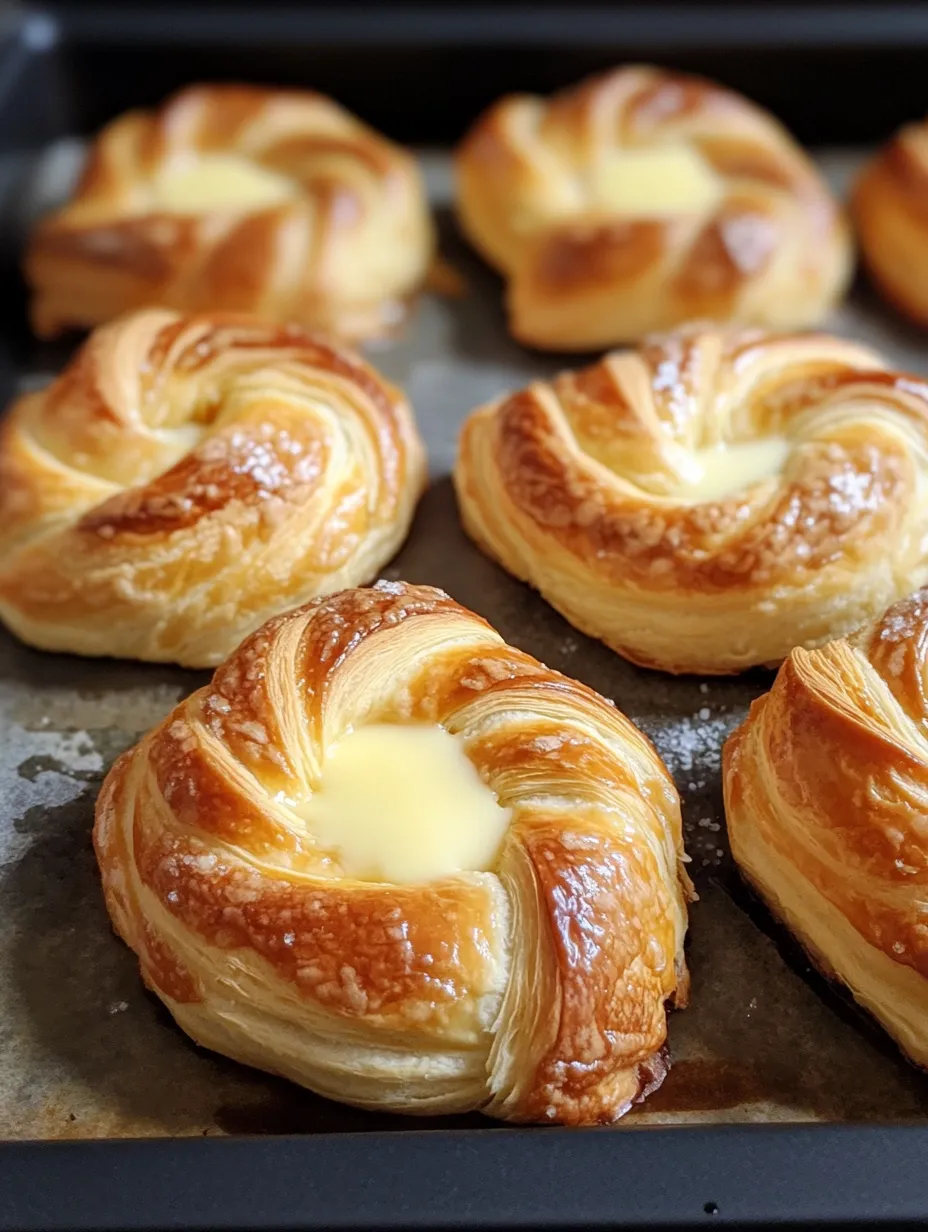
I've whipped up these cheese danishes so many times through the years, for lazy Sunday morning breakfasts, holiday get-togethers, and even as quick treats when friends pop in without warning. There's something truly special about the mix of flaky pastry, smooth filling, and sweet glaze that everyone seems to love. The fact that they're so quick to make with store-bought dough can be our little secret – nobody needs to know how easy they actually are!
Recipe FAQs
- → Is it okay to make these a day in advance?
- Sure! Prepare everything except the glaze the night before. Refrigerate unbaked and let them warm up for 15 minutes before cooking. Add glaze after baking.
- → What works instead of crescent dough?
- Puff pastry is fantastic! Slice into squares, add the filling, and bake. The texture will be even lighter and flakier.
- → Can I spice these up with fruit?
- Definitely! Spread some strawberry, apricot, or blueberry jam over the cream cheese filling for a fruity twist.
- → How should I keep leftovers fresh?
- Put them in a sealed container in the fridge for up to three days. Microwave briefly to warm them back up.
- → Why does the cream cheese need to soften first?
- Soft cream cheese mixes better with no lumps. Cold cheese won't spread properly and creates uneven filling.