
 Save
Save
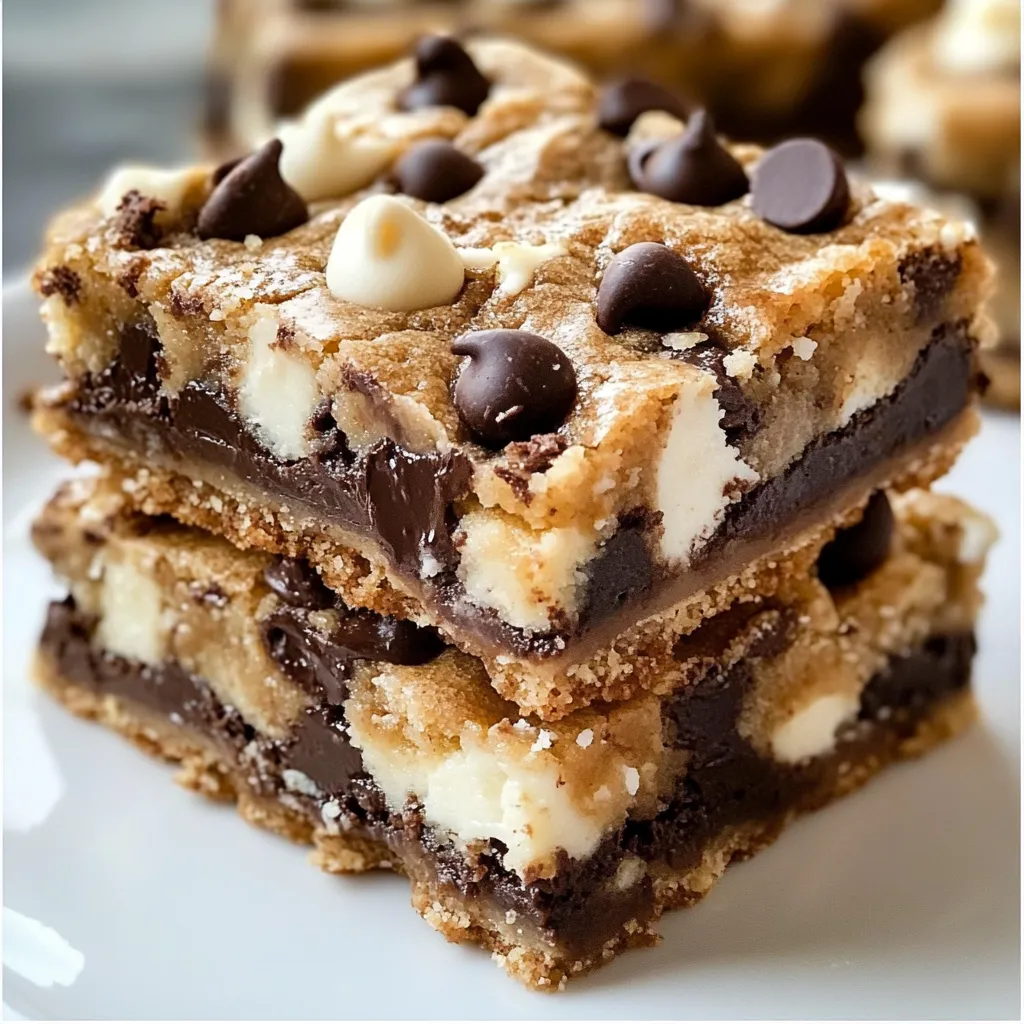
Seven-layer treats turn everyday pantry staples into a mouthwatering dessert that totally lives up to its magical name. The graham cracker bottom forms a sturdy base for the velvety condensed milk that turns golden while cooking and sticks everything together. Each bite gives you so many textures and tastes—from crunchy nuts and chewy coconut to gooey chocolate chips—making a delightful mix of sweetness that hits all the right notes.
I first tried these squares at my aunt's Christmas cookie swap where they always vanished quicker than any fancy cookie on display. When I asked for her secret, I couldn't believe how simple it was—showing that sometimes the tastiest treats don't need complicated steps or weird ingredients. Now these bars are what I make when guests pop over unexpectedly, giving amazing results even when I'm short on time.
Stellar Components
- Graham Cracker Crumbs: They make that yummy cookie-like foundation with hints of honey. Smashing your own crackers works better than buying pre-made crumbs for taste and texture.
- Butter: It holds the crust together and adds a rich taste. Melting it first helps it mix through all the crumbs evenly.
- Eagle Brand Sweetened Condensed Milk: This works as the glue that changes while baking. It slowly caramelizes, creating that special flavor and sticky-chewy feel these bars are famous for.
- Chocolate Chips: They melt into little pockets of sweetness throughout. The semi-sweet kind balances out the super sweet milk layer perfectly.
- Coconut: It adds a chewy bite and sweet tropical taste. The flakes turn golden brown while baking, adding nutty flavors that make everything taste better.
- Chopped Nuts: They give that needed crunch and deep flavor. Walnuts work great, but pecans bring a buttery richness that really works well with everything else.
Square Success
- Getting Ready:
- Start by heating your oven to the right temp—350°F for metal pans or 325°F if using glass. This temp change stops glass dishes from burning the edges since they heat differently than metal. Put parchment paper or foil in your 9×13-inch pan with extra hanging over two sides so you can lift everything out easily later.
- Making The Base:
- Mix your graham crumbs with melted butter until every bit looks damp like wet sand. Push it down firmly into your lined pan using a measuring cup's flat bottom. Packing it down tight makes a solid base that won't fall apart when you cut it.
- The Magic Middle:
- Pour your sweetened condensed milk evenly over the crust, making sure it reaches all corners. This key layer works like magic during baking, turning into that gooey, slightly caramel-like substance that makes these treats so special.
- Layering It Right:
- Scatter chocolate chips over the milk layer first, then add coconut and finish with nuts. This order matters—chips need to touch the warm milk to melt a bit, while coconut and nuts should stay on top where they can get toasty.
- Light Touch:
- Gently press everything down with a fork just enough to stick to the milk layer. Don't push too hard or everything will sink in too much—you want to see those distinct layers in the finished product.
- Watch The Bake:
- Cook until the edges turn golden and the coconut looks toasty, about 25 minutes. The middle might seem a bit soft but will firm up as it cools. Don't overbake or your bars will turn hard instead of chewy.
- Cooling Time:
- Let the whole thing cool completely in the pan before trying to lift it out or cut pieces. This waiting part really matters—the milk layer needs time to set, and the chocolate needs to firm up. Leaving it overnight gives the best results.
- Smart Cutting:
- For clean-looking squares, dip a sharp knife in hot water, wipe it dry, then make firm cuts straight down. Don't drag the knife through. If they've been in the fridge, let them warm up a bit before serving so you get the best flavor and feel.
 Save
Save
My grandma always said that waiting makes the difference between OK desserts and amazing ones. The first time I made these as a teen, I got impatient and cut them too soon, ending up with a tasty but sloppy mess. Now I follow her advice and let them set properly, which gives me those pretty, distinct layers that show off each ingredient. These old recipes often teach us more than just how to cook—they teach us patience too.
Ways To Enjoy
These handy treats work for all kinds of occasions without extra fuss. For casual get-togethers, just put the cut squares on a plate and let people grab them. During the holidays, cut smaller pieces and set them on pretty platters with other cookies for an impressive spread. For fancy times, warm them slightly and top with vanilla ice cream and a drizzle of caramel sauce for a next-level dessert. They also make great gifts wrapped in clear bags with colorful ribbons, showing off all those pretty layers.
Mix It Up
Play around with this flexible recipe by trying different topping combos. Make a tropical version with white chocolate chips and dried pineapple bits. For chocolate fans, use chocolate graham crackers as the base and add a layer of peanut butter chips alongside the chocolate ones. For Christmas, try adding crushed candy canes, or use butterscotch chips with pecans for a fall twist. If you find them too sweet, dark chocolate chips balance the condensed milk nicely and add a grown-up flavor.
Keeping Them Fresh
Keep your bars tasting amazing by storing them right. Once they've cooled completely, put them in an airtight container at room temperature with parchment between layers so they don't stick together. They'll stay good for about 4 days and actually taste even better after sitting a day or two. If you need them to last longer, stick them in the fridge for up to a week, but let them come back to room temp before eating for the best texture. Want to save them even longer? Wrap each piece in plastic wrap, put them in a freezer container, and they'll keep for 3 months.
These seven-layer wonders show how common ingredients stacked together can create something truly special. They've stayed popular across generations because they always deliver awesome results without much work. Whether you're making them for a cookie swap, family gathering, or just because it's Tuesday, they combine ease and deliciousness in a way that makes them truly magical in both name and taste.
 Save
Save
Recipe FAQs
- → Which nuts taste best in these bars?
- Pecans and walnuts are go-to picks, but any nut like macadamias or almonds works. Don’t like nuts? Throw in more chocolate or butterscotch chips instead!
- → Is it possible to switch up the toppings?
- Definitely! Use butterscotch or white chocolate instead of semi-sweet. Explore flavors with dried fruit, M&Ms, or toffee pieces. Skip the coconut if you'd rather not include it.
- → Why do people call them 'magic' bars?
- It’s all about the condensed milk, which magically binds everything together as it cooks, giving you a caramel-like, gooey texture in no time at all!
- → How do I know when they’re done baking?
- The edges should take on a soft golden hue and the top should firm up. They might still feel a bit soft fresh out of the oven but will quickly firm up as they cool.
- → How far ahead can I prep these bars?
- Make them up to a few days in advance. They stay fresh for 2-3 days at room temp, a week in the fridge, or a couple of months in the freezer. They almost taste better over time!