
 Save
Save
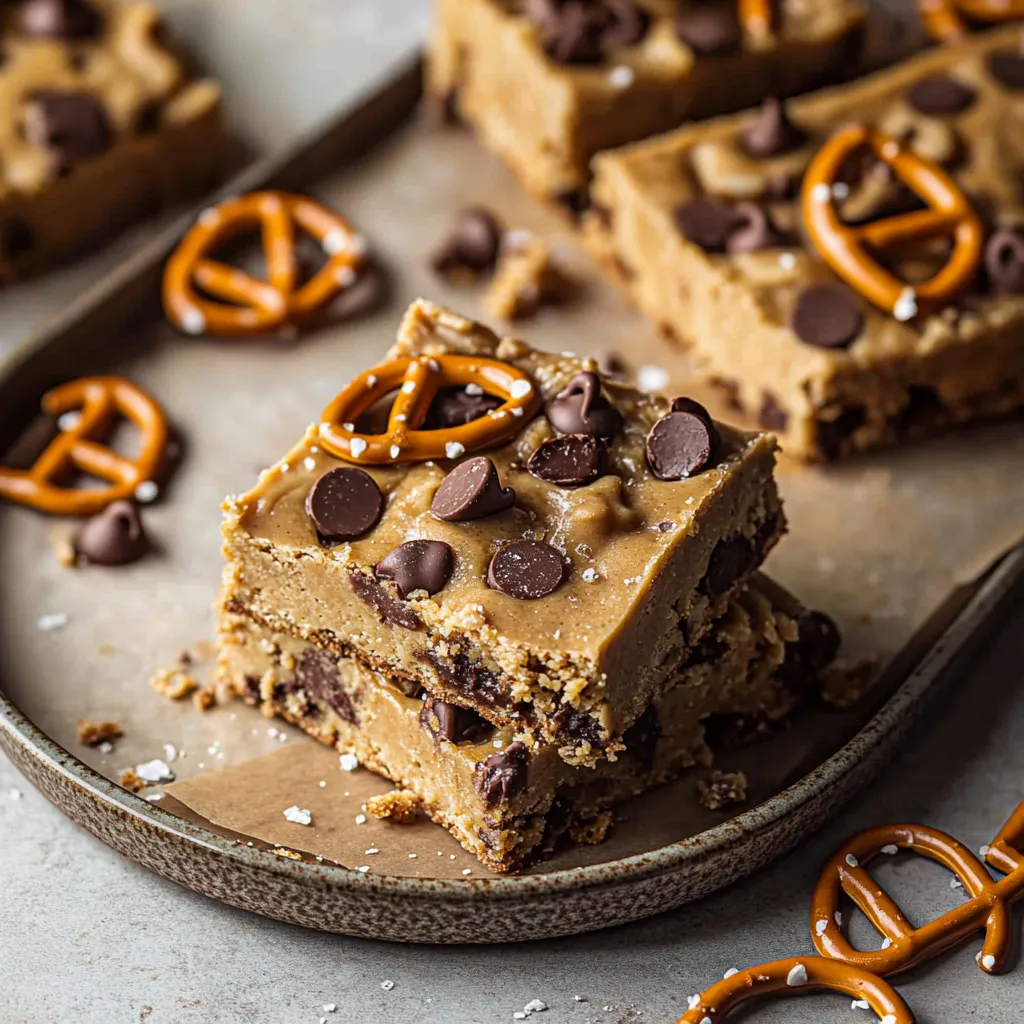
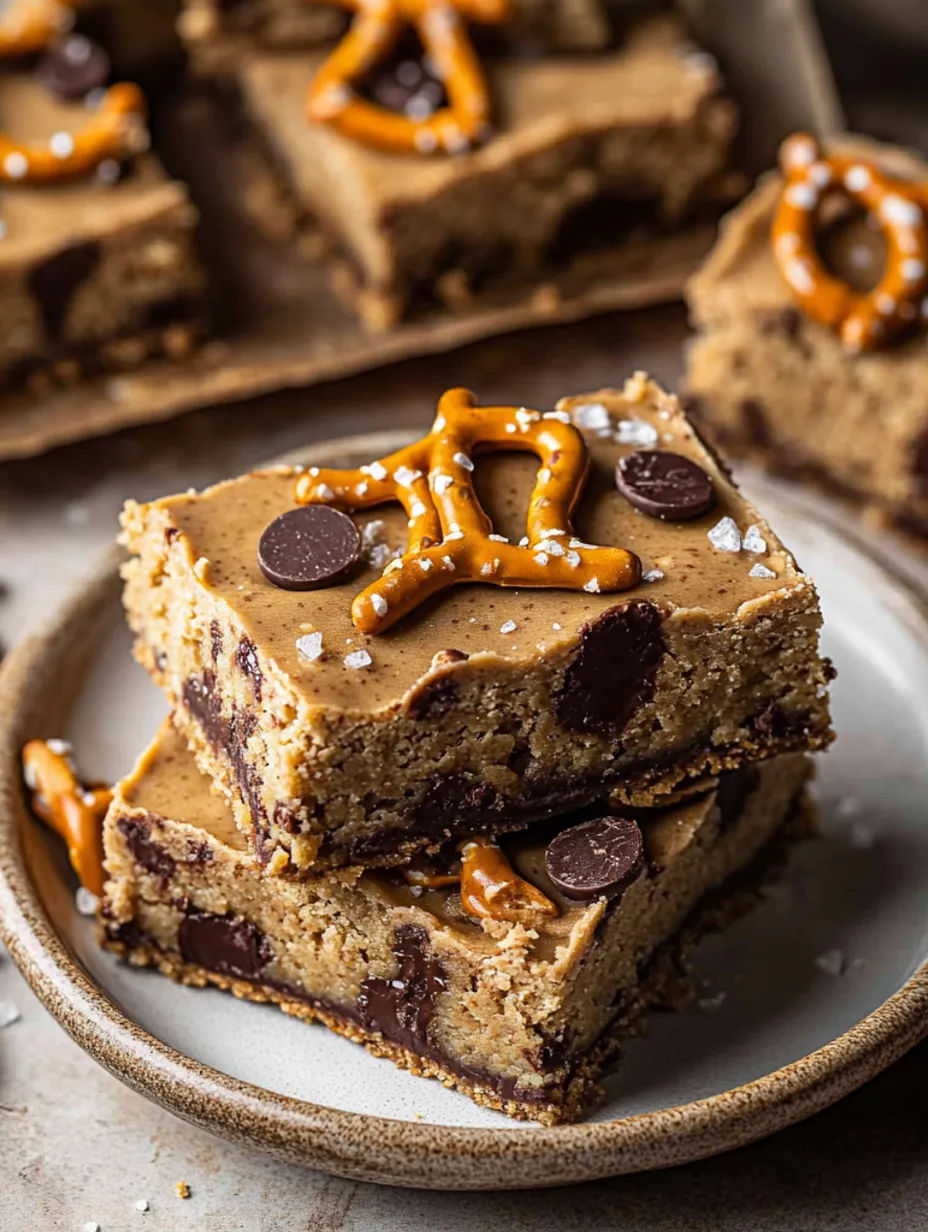
These irresistible bars were born in my kitchen one lazy weekend afternoon. What started as a simple experiment quickly became my signature dessert, earning a permanent spot at local cafes and becoming the most requested treat among friends and family. The combination of rich peanut butter and melted chocolate creates an incredibly fudgy texture, while the pretzel topping adds the perfect salty crunch.
The true testament to these bars came when a coffee shop customer loved them so much, they commissioned a special batch for their wedding dessert table. That moment confirmed these weren't just ordinary cookie bars.
Key Ingredients
- Softened Butter: Crucial for developing the right texture
- Dark Brown Sugar: Provides rich, molasses notes
- Creamy Peanut Butter: The foundation of flavor
- Mixed Chocolates: Adds depth and complexity
 Save
Save
Mastering the Method
The foundation starts with properly creamed butter and sugar - a crucial step that creates tiny air bubbles for perfect texture. Take time here, beating until the mixture becomes notably lighter in both color and consistency. This initial preparation sets the stage for success.
Creating Rich Flavor
Incorporating peanut butter transforms the base into a luxuriously smooth mixture. Add eggs carefully - the extra yolk is key for achieving that coveted fudgy center. Watch as the dough develops a silky, unified consistency.
Simple Assembly
Skip the fussy cookie scooping - simply spread the dough into a prepared pan. A useful technique: slightly moistened hands prevent sticking and create an even surface. The simplicity of this method delivers consistent results every time.
Kitchen Wisdom
- Save chocolate pieces for the top layer
- Brief chilling firms soft dough
- Watch carefully to avoid overbaking
- Full cooling ensures clean slices
Customization Options
The basic recipe welcomes creative variations. Try crushed nuts for extra texture, experiment with different chocolate types, or incorporate seasonal touches like crushed candy pieces. The versatile base adapts beautifully to different mix-ins.
Serving Suggestions
- Fresh milk enhances the nutty flavors
- Warmed bars pair perfectly with ice cream
- Excellent alongside hot beverages
- Ideal for packed lunches
Storage Details
These bars develop even better flavor overnight. Store in a sealed container, using parchment between layers, and enjoy within 4 days for optimal taste and texture.
Common Solutions
- Dark edges indicate high oven temperature - reduce cooking time
- Crumbly texture suggests excess flour - measure precisely
- For increased fudginess, reduce baking duration slightly
 Save
Save
Sharing and Gifting
These bars transport exceptionally well. For gifting, wrap individual pieces in parchment paper. When bringing to gatherings, pre-cut into squares while in the pan for easy serving.
Special Notes
This recipe has evolved into a cherished kitchen tradition. The process of making these bars - from mixing to topping with pretzels - fills the kitchen with an incredible aroma of toasted nuts and chocolate.
Recipe Variations
- Incorporate fruit preserves for fruity notes
- Add crushed sandwich cookies
- Include toffee pieces
- Layer with fresh banana slices
Quick Substitutions
Common replacements that work well:
- White sugar plus molasses substitutes for brown sugar
- Crushed chips can replace pretzels
- Natural peanut butter works with adjusted butter quantity
Make-Ahead Tips
Perfect for advance preparation. The dough can rest overnight in the pan, covered and refrigerated. Just return to room temperature before baking.
Recipe Origins
This recipe emerged from a simple desire to streamline cookie-making. It's since become a signature treat, shared countless times and adapted by many home bakers.
Each batch offers opportunity for personalization. Adjust toppings, experiment with timing, and discover the perfect balance of flavors for your taste. The joy of sharing these bars makes the baking process even more rewarding.
Choco Peanut Bars
Chewy bars made with peanut butter, pretzels, and lots of chocolate chips.
Ingredients
→ Base
→ Dry Ingredients
→ Mix-ins
Steps
Get your oven going at 180°C. Line a 23cm square baking dish with parchment paper, letting it hang over the edges.
Whip the butter and sugars until fluffy, about 2-3 minutes. Stir in the egg, extra yolk, peanut butter, and vanilla.
Sift in the flour and baking soda. Finally, toss in the salt and most of your chocolate, stirring just enough to bring it all together.
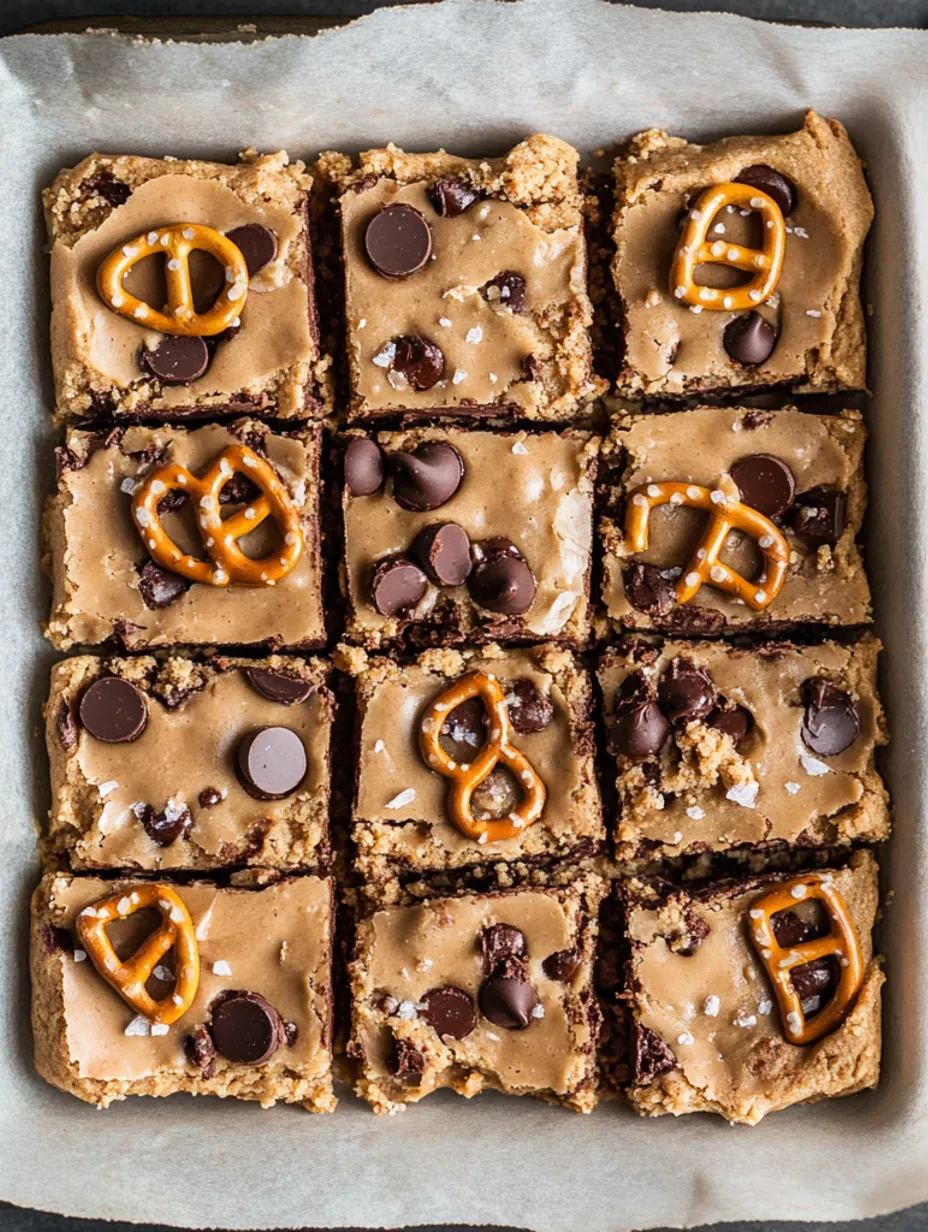
Using dampened fingers, press the dough evenly into the pan. Scatter the remaining chocolate and pretzels on top.
Bake for 20-25 minutes, or until the edges are golden but the center is still soft. Sprinkle a pinch of sea salt on top for a finishing touch.
Notes
- Stick to exact measurements by weighing ingredients.
- Don't mix the dough too much; you'll ruin the texture.
- Freeze the bars for as long as two months.
Required Tools
- Square 23cm baking dish
- Electric hand mixer
- Digital kitchen scale
Allergy Information
Check each ingredient for potential allergens and consult a healthcare professional if needed.
- Peanuts
- Dairy (butter is included)
- Eggs
- Gluten (flour is included)
Nutritional Facts (per serving)
These details are provided for informational purposes and aren't a substitute for medical advice.
- Calories: 276
- Fats: 15 g
- Carbohydrates: 35 g
- Proteins: 4 g