
 Save
Save
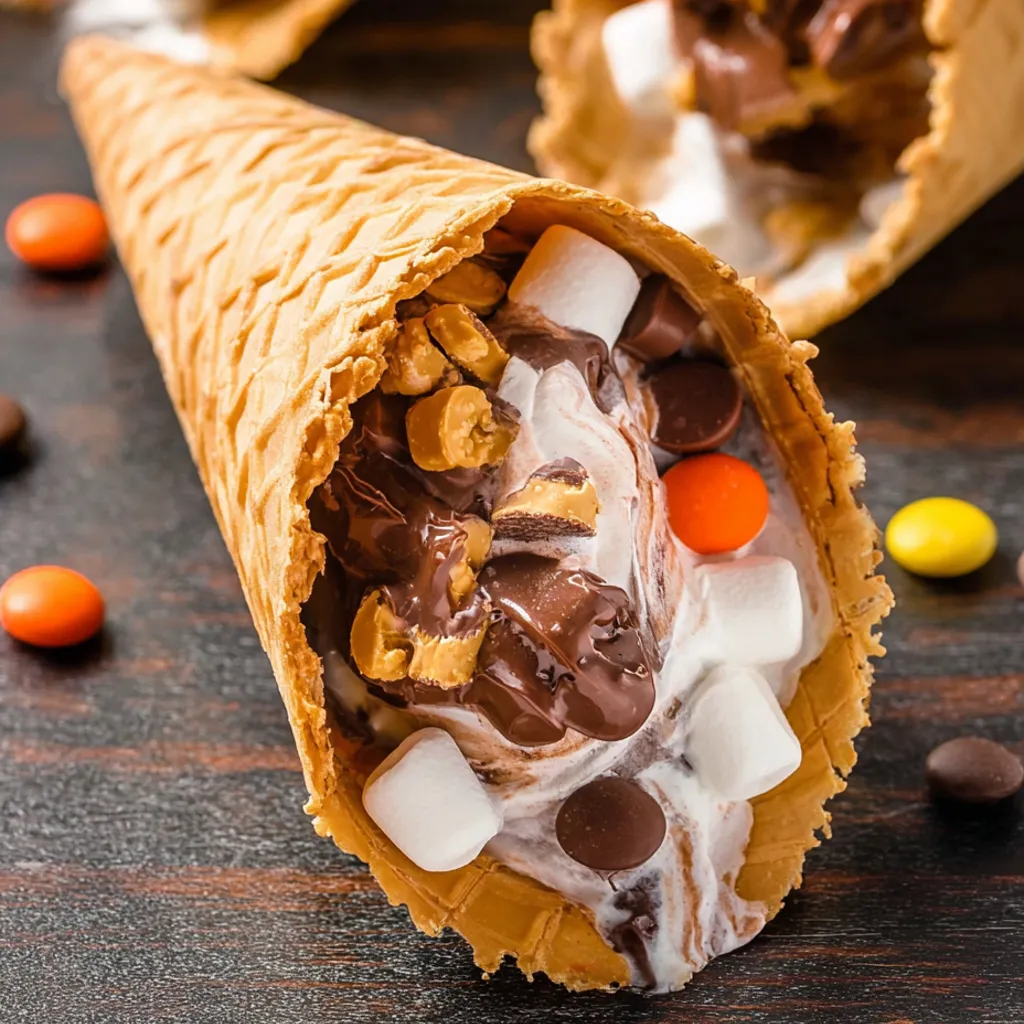
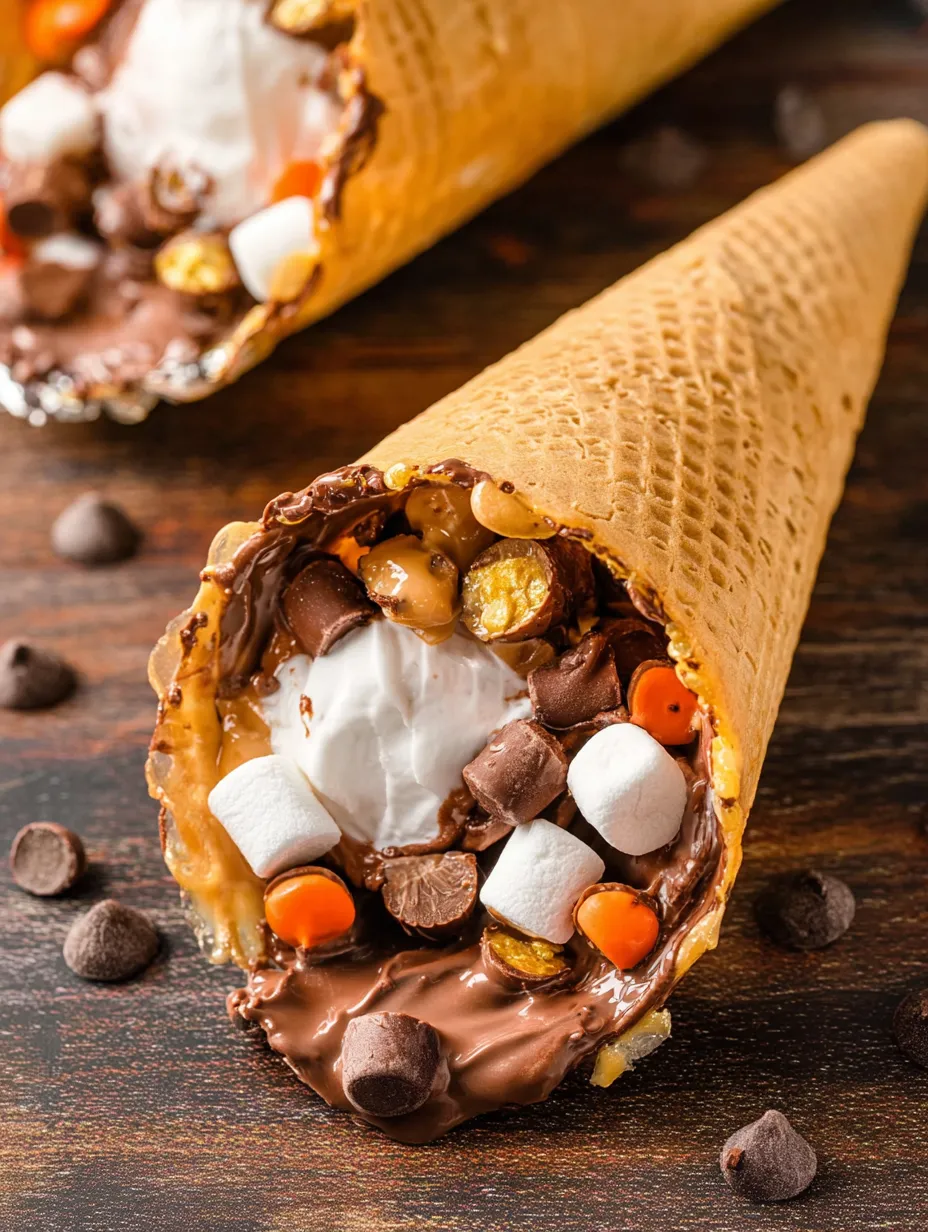
Reese's Campfire Cones are the ultimate treat for summer nights by the fire or backyard barbecues. Each waffle cone is loaded with gooey marshmallows, melty chocolate, and all your favorite Reese’s candies. Wrapped tightly in foil and toasted to perfection, these cones deliver a crispy shell and ooey gooey center that will have kids and grown-ups racing for seconds.
I first tried these at a family camping trip and everyone had chocolatey smiles around the fire. Now I keep cones and chocolate on hand all summer.
Ingredients
- Waffle cones: add crunch and make a handheld dessert use a brand with thick sturdy shells to prevent leaks
- Mini marshmallows: melt quickly and become gooey little pockets look for fresh ones for the stretchiest melted texture
- Chocolate chips: bring classic s’mores flavor go for semisweet for balance
- Reese's Mini Peanut Butter Cups: create creamy pockets of peanut butter use the unwrapped mini size for easy layering
- Reese's Pieces: add crunch and color plus even more peanut butter flavor pick bright fresh candies to make the cones pop
Step-by-Step Instructions
- Fill the Cones:
- Drop mini marshmallows into the bottom of each waffle cone filling about one quarter full This layer helps create a melted base so the candies do not escape
- Layer the Goodies:
- Pack in chocolate chips Reese’s Mini Peanut Butter Cups more Reese’s Pieces and another layer of mini marshmallows Press gently as you go for maximum filling without breaking the cone
- Wrap for Heating:
- Snuggly wrap each filled cone in aluminum foil First cover the top to secure the treats then fold the bottom up and cinch up the sides to fully enclose Make sure the wrap is tight so nothing leaks out during heating
- Heat Over Fire or Oven:
- For a campfire or grill place the foil wrapped cones directly on or near hot coals or grates Turn them occasionally for even melting This takes about five to seven minutes For the oven preheat to three hundred fifty degrees Fahrenheit Place wrapped cones on a baking sheet and heat for ten to fifteen minutes Watch for the outside to feel toasted and fillings to melt
- Cool and Enjoy:
- Let the cones sit for a minute or two before unwrapping so you do not burn your mouth Peel off the foil and dive in while the fillings are still warm and gooey
 Save
Save
My favorite part is when the marshmallow and peanut butter swirl together at the tip of the cone it is always the last bite I save for myself. The whole process reminds me of backyard summer sleepovers with my cousins, hands sticky and everyone bursting with laughter.
Storage Tips
These cones can be filled and wrapped up to a day in advance and stored in the refrigerator. If you have leftovers after heating (rare but it happens) you can keep wrapped cones in the fridge and reheat in a low oven until warmed through. Unwrap and eat any that get too soft within a day for best crunch.
Ingredient Substitutions
Swap the waffle cones for sugar cones if you like a finer shell or gluten free cones for allergies. Change up the chocolate chips for milk or dark varieties. Any nut butter cup will work and you can try white chocolate candies or chopped up cookies for a unique spin.
Serving Suggestions
Serve cones fresh from the fire with a scoop of vanilla ice cream or drizzle with extra melted chocolate. Stack several designs in a basket for a party spread and let guests choose their fillings. Kids love making their own and adults get just as creative.
 Save
Save
Origin of Campfire Cones
The campfire cone started popping up in camping circles as a less messy take on traditional s’mores. Filling and wrapping cones makes for easy cleanup and no one loses their chocolate to a fire pit accident. Over time everyone adds new twists but the combination of marshmallow chocolate and crisp cone never gets old on a summer night.
Recipe FAQs
- → Can I use different types of cones?
Yes, sugar cones or waffle cones both work well. Waffle cones tend to hold more filling and give a crispier texture.
- → What if I don’t have a campfire?
You can bake the wrapped cones in a 350°F oven for about 10-15 minutes, or use a grill for similar results.
- → Are there alternative fillings I can use?
Try swapping in caramel bits, white chocolate chips, chopped nuts, or fresh berries for extra variety.
- → How do I keep the filling from leaking out?
Wrap the cones tightly in foil, making sure both the top and bottom are sealed completely before heating.
- → How long should the cones cool after cooking?
Let the cones rest for a minute or two after removing from heat to avoid burns and allow fillings to set slightly.