
 Save
Save
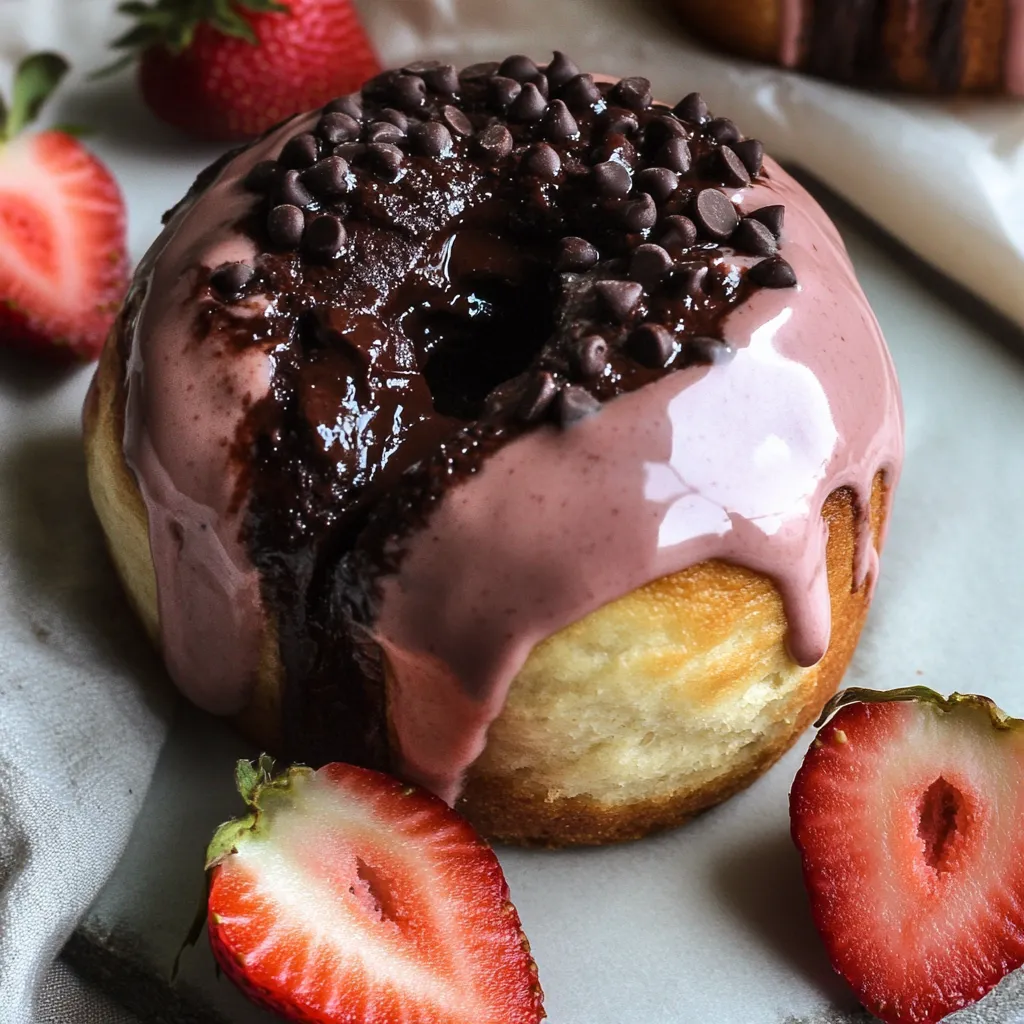
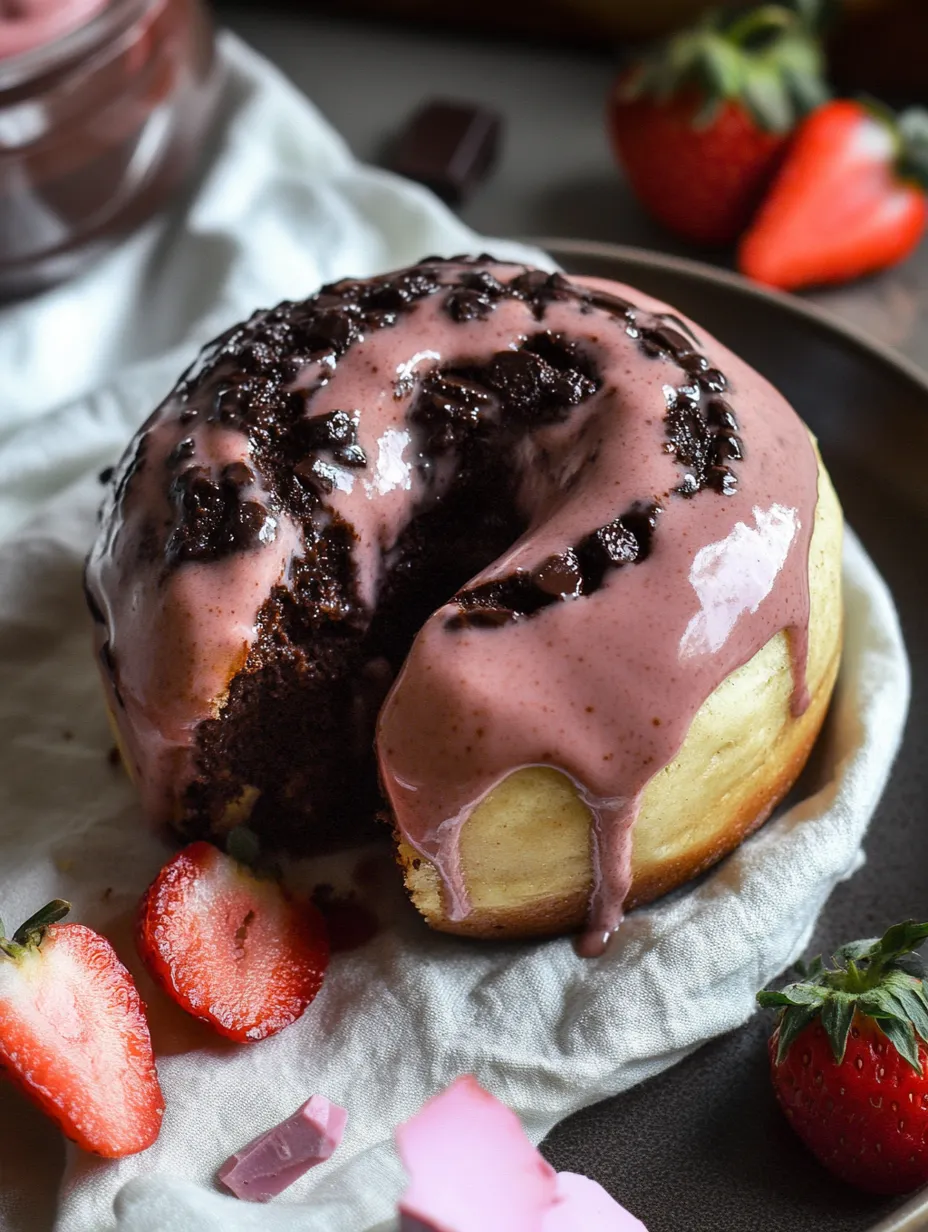
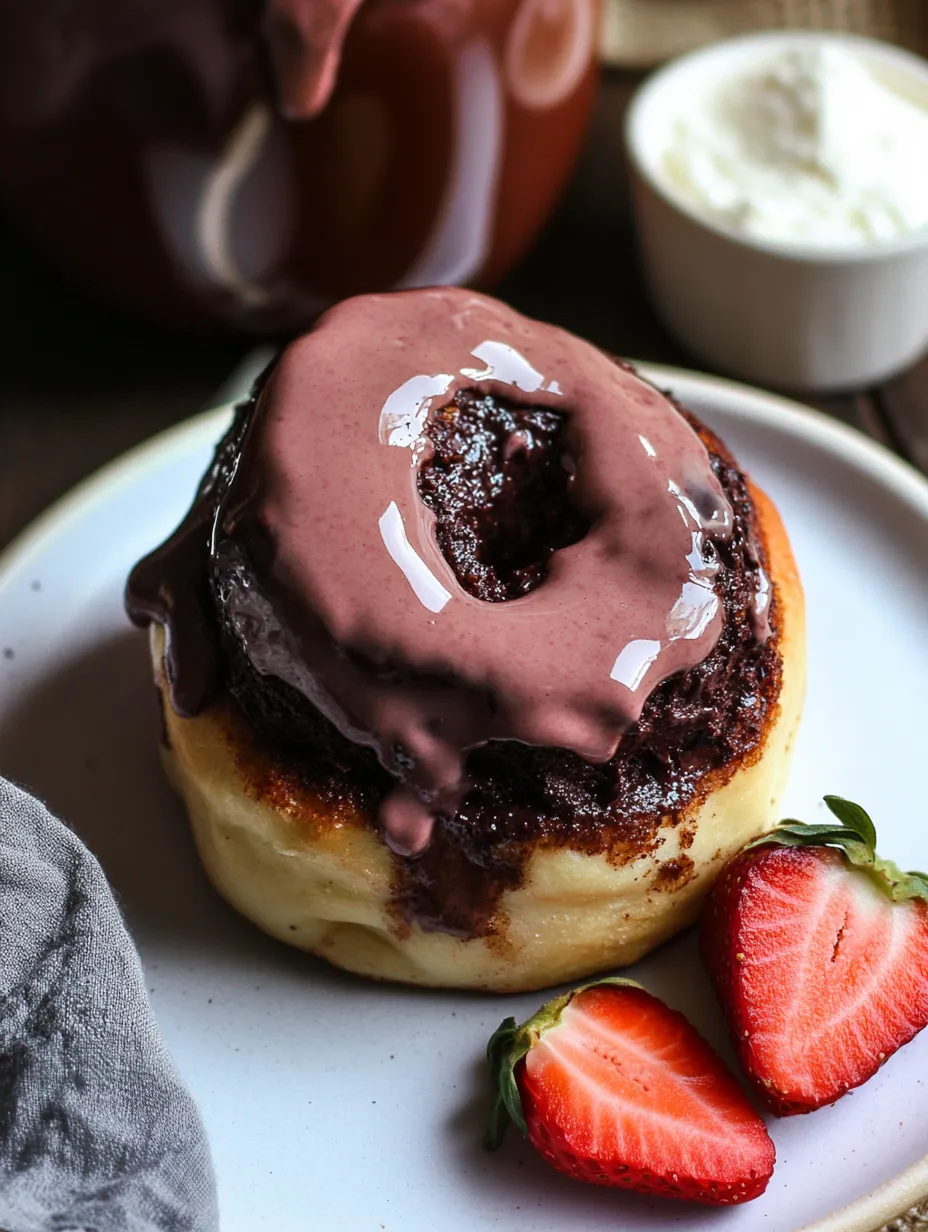
These chocolate spirals topped with strawberry cream cheese icing are true comfort food dreams. I whipped them up one cold February day when I needed something to warm my kitchen and lift my spirits. The mix of deep chocolate dough with that pink, zesty icing isn't just tasty - it feels like comfort wrapped in a sweet package.
I made these rolls one dreary winter day and soon my whole house smelled amazing with that chocolate-bread aroma. My teenager even came downstairs without me having to call them!
Key Components:
- Good cocoa powder: it really changes everything
- Active dry yeast: (make sure it's fresh!)
- Any plant-based milk you enjoy
- Vegan cream cheese: for that zingy topping
- Real strawberries: for genuine color and taste
- A dash of kindness: - because we could all use extra
 Save
Save
Step-by-Step Guide:
- Activate The Yeast:
- Begin with milk at just the right warmth - this kicks off the whole process. When you see foam forming, you're heading in the right direction.
- Form The Dough:
- Add the cocoa and watch as your dough transforms into a beautiful rich brown. The kneading can feel almost peaceful.
- Allow Time For Rising:
- Put your dough somewhere warm to grow. I enjoy this quiet waiting period, knowing something delicious is in the works.
- Craft Pink Frosting:
- As the dough rises, make your strawberry cream cheese topping. Its natural pink shade reminds me that brighter days are coming.
- Shape With Love:
- Flatten your chocolate dough into a rectangle and roll it tightly - every twist promises comfort with each bite.
The first batch I ever made was on a personal care Sunday, and I realized baking isn't just about eating something tasty - it's about loving the whole creation journey.
Perfect Timing:
These spirals work best for lazy weekend breakfasts when you can enjoy both making and eating them. They're amazing when served slightly warm, as the frosting gets a bit melty.
Custom Touches:
I sometimes add a bit of coffee to my dough, or layer some berry jam inside. Every batch can bring new twists to your comfort baking.
Storage Tricks:
Keep your rolls in a sealed container and warm them up before eating. A few seconds in the microwave brings back that just-baked feeling.
 Save
Save
Smart Baking Tips:
- Cut your rolls with unflavored dental floss for clean slices
- Don't skimp on the second rise - it matters just as much
- Take your time with the frosting - let it get properly whipped
Whenever I bake these rolls, I'm reminded that taking care of yourself isn't always about fancy spa treatments. Sometimes it's about spending time making something with your hands, filling your home with fantastic smells, and sharing that joy with others - or keeping it all for yourself. Because sometimes that's exactly what you need.
Recipe FAQs
- → Why use dental floss instead of a knife?
- Floss slices smoothly, so the rolls keep their shape and don't get squished.
- → Can these be prepared in advance?
- Shape the rolls and refrigerate overnight. Let them warm up to room temp before baking.
- → Which plant-based milk gives the best results?
- Any unsweetened option works, but soy or almond milk give great texture.
- → Can I freeze them for later?
- Freeze them before frosting for up to 2 months. Glaze and serve once thawed.
- → Why add coconut sugar to the filling?
- It brings a deep caramel flavor while keeping the filling vegan-friendly.