
 Save
Save
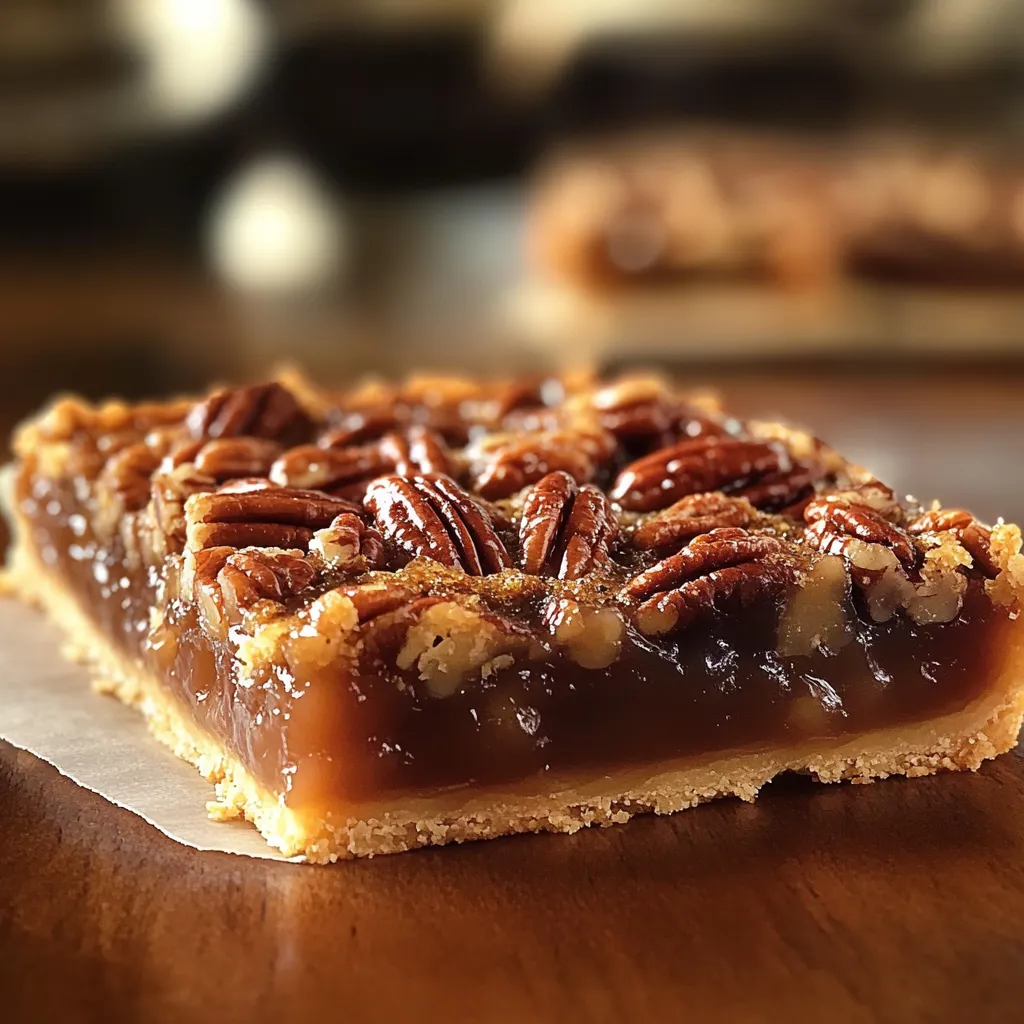
I whipped up these pecan bars last Saturday and wow—I was instantly back in my grandma's kitchen. That buttery smell of toasted pecans and caramel always gets me drooling. I've struggled with regular pecan pie for years, but these bars finally clicked for me. They're a total lifesaver for anyone who wants homemade flavor without the hassle.
My first try making these was totally by chance. I'd promised dessert for my sister's dinner but ran short on time for individual pies. These bars totally saved me, and now my family actually likes them more than traditional pie!
Essential Ingredients
- Refrigerated pie crusts: The ones that seem almost homemade
- Light corn syrup: Don't swap this out for dark
- Dark brown sugar: This creates all the flavor magic
- Unsalted real butter: Skip the margarine altogether
- Fresh eggs: These create that perfect sticky middle
- Pure vanilla extract: Go for authentic stuff
- Pecan halves: Worth buying the premium ones
 Save
Save
Baking Steps
- Base Creation:
- Spread those crusts out nice and smooth
- Sweet Beginnings:
- Stir your filling until it looks glossy
- Pecan Dreams:
- Soak those gorgeous nuts in the sweet mixture
- Perfect Pour:
- Let the filling flow over the bottom layer
- Golden Glory:
- Bake until you see that ideal golden brown
Achieving Wonderful Texture
You wouldn't guess how many times I made these before getting it right. After tons of tries (including some funny failures), I finally got that sweet spot—sticky but not too loose, rich but not too much. My trick? Cooling the melted butter just enough before adding it in. I usually set out my other stuff while I wait those five minutes.
Think back to my first time hosting Thanksgiving—I tried to speed up these bars and ended with a sticky disaster. Now I know better and let them cool all the way, even when they smell so good I can't stand it.
Helpful Hints
Here's something cool my mother-in-law showed me—putting the pan on a wire rack by an open window works perfectly for cooling. Just watch out or your neighbors might come asking for some! Speaking of neighbors, Jane who lives next door always adds a bit of bourbon to hers. I tried that last Christmas and let's just say the grown-ups were extra happy at the party.
Personal Touches
I throw in dark chocolate chips when I want to get fancy. Other days, a little sea salt on top turns these from yummy to completely addictive. Last week I grated some orange peel into the mix, and my husband said it was the tastiest version yet.
How To Serve Them
They look lovely on my grandma's old silver tray for family gatherings. For casual hangouts, I put them on a wooden board with fresh mint from the garden. But honestly? They taste just as good grabbed straight from the fridge at midnight (not that I do that... much).
 Save
Save
Storage Instructions
Keep these treats in a sealed container. Put sheets of parchment between layers if you stack them—though at my house, they don't stick around long enough to need storing! They'll stay good on the counter for several days, but I bet they won't last that long.
What's great about these bars? They'll turn out okay even if you mess up a bit. When I've forgotten to add vanilla or left them in too long, people still grab them at every gathering. My kid says they're "better than store-bought," which is probably the best thing any mom can hear.
Answers to Common Questions
- "My filling split apart!"
- That's usually from eggs that weren't warmed up or butter that was too hot. I've done it too.
- "Can I use maple syrup instead?"
- Sure thing, but it'll taste different. My friends from Canada really like it that way.
- "Why did my bottom get soggy?"
- Try baking the crust a little first. Just ten minutes works wonders.
Whenever I bake these bars, I think about how food brings us together. They're not just a list of things to mix—they're memories waiting to happen. Whether you're making them for a big event or just because, I hope they make your kitchen as happy as they've made mine.
Just remember, baking should be fun. If something doesn't work out, you can always try again. And believe me, with these pecan bars, you'll definitely want to try again.
Enjoy your baking adventure!
Sweet Pecan Bars
Fast and tasty pecan squares with premade crust. Great option for easy desserts without traditional pie hassle.
Ingredients
→ Crust Section
→ Filling Mix
Steps
Warm up your oven to 350°F (175°C). Meantime, grease a 9×13-inch baking dish.
Unroll those pie crusts and spread them out in the greased dish. Cover all the edges and the base properly.
In a big mixing bowl, toss in corn syrup, brown sugar, the melted butter, eggs, salt, and vanilla. Stir till it's smooth, and then stir in pecans at the end.
Pour the filling blend on top of the crust, spreading it evenly with a spoon or spatula.
Bake for 30-35 minutes. It's done when the top gets golden and the middle doesn’t wiggle anymore. Cool it off completely before slicing.
Notes
- Cool all the way down for easy slicing.
- Delicious when warm or served at room temp.
Required Tools
- Baking dish (9x13-inch)
- Big bowl for mixing
- A whisk
Allergy Information
Check each ingredient for potential allergens and consult a healthcare professional if needed.
- Eggs are included
- Pecans (tree nuts) are used
- Has butter (dairy)
Nutritional Facts (per serving)
These details are provided for informational purposes and aren't a substitute for medical advice.
- Calories: 320
- Fats: 16 g
- Carbohydrates: 42 g
- Proteins: 4 g