
 Save
Save
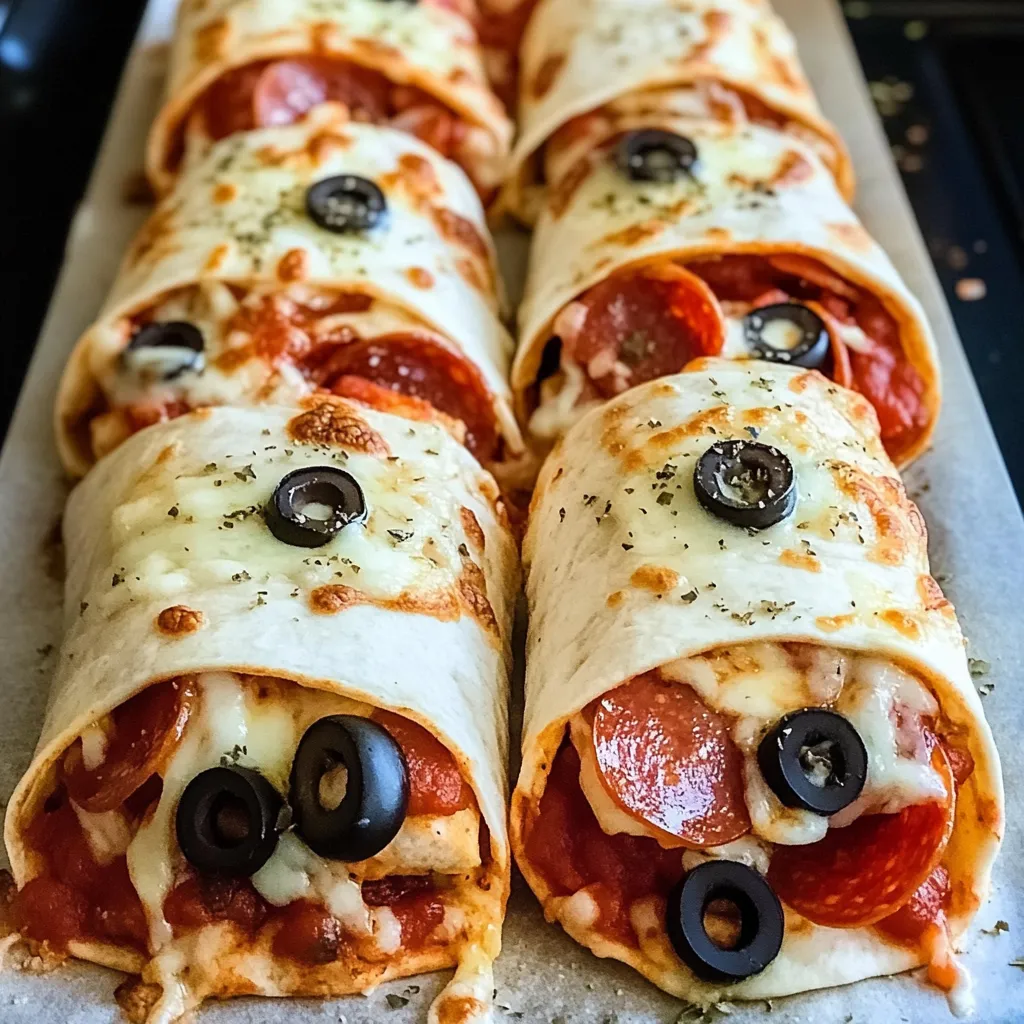
I whipped up these baked pizza wraps when I was in a dinner jam with no regular pizza stuff at home. The mix of crunchy tortillas and pizza fillings makes these wraps taste just like pizza but they're so much easier. They're now our favorite when we need food on the table in less than half an hour.
My son had a friend over unexpectedly when I made these for dinner, and afterward he asked me to write down how to make them for his mother. When teenagers want your cooking tips, you know you've made something really special!
Basic Components
- Flour tortillas - They get nice and crunchy in the oven, making the perfect base
- Pizza sauce - Grab it from the store or use your own if you've got some
- Mozzarella cheese - Gives you that gooey, stretchy pull just like real pizza
- Various toppings - Pick whatever pizza fixings you enjoy; these are just ideas
- Italian seasoning - The herbs that bring that classic pizza flavor
 Save
Save
Building Your Wraps
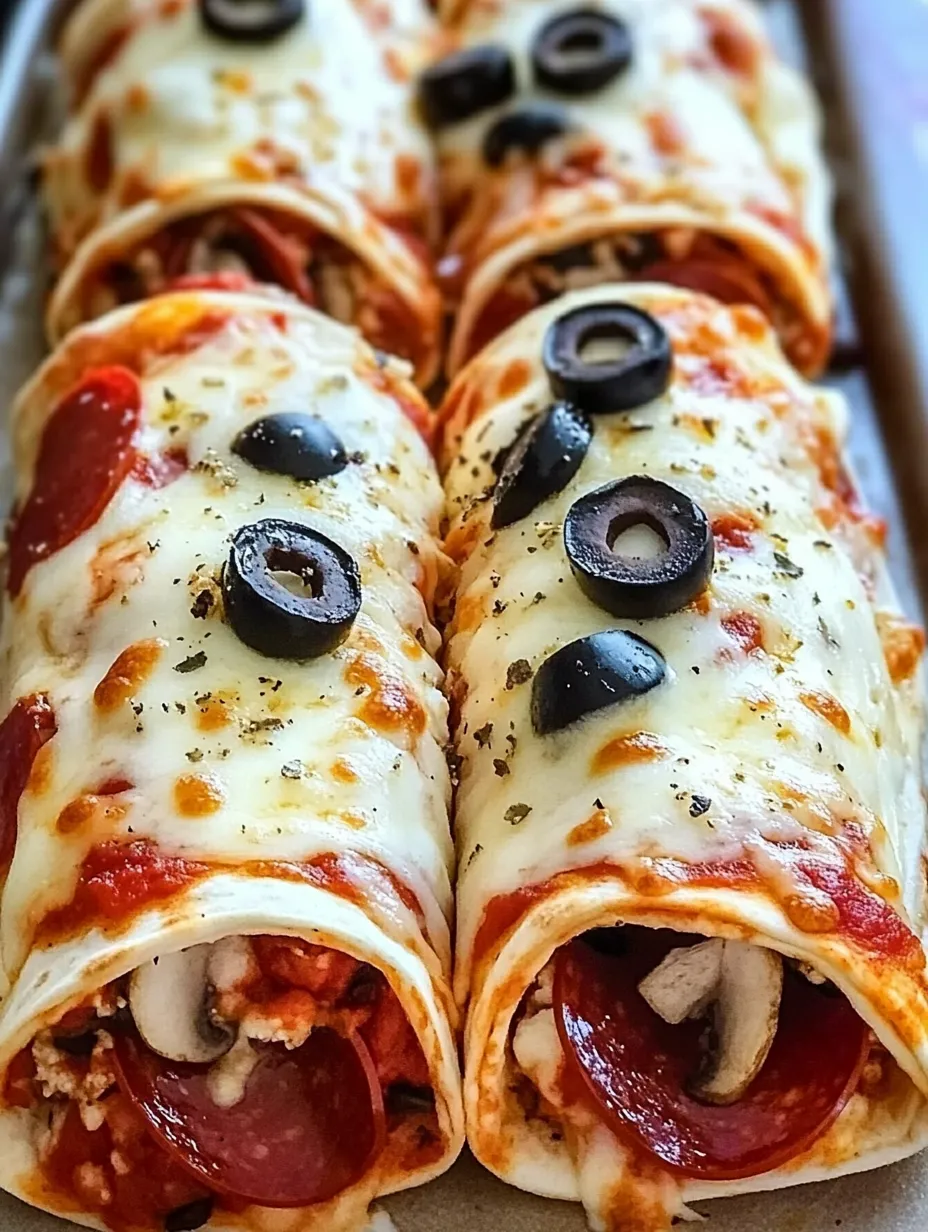
- Picking Your Tortillas
- Go for the big "burrito size" ones - smaller tortillas won't hold enough stuff. Flour works better than corn since they get crispier. If your tortillas seem tough or old, pop them in the microwave with a damp paper towel for about 10 seconds to soften them up. The first time I tried making these with tiny tortillas, everything spilled out while rolling.
- Handling The Sauce
- Spread sauce evenly but leave that empty space around the edges to stop leaks during cooking. I use a spoon back to smooth it out thinly. Too much makes soggy wraps, too little makes dry ones. About 1/4 cup per wrap seems to work best after lots of tries. Sometimes I mix in some pesto for extra kick.
- Adding Fillings
- Don't go overboard with fillings. I chop everything smaller than for normal pizza so nothing tears the tortilla or makes rolling hard. Putting cheese both under and over your toppings helps glue it all together. I always cook watery veggies like mushrooms first so they don't make the wraps soggy. My kids all want different stuff, so I usually make each wrap with their personal favorites.
- Wrapping It Up
- How you fold makes the difference between neat wraps and a mess. Fold the sides in first, then roll from bottom to top, keeping everything tight. It's just like making a burrito. Sometimes I stick toothpicks in to keep them closed until they're ready to serve. Putting the seam down on the baking sheet helps keep them from opening while cooking.
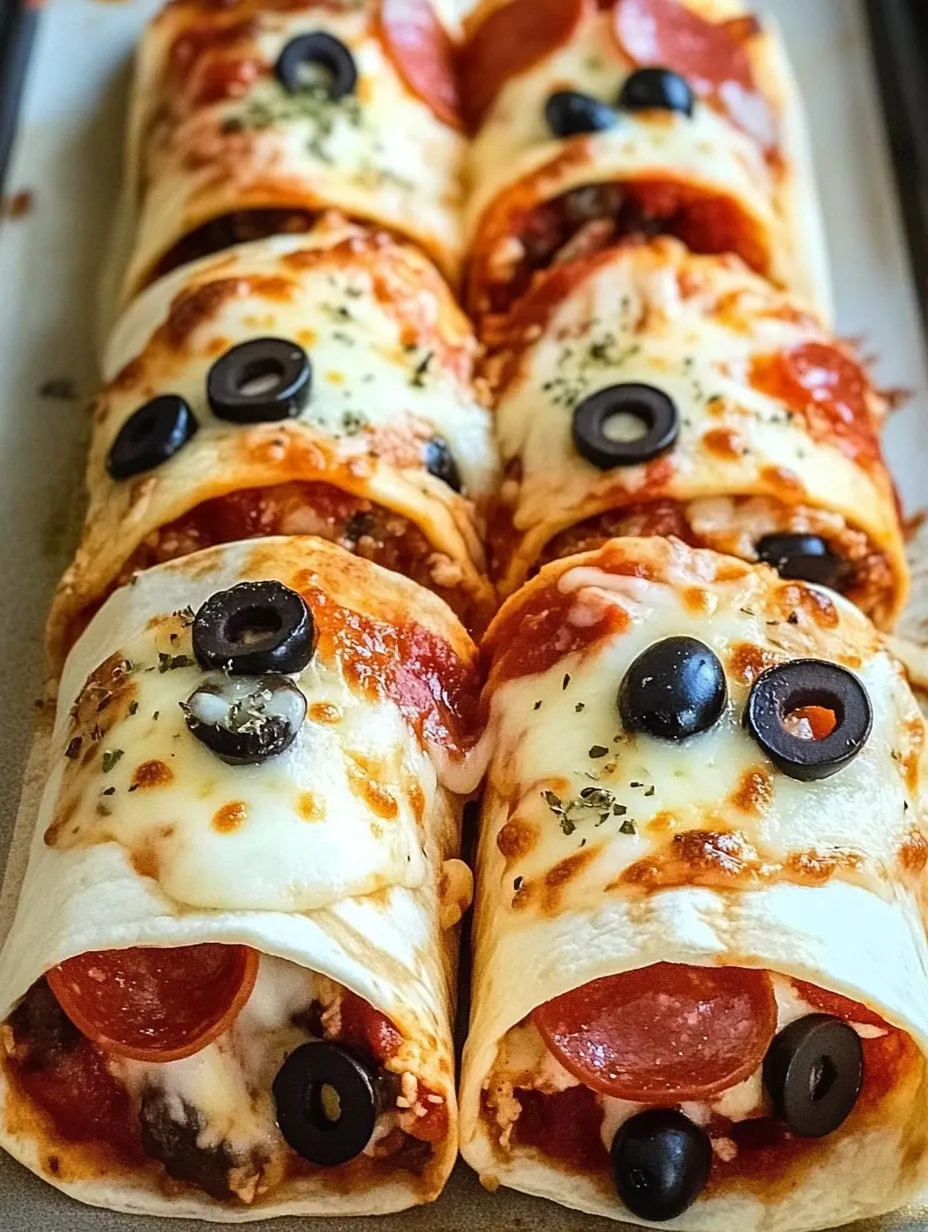
- Using The Oil
- The olive oil brush might seem small but it's what makes the tortilla turn crispy instead of staying soft. I use a silicone brush to coat them evenly, including the sides and ends. This also gives them that nice golden look. Just a light coat works - you don't need much. I've tried using spray oil too, which works okay but doesn't taste quite as good.
- Cooking Time
- Getting the temperature right matters - 375°F is hot enough to crisp the outside without burning before the middle heats up. I start checking after about 10 minutes since ovens can be different. Look for that golden brown color and crispy shell. If they're getting too dark but aren't crisp yet, I turn the heat down to 350°F for a few more minutes. Letting them sit briefly after baking helps the cheese firm up so it doesn't all run out when you cut them.
My husband usually only wants traditional pizza, but even he grabbed seconds of these and admitted they were "better than he thought they'd be." That's pretty big coming from someone who normally turns his nose up at pizza alternatives.
Tasty Companions
These pizza wraps go great with a basic green salad for a quick weeknight meal. When friends come over, I slice them into smaller pieces and put out extra sauce for dipping as a starter. During sports nights, we have them alongside other easy foods like wings or veggie sticks. My children enjoy finding them in their lunchboxes next day - they still taste good even when they're not hot.
Fun Twists
You can try a morning version with eggs, cheese, and bacon bits inside. Or make a sweet treat with Nutella, strawberry slices, and banana, brushed with cinnamon sugar instead of oil. For island vibes, fill them with ham, pineapple, and cheese with a bit of BBQ sauce mixed into the pizza sauce. A few weeks back I tried a Greek-style one using feta, olives, and spinach that turned out amazing.
 Save
Save
I've served these pizza wraps for everything from rushed family dinners to kid sleepovers, and they always hit the spot. There's something about that pizza flavor in a handy wrap that makes eating more fun. My little girl now helps me make them, coming up with her own topping mixes and beaming when everyone loves what she made. Sometimes the best recipes aren't fancy - they're just the simple ones that answer "what should we eat?" in a way that makes the whole family happy.
Recipe FAQs
- → Can I make them early for later?
- Sure can! Put them together up to a day in advance, cover, and refrigerate. When it’s time to cook, oil them and bake, adding a couple of extra minutes since they’ll be chilled.
- → Are they freezer-friendly?
- Totally! Roll them up, wrap each in plastic, then freeze in a bag for up to 3 months. To bake, unroll, oil them, and cook at 375°F straight from frozen for 18-20 minutes.
- → What other fillings work well?
- Go wild! Cooked sausage, ham, veggies like spinach or peppers, pineapple, or even different cheeses like provolone or cheddar. Just don’t overload them to avoid ripping.
- → How do I keep them from unraveling?
- Lay them seam-side down on the tray so the heat seals them. Toothpicks can help too (don’t forget to remove them). Or, use a little water to stick the edge before rolling.
- → What about gluten-free or low-carb options?
- Easy! Use gluten-free tortillas for a no-gluten version. For low-carb, lettuce leaves or low-carb wraps are great swaps, though textures and timings might vary.