
 Save
Save
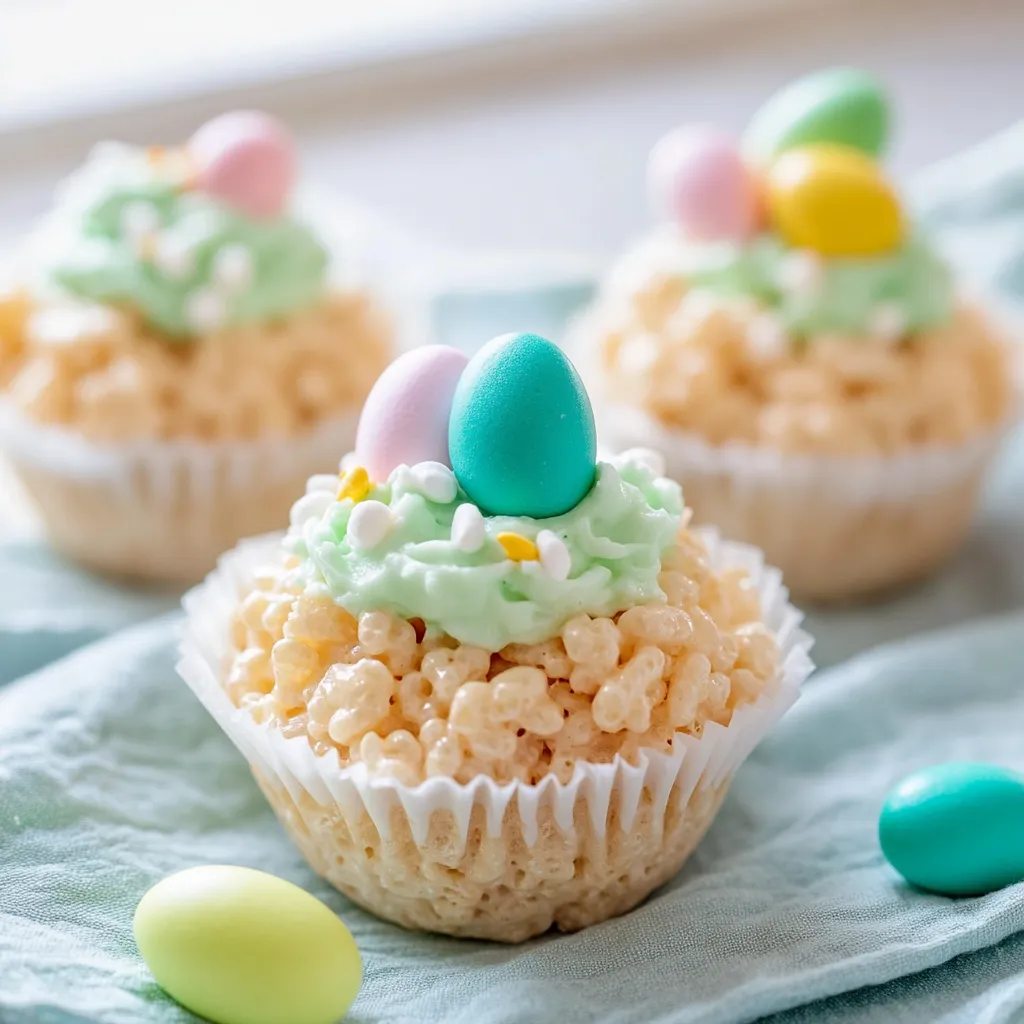
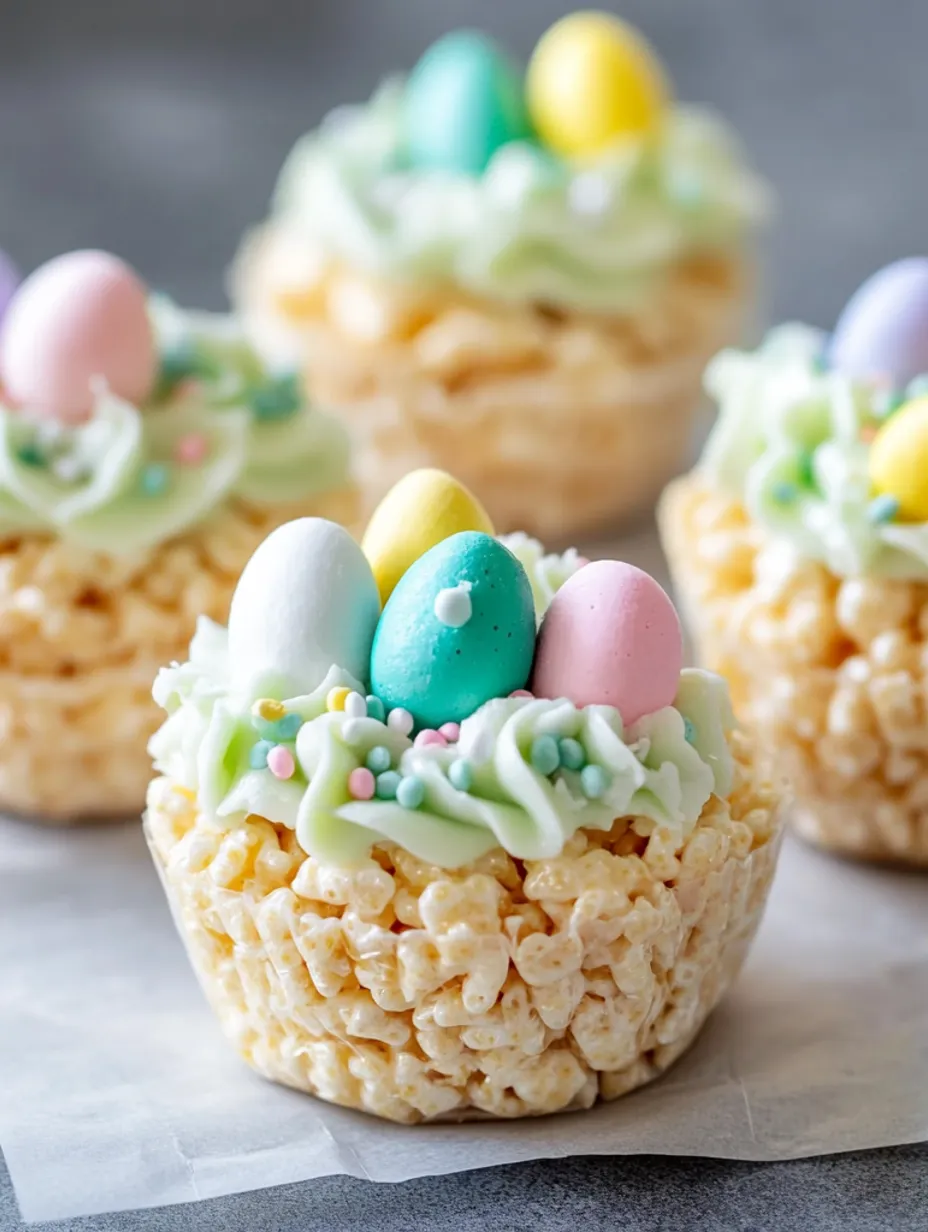
I've been whipping up these Easter Rice Krispie nests for so many seasons now, and they always get tons of wows from everyone at our family get-togethers! That mix of gooey marshmallow treats topped with smooth frosting and candy eggs makes such a cute spring sweet that looks super fancy but doesn't need much work at all.
Even my sister-in-law, who turns her nose up at most sweets, wanted to know how to make them after trying one at last year's Easter lunch. That's when I knew they were a real winner!
Ingredients Needed
- Rice Krispies cereal: This makes up your nest base. Don't worry about splurging - cheap brands work just fine.
- Marshmallows: They must be fresh - old ones will make your treats hard. Tiny ones melt quicker if you can find them.
- Butter: Gives you that yummy taste base. I go with salted butter for extra flavor kick.
- Powdered sugar: This makes the frosting that looks like "grass" on your nests.
- Green food coloring: The thick gel type works best for bright color without making your frosting runny.
- Easter egg candies: I love tiny Cadbury eggs, but you can also use Robin's eggs, M&Ms, or even small jelly beans!
 Save
Save
My Cooking Method
Treat BasicsFor chewy, soft Rice Krispie treats, don't heat your marshmallows too much. I pop them in the microwave for 30 seconds at a time, giving them a good stir between, until they're just melted. Cook them too long and you'll end up with tough, hard treats.
Creating Nest ShapesI coat the back of a spoon with cooking spray before pushing the mixture into muffin tins. This stops it from sticking and helps me make that nest shape with a dip in the middle.
Decorating TipsTo make them look most like real nests, I use a special grass tip (#233) when piping the green frosting. Don't have one? No problem - just cut a tiny corner from a ziplock bag and squeeze in circles to fake the grass look.
Putting It TogetherI wait for the nests to cool all the way (around 30 minutes) before adding frosting. If you pipe onto hot nests, your frosting might get runny and lose its shape.
I came up with the mini muffin tin trick after spending years making one big tray of Rice Krispie treats and cutting them into blocks. The small nest shapes not only look way cuter, but they're so much easier for guests (especially small kids) to grab and munch on!
Ways To Serve
These look great lined up on a platter for Easter meals. Sometimes I put them on green paper "grass" to look extra festive. For bigger parties, I'll put them near other spring treats like pastel cookies or colorful macarons.
Tweak The Recipe
Want something different? Try using Cocoa Krispies for brown nests. Add a tiny bit of mint extract to your frosting for a fresh taste. Skip the frosting and drizzle melted white chocolate over the nests instead. Mix a spoonful of sprinkles into your Rice Krispie mix for a fun confetti look.
Keeping Them Fresh
They'll stay good in a sealed container for about 2 days. I put them in one layer with parchment between if I need to stack them. If making ahead, I make the plain nests and freeze them, then thaw and add frosting on serving day.
 Save
Save
Expert Advice
- Damp hands make it way easier to shape treats without sticking
- Just a hint of almond extract in your frosting tastes amazing
- Using mini muffin papers makes them even simpler to serve
These Easter Rice Krispie nests have become such a big deal in our family that my kids start asking for them as soon as they spot Easter candy in stores! There's just something magical about that classic Rice Krispie treat taste combined with the fun spring look that makes everyone grab for them. And they're easy enough that even my youngest can help make them, building those special holiday memories that stick around long after the treats are gone!
Recipe FAQs
- → Can these be prepped in advance?
- Yep! Make them 1-2 days early and keep them airtight at room temp. Add frosting and candies on the day you’ll serve.
- → What candies work best for topping?
- Tiny chocolate eggs, pastel-colored jelly beans, or spring M&M's all work. Go with smaller candy to fit in the nests.
- → Can I swap homemade frosting for store-bought?
- Totally! Grab a tub of white frosting and mix in green coloring. It's quick and looks just as cute.
- → How do I form the nest shape in a cupcake tray?
- When the mixture is still warm, press the center down gently and push up the sides. Use wax paper or a spoon for less mess.
- → What piping tip is best for grass decorations?
- A multi-hole grass piping tip (Wilton #233) is ideal. If you don’t have one, use a small round tip or a fork for texture.
Easter Rice Krispie Treats
Fun Krispie nests topped with green frosting and candies, perfect for Easter parties or springtime fun.
Ingredients
→ Krispie Mixture
→ Frosting
→ Toppings
Steps
Butter or spray a muffin tin to stop sticking. Then set it aside.
In a microwave-safe bowl, toss the marshmallows and butter together. Heat in the microwave for roughly 2 minutes. Keep an eye on it to make sure it doesn’t spill over as it puffs up.
Blend the melted butter and marshmallows until smooth. Toss in the cereal and stir until it’s all evenly coated.
Scoop the cereal mix into the prepped muffin tin. Using wax paper, press the centers down to form a little nest with sides that are slightly raised.
Set the nests aside until they’re firm enough to pop out, about 30 minutes at room temp.
In a big bowl, beat butter, milk, vanilla, and 2 cups of powdered sugar for 5 minutes, until it’s fluffy. Gradually add more powdered sugar until the frosting is just how you want it.
Mix in green food dye to the frosting until it looks like grass.
After the nests are firm, pipe the green frosting on top with a grass piping tip if you have one. Pop a few egg candies right into the ‘grass.’
Notes
- Keep these treats fresh by storing them in a sealed container at room temp. They’re good for a day.
- Want a more vibrant green? Gel food coloring works better than liquid dye.
- No piping bag? A plastic zip bag with the corner snipped works just as well!
Required Tools
- Muffin tin
- Microwave-friendly bowl
- Spoon for stirring
- Wax paper
- Electric hand or stand mixer
- Piping bag with a grass tip (optional)
Allergy Information
Check each ingredient for potential allergens and consult a healthcare professional if needed.
- Includes dairy (milk and butter)
- Cereal may have gluten, so check the label
- Candies could contain allergens. Double-check ingredients.
Nutritional Facts (per serving)
These details are provided for informational purposes and aren't a substitute for medical advice.
- Calories: 155
- Fats: 4 g
- Carbohydrates: 29 g
- Proteins: 1 g